Drawing motorcycles may seem like a daunting task, especially for beginners. However, with practice and the right techniques, you can master this art form. Motorcycles are not only vehicles; they symbolize freedom, power, and the spirit of adventure. This guide will introduce you to the essential techniques, tools, and tips for drawing motorcycles. Whether you are a complete novice or someone with basic skills, this article will help you enhance your motorcycle drawing abilities and enjoy the creative process.
Understanding Motorcycle Anatomy
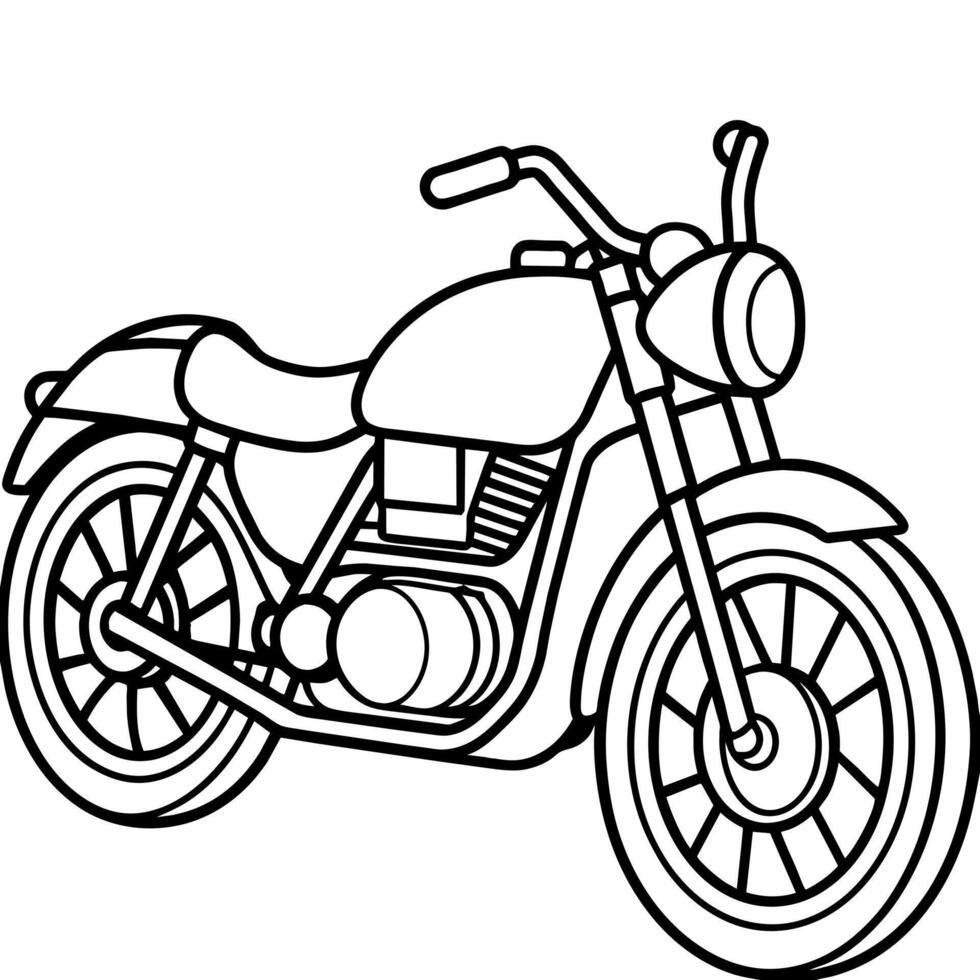
Basic Parts of a Motorcycle
Before diving into motorcycle drawing, taking time to understand the basic anatomy of a motorcycle is essential. A motorcycle consists of several key components, each contributing to its unique shape and design. The main parts include the frame, wheels, handlebars, engine, saddle, and exhaust system. Familiarizing yourself with these elements is crucial for accurate representation.
The frame serves as the motorcycle’s backbone, connecting all other parts. The wheels, usually two, are crucial for stability and balance. Handlebars control the steering, while the engine powers the bike. The saddle offers a seating area for the rider, and the exhaust system channels gases away from the engine. Understanding the function and placement of these parts will aid your drawing process.
Observing Different Styles
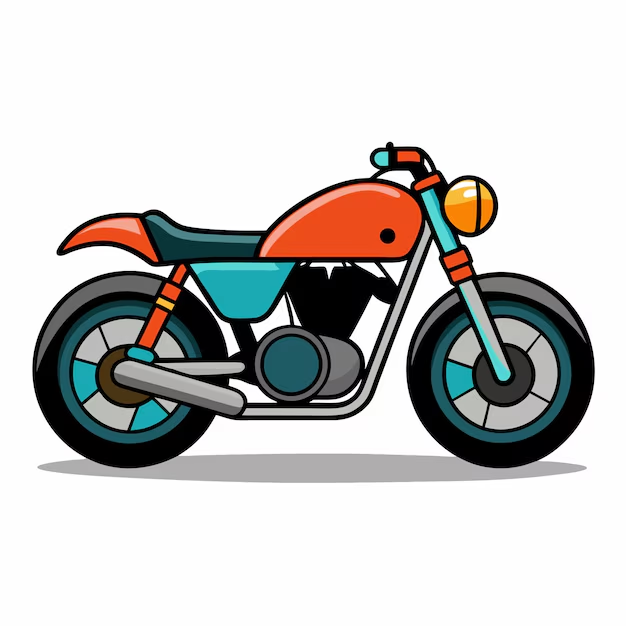
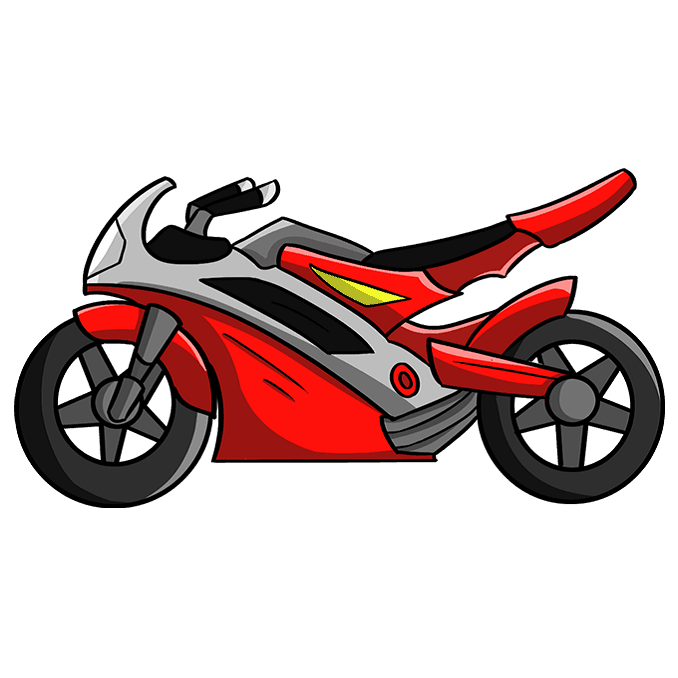
Motorcycles come in various styles and designs, such as cruiser, sport, touring, and adventure bikes. Each style has its distinct characteristics that influence its overall look. For instance, cruisers often have a low profile and wide handlebars, while sport bikes are built for speed with a more aerodynamic design.
To improve your drawing skills, spend time observing different types of motorcycles. Notice their unique features and proportions. You can find many images online, in magazines, or at motorcycle shows. Taking note of the variations in body shapes and component placement will help you develop a keen eye for detail in your drawings.
Gathering Your Drawing Supplies
Essential Tools for Drawing
To begin your motorcycle drawing journey, you will need some basic supplies. A sketchbook is essential for practicing and developing your skills. Choose one that has good quality paper that can handle pencil and ink well. Additionally, having a variety of pencils can enhance your drawing experience. Graphite pencils, ranging from 2H for fine lines to 6B for darker shades, will allow you to create depth and contrast.
Inking pens are also useful for final touches. They provide a clean finish and allow you to outline your drawings effectively. Brushes and charcoal can add texture and shading to your work, giving it a more polished look. These tools combined will help you capture the essence of the motorcycle in your drawings.
Other Helpful Materials
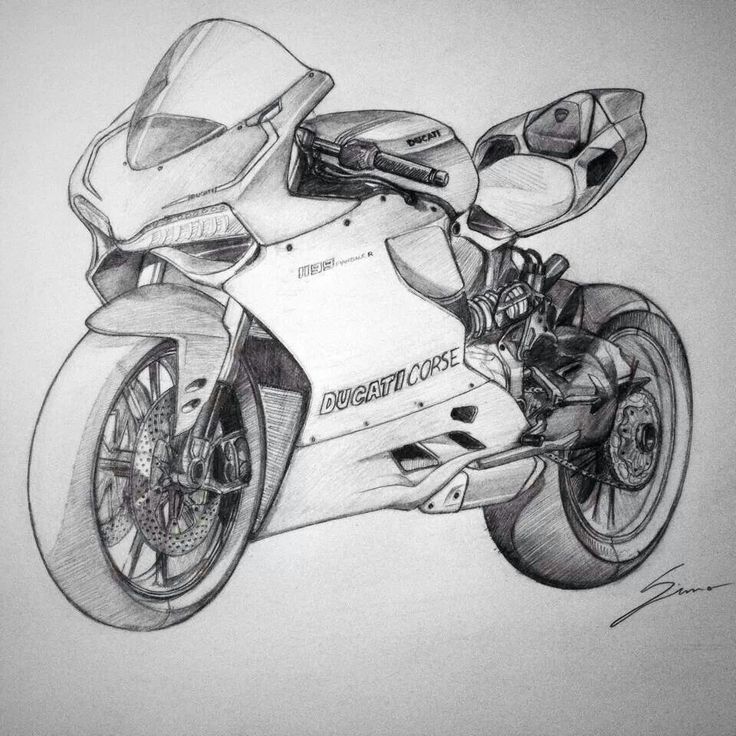
In addition to the basic tools, other materials can support your learning journey. Reference images are invaluable. Collect photos of motorcycles from different angles and in various environments. You can print them or keep a digital gallery for easy access.
Erasers are also essential, particularly kneaded erasers, which are gentle on the paper and help remove mistakes without leaving marks. Having a sharpener handy is important for keeping your pencils in top shape. Finally, consider investing in a ruler for creating precision when drawing straight lines, especially when sketching the frame and wheels.
Basic Techniques for Motorcycle Drawing
Starting with Simple Shapes
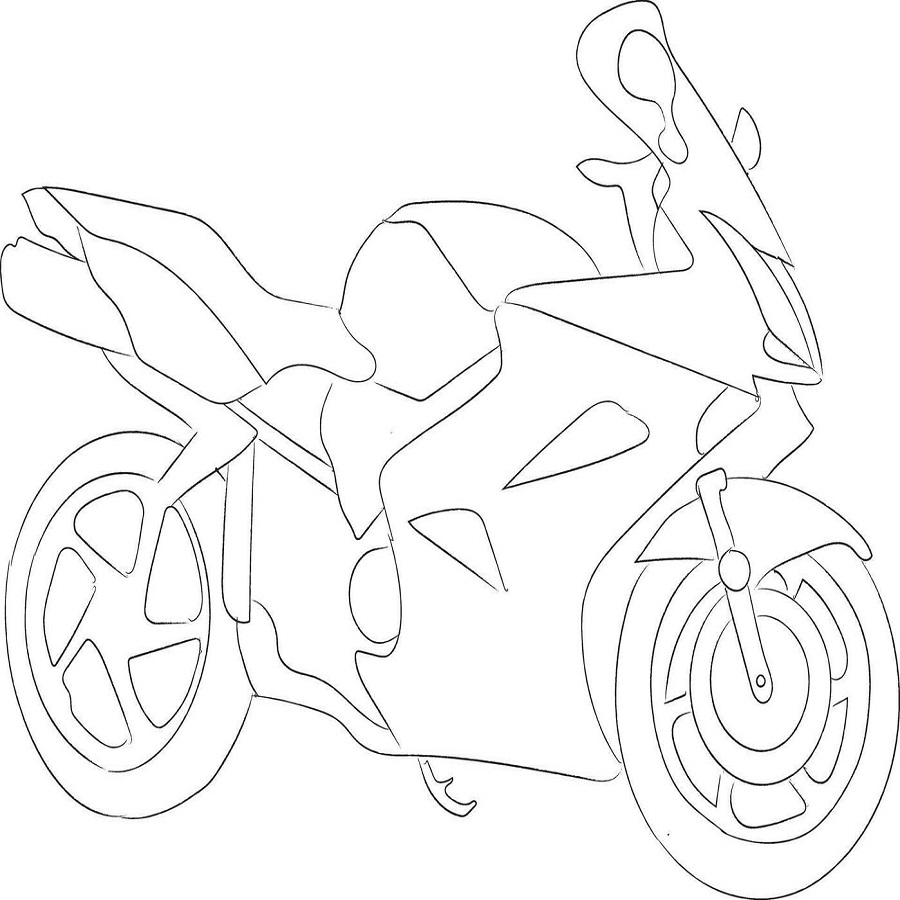
When beginning your motorcycle drawing, start with simple shapes. Most motorcycles can be broken down into basic forms like rectangles, circles, and triangles. Begin by sketching these shapes to establish the general layout of the motorcycle. For instance, use rectangles for the frame, circles for the wheels, and triangles for the seat.
Once you have the basic shapes in place, focus on proportions. Ensuring that the parts are in scale with each other is essential for a realistic representation. After you’re satisfied with the proportions, you can gradually refine your drawing. This method allows you to build a solid foundation before adding intricate details.
Adding Details Gradually
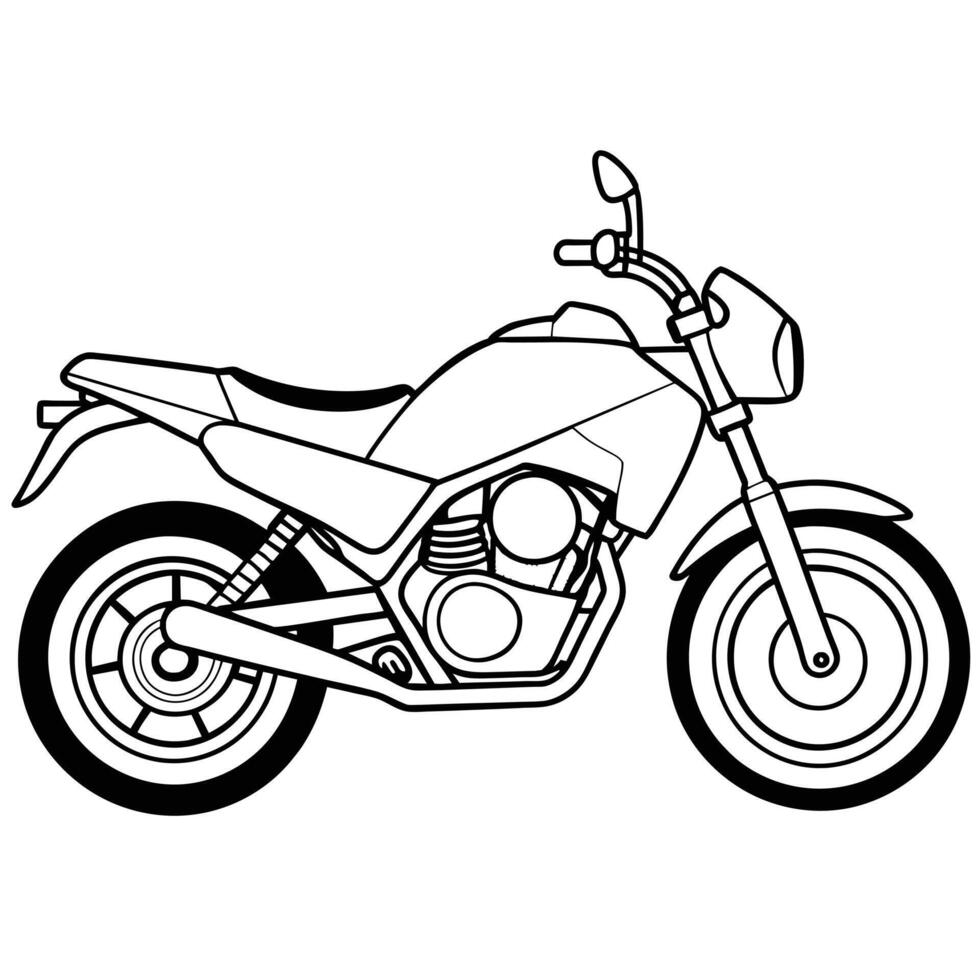
After sketching the basic shapes, start adding details to your drawing. Focus on the contours of the motorcycle’s body, the design of the wheels, and the placement of the handlebars. Pay attention to curves and angles, as they contribute to the bike’s overall character. Observing reference images closely will help you understand how these details come together.
Begin with larger elements, like the frame and wheels, then move on to smaller components like the engine and exhaust. Adding details can be a slow process, as attempting to rush may affect accuracy. Take your time to ensure that the features are defined and proportionate. This gradual approach will help you achieve a polished final drawing.
Shading and Texturing Techniques
Understanding Light and Shadow
Shading is an essential aspect of drawing that adds depth and dimension to your motorcycle. Understanding light sources will help you determine where shadows and highlights should be placed. The direction of the light affects how shadows fall on the motorcycle’s surfaces. If the light source is above and to the right, the left and bottom surfaces will be darker.
Start by observing how light interacts with different objects. You can use a simple ball or a metallic object to practice how light creates shadows and highlights. This understanding will enhance your ability to depict the motorcycle realistically and make it appear three-dimensional.
Applying Techniques for Shading
There are various techniques for shading, and each offers a different effect. Hatching, cross-hatching, and stippling are some popular methods used to create texture. Hatching involves drawing parallel lines close together, while cross-hatching adds another layer of lines in the opposite direction. Stippling involves using dots to suggest shadows and texture.
When shading your motorcycle, consider the contours and shapes of each component. Use lighter pencil strokes for highlights and firmer pressure for deeper shadows. Blend the shades smoothly to create a natural transition between light and dark areas. Experiment with these techniques to see which works best for your drawing style.
Common Mistakes to Avoid
Overcomplicating the Drawing
One common mistake that beginners make is overcomplicating their drawings. As an inexperienced artist, it can be tempting to add too many details too soon. Starting with complex designs without a strong foundation can lead to frustration and inaccuracies. Focus on the basic shapes first and gradually build up to the details.
Another issue is neglecting proportions. Many learners forget to step back and assess the overall composition. Regularly check the relative sizes of different components. If something feels off, take the time to analyze and adjust it. It often helps to measure with your pencil or use your eyes to compare different parts.
Ignoring References and Practice
Ignoring reference images is another common pitfall. While drawing from imagination is important, reference images provide the necessary context for accuracy. Spend time studying photographs or real motorcycles to understand proportions and details better. Observing how actual bikes look will improve your drawing significantly.
Additionally, practice is crucial. Some beginners may become discouraged after their first few attempts. Remember that improvement takes time. Set aside regular practice time, even if it’s just for a short period each day. Consistency will help you refine your skills and build confidence.
Finding Your Style and Voice
Experimenting with Different Techniques
Once you have a firm grasp of the basics, start experimenting with different styles and techniques. Every artist has a unique voice, and discovering yours will set your work apart. Try different mediums, such as colored pencils, markers, and digital drawing tools, to see what resonates with you.
You can also play with various artistic styles. Some artists prefer realistic portrayals, while others lean toward abstract forms. Try incorporating elements of both to develop your style. Don’t be afraid to make mistakes during this exploration—each error is an opportunity to learn.
Incorporating Personal Flair
Incorporating personal flair is the key to making your art genuinely yours. Consider the aspects of motorcycle culture that inspire you. Is it the sleek lines of a racing bike or the ruggedness of a classic cruiser? Use these inspirations to create unique compositions. Experiment with colors, patterns, or designs that resonate with your artistic vision.
You may also want to include backgrounds or environments in your drawings. Illustrating a motorcycle on an open road, at a racetrack, or in a garage can add context to your artwork. The more you explore, the more you will refine your style and find your artistic identity.
Enjoying the Journey of Motorcycle Drawing
In conclusion, motorcycle drawing can be a rewarding and enjoyable creative outlet. Understanding the basic anatomy, gathering the right supplies, and practicing essential techniques will set you on the path to success. Shading and texturing will add depth and realism to your motorcycle drawing, while avoiding common mistakes will enhance your learning experience.
As you develop your skills, experiment with different styles and techniques to discover what resonates with you. Embrace your journey of self-discovery and artistic expression. Remember that every artist begins as a beginner, and it is through practice and perseverance that skills are honed.
Enjoy the process of motorcycle drawing and let your passion for bikes and art intertwine. With every stroke of the pencil, you’ll not only capture the beauty of motorcycles but also forge a deeper connection to the art itself. Happy drawing!
Leave a Reply