Maintaining a motorcycle is essential for ensuring a smooth and safe riding experience. One critical aspect of motorcycle maintenance is tire care. Whether for routine checks or replacing worn-out tires, a motorcycle tire changer can make the job easier and more efficient. In this article, we will provide step-by-step instructions for using a motorcycle tire changer effectively, ensuring that you can carry out this maintenance task with confidence.
Understanding the Motorcycle Tire Changer
What is a Motorcycle Tire Changer?
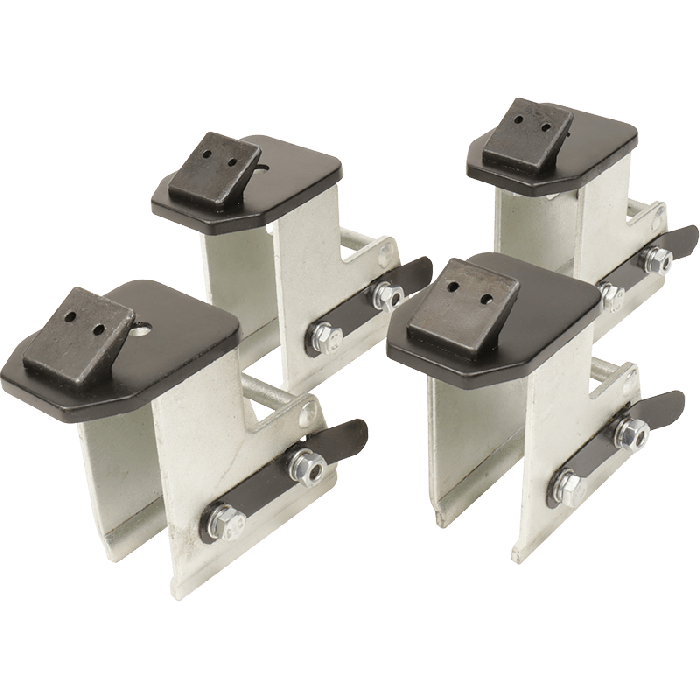
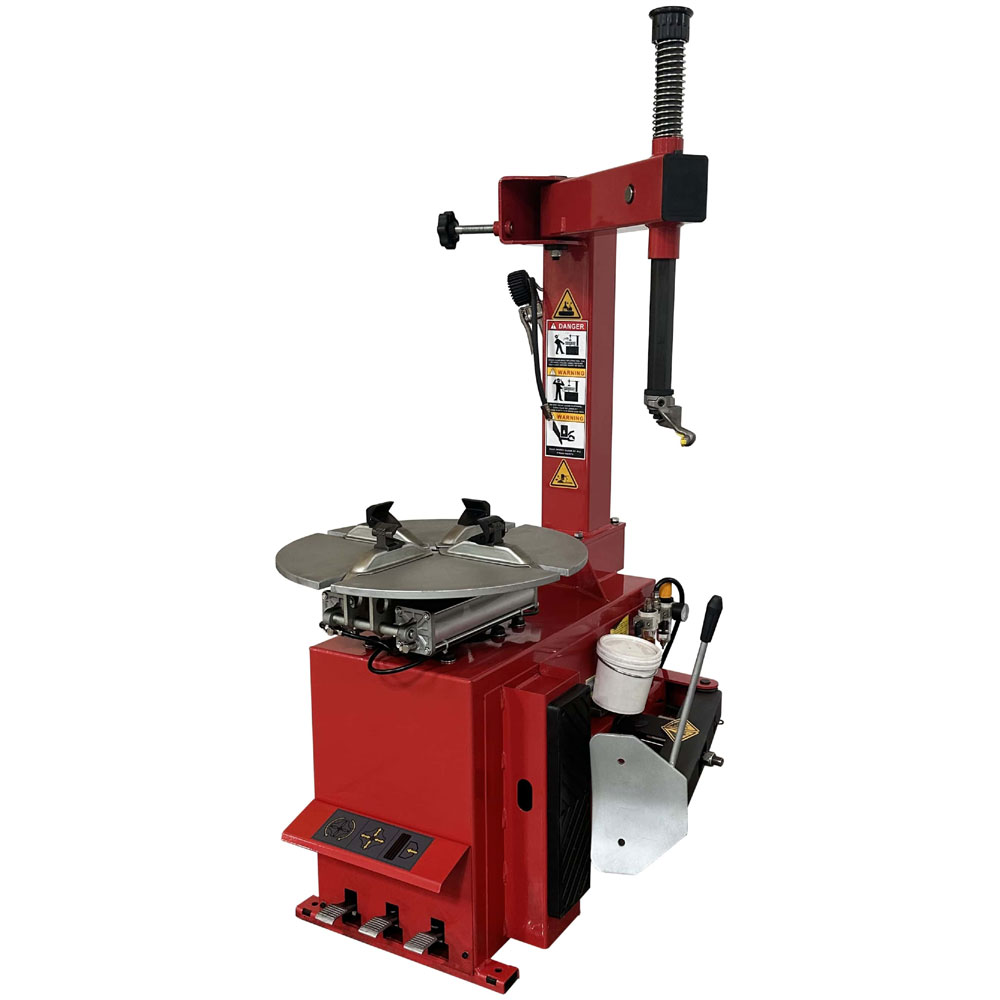
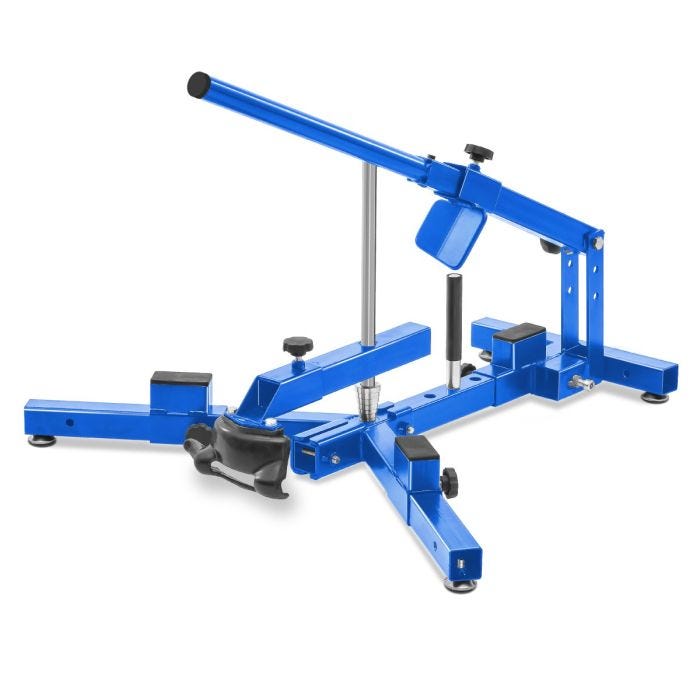
A motorcycle tire changer is a tool designed to assist with the removal and installation of motorcycle tires. It simplifies the process of changing tires, reducing the effort and time required compared to doing it by hand. The machine consists of several parts, including a base, a wheel clamping system, and a tire spoon or lever.
Using a motorcycle tire changer provides numerous benefits. It allows for more consistent results when changing tires and minimizes the risk of damaging the wheels or tires. Additionally, having a dedicated tire changer reduces the physical strain associated with manual tire changes. Consequently, investing in a quality motorcycle tire changer can make a significant difference in the ease of motorcycle maintenance.
Types of Motorcycle Tire Changers
There are different types of tire changers available in the market. People operate manual tire changers by hand, using brute strength to remove and install tires. These models are often more affordable and suitable for home mechanics. However, they can be physically demanding, especially for larger tires.
On the other hand, automatic or electric tire changers are more advanced and easier to use. They require less physical effort and often provide quicker results. These models are typically found in professional workshops or busy repair shops. When deciding on the type of tire changer to purchase, consider your needs, frequency of use, and budget.
Preparing for the Tire Change
Gather Necessary Tools and Equipment
Before starting the tire-changing process, gather all necessary tools and equipment. In addition to the motorcycle tire changer, you will need several other items. These may include tire levers, lubrication, a torque wrench, valve stem tools, and a pressure gauge.
Ensure that the tire changer is in good working condition and positioned on a stable, flat surface. A well-maintained machine will function more efficiently and provide better results. Double-check that you have the correct tire type and size for your motorcycle, as using the wrong tire could lead to safety hazards.
Consult the Owner’s Manual
It’s essential to consult your motorcycle owner’s manual before proceeding with tire changes. The manual contains specific details regarding the recommended tire pressure, sizes, and types compatible with your motorcycle. Familiarizing yourself with these details ensures that you’re following the manufacturer’s recommendations.
Additionally, the owner’s manual often includes instructions on safely removing and installing tires. Make sure to read these guidelines carefully. Doing so will help you avoid potential pitfalls during the process. Preparation is key to a successful tire change.
Removing the Old Tire
Securing the Motorcycle
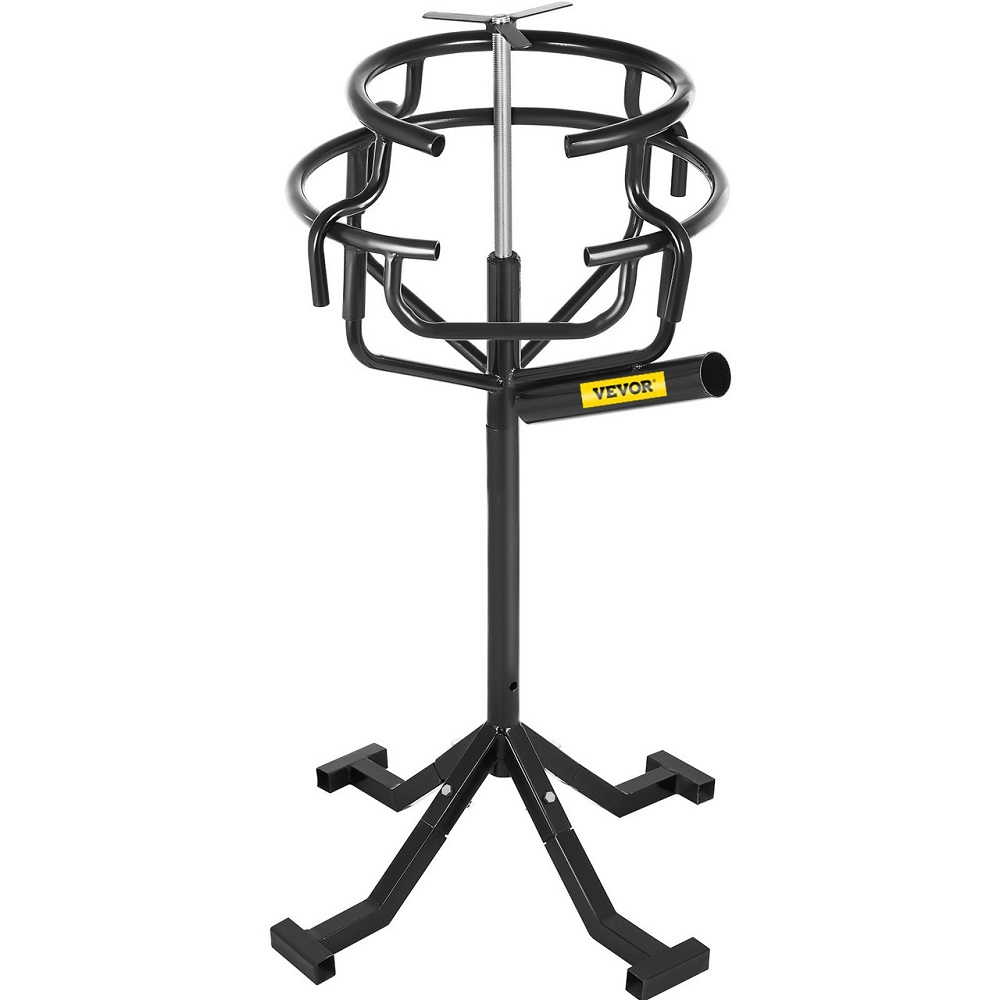
Before starting the tire removal process, ensure the motorcycle is secured. Use a suitable motorcycle stand or lift to elevate the bike, providing stable support. This stability is vital for both safety and ease of access while working on the wheels.
Ensure that the motorcycle is in a well-lit area, allowing you to see what you are doing. A clean workspace will also help prevent dirt or debris from entering the tire or rim during the change process. Once everything is in place, confidently proceed to remove the tire.
Loosening the Rim Lock and Valve Stem
Before loosening the tire, begin by deflating it completely. Locate the valve stem and remove the valve core using a valve stem tool. This action allows air to escape the tire, making it easier to remove. If your motorcycle has a rim lock, loosen it before proceeding. The rim lock prevents the tire from spinning on the rim, and loosening it helps facilitate the removal process.
Once you have fully deflated the tire, you can begin breaking the bead. Breaking the bead, which is the seal between the tire and the rim, allows you to remove the tire. This step is crucial, as failing to break the bead correctly can lead to difficulties during removal.

Using the Tire Changer
Mounting the Wheel on the Tire Changer
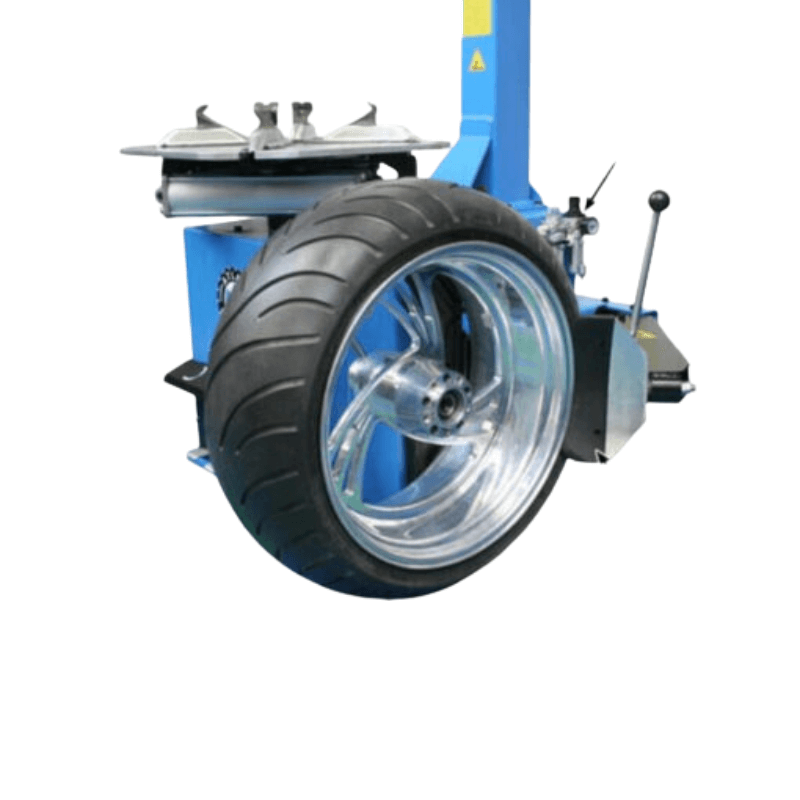
With the bead broken, it’s time to mount the wheel on the tire changer. Position the wheel in the changer’s clamping system, ensuring that it is securely held in place. Most changers have adjustable clamps to accommodate different sizes of wheels, so adjust accordingly.
Once you have mounted the wheel, ensure it is tight enough to prevent any movement during the tire-changing process. Refer to the changer’s manual for proper setup instructions, as different models may have varying clamping mechanisms. A secure mount is vital for safe and effective tire removal.
Removing the Tire from the Rim
Now that the wheel is mounted, you can begin removing the tire from the rim. Use your tire levers and lubrication to assist the process. Apply lubricant to the edge of the tire and the rim, making it easier to slide the tire off.
Start at one point on the tire and gently insert the tire lever between the tire and the rim. Carefully slide the lever around the rim, lifting the tire off in sections. Repeat this process until one side of the tire is completely off the rim. Once one side is removed, flip the wheel over and repeat the process to remove the other side. Be gentle to avoid damaging the rim during this process.
Installing the New Tire
Preparing the New Tire
With the old tire removed, it’s time to install the new one. Start by inspecting the rim for any damage, dirt, or debris that may affect the tire installation. Clean the rim thoroughly and ensure it’s free of imperfections. This preparation helps in achieving a secure fit for the new tire.
Before mounting the new tire, check the direction of rotation indicated on the tire. Many tires have arrows showing which way they should spin when in use. Ensure that the tire is positioned correctly before installation. Applying a lubricant to the tire’s bead can also ease installation and help create a better seal.
Mounting the New Tire
To mount the new tire onto the rim, place one side of the tire onto the rim bead and use your hands to push it down. Use tire levers if necessary, remembering to keep the tire well-lubricated to avoid damage. Once one side is secure, flip the wheel and repeat the process for the other side.
Ensure that the tire is seated correctly on the rim. Check that there are no bulges or irregularities, as these can lead to problems down the line. Once both sides are mounted, pump air into the tire slowly to check for proper sealing. To seat the tire bead securely, you may need to use a tire inflation tool. This process can involve a rapid burst of air.
Final Steps After Installation
Inflate the Tire to Recommended Pressure
After securely installing the new tire, the next step is to inflate it to the manufacturer’s recommended pressure. Consult the owner’s manual or the sidewall of the tire for the correct pressure rating. Use a reliable pressure gauge to ensure accuracy, as improper inflation can lead to uneven wear or even tire failure.
When inflating the tire, listen for any unusual hissing sounds that might indicate a leak or improper seating. If you hear such sounds, immediately stop inflating and check for issues. Ensuring the tire is correctly inflated is crucial for safety and performance.
Reinstalling the Wheel on the Motorcycle
Once the tire is adequately inflated, it’s time to reinstall the wheel onto the motorcycle. Carefully align the wheel with the axle and ensure it sits securely in place. If applicable, reattach the rim lock and tighten it to prevent the tire from spinning on the rim during use.
Once you have put the wheel back on, double-check that you have torqued all nuts and bolts appropriately according to the manufacturer’s specifications. This step ensures your safety while riding, providing peace of mind during your journeys. Finally, check the brakes and ensure they are functioning correctly before taking the motorcycle for a test ride.
Maintaining Your Tire Changer for Longevity
Regular Cleaning and Maintenance
To ensure your motorcycle tire changer remains in good working condition, regular cleaning and maintenance are essential. After each use, clean the machine to remove any debris or lubricant buildup. This practice not only helps maintain efficiency but also extends the equipment’s life.
Inspect the tire changer for any signs of wear or damage, such as frayed cables or loose bolts. Addressing issues promptly can prevent costly repairs in the future. If specific parts show signs of significant wear, consider replacing them to maintain the changer’s performance.
Periodic Calibration
Many tire changers require periodic calibration to ensure accurate performance. Follow the manufacturer’s recommendations for calibration intervals and procedures. Maintaining proper calibration helps achieve the best results during tire changes, ensuring that your machine operates smoothly.
Being proactive about maintenance will keep your tire changer functioning at its best. With a well-maintained changers, you can take on motorcycle tires more efficiently and safely, enhancing your overall experience as a motorcycle owner.
Enhancing Your Motorcycle Maintenance Skills
In conclusion, using a motorcycle tire changer can simplify the process of removing and installing tires, making it an invaluable tool for any motorcycle owner. By following the step-by-step instructions outlined above, you can confidently change your motorcycle tires with ease. Understanding the tire changing process, combined with maintaining your tire changer, will enhance your motorcycle maintenance skills.
Regularly performing tire changes not only improves the safety and performance of your motorcycle but also helps you become more self-sufficient as a rider. Invest the time to learn and practice, and soon, changing tires will become a routine part of your motorcycle maintenance regimen.
As you gain experience, you may even find a sense of satisfaction in tackling tire changes yourself. Embrace the journey of learning and improving your skills, and enjoy the freedom and adventure that come with maintaining your motorcycle.
Leave a Reply