
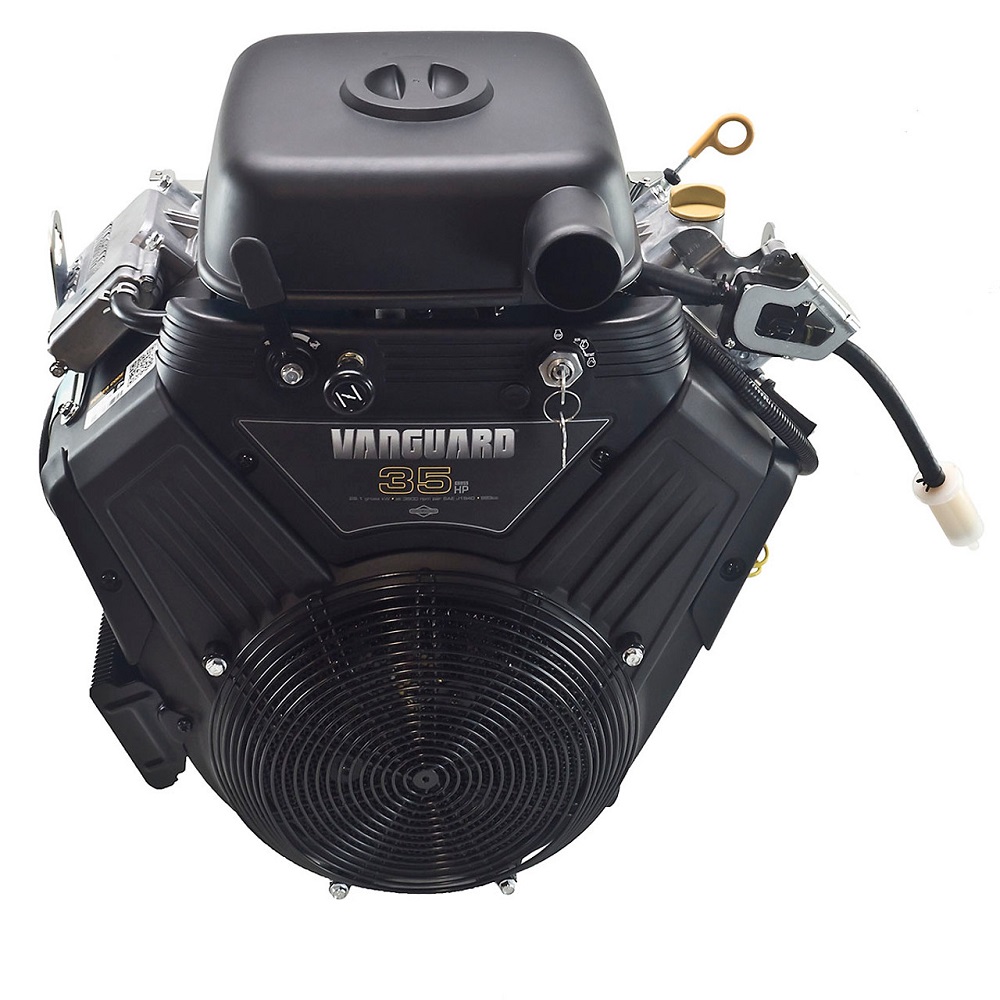
Understanding the components of your Vanguard engine is crucial for effective maintenance and repairs. Having access to a Vanguard engine parts diagram can simplify the repair process, allowing you to identify individual parts quickly and understand their roles within the overall system. This knowledge is especially valuable for DIY enthusiasts who prefer to handle repairs themselves. This article will discuss the importance of reading engine diagrams, review key components of the Vanguard engine parts diagram, and provide essential tips for performing effective DIY repairs.
The Importance of Engine Diagrams
Understanding Engine Layout
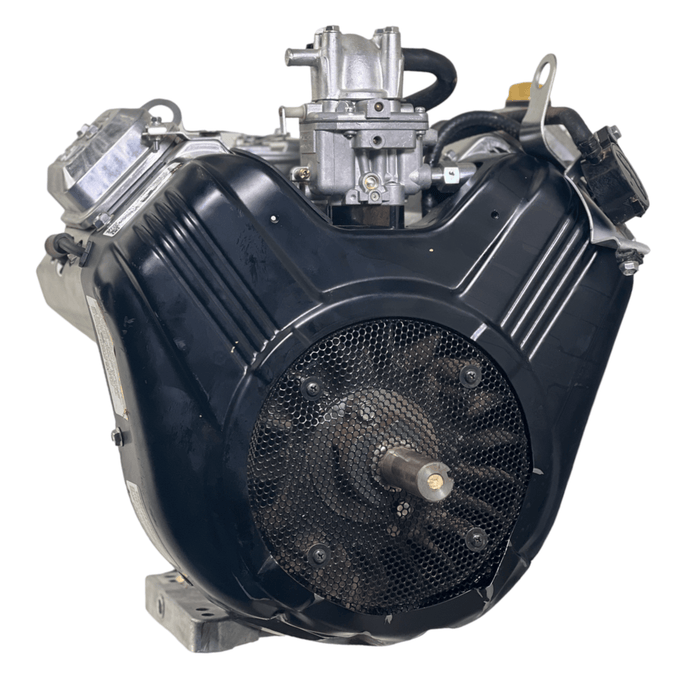
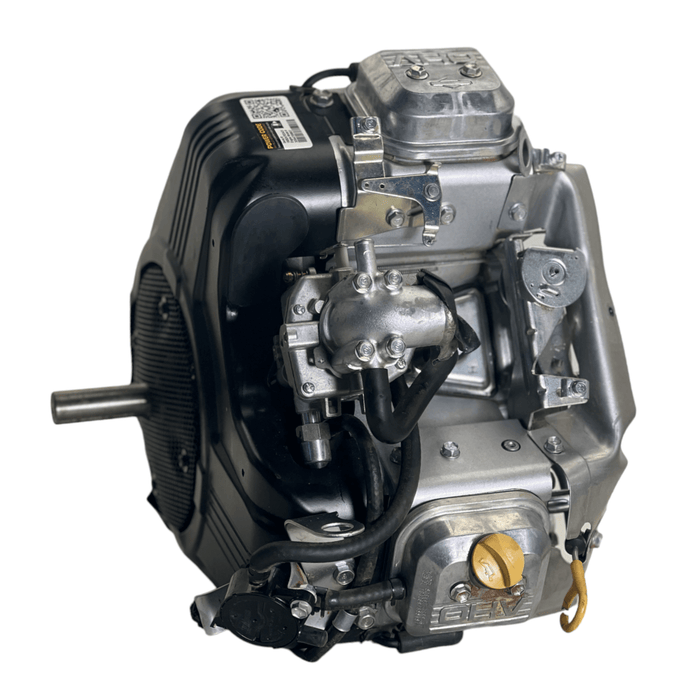
Engine diagrams are visual representations of engine components. They provide a detailed layout of various parts, making it easier to locate and identify each component. For Vanguard engine parts diagram, having a clear diagram can significantly streamline the repair process. When you know where each part is located, you can quickly diagnose issues, making your repairs more efficient.
Understanding the layout of the engine is beneficial not just for repairs but also for regular maintenance. Recognizing where components such as belts, filters, and spark plugs are situated helps you keep up with scheduled maintenance. Regular inspections based on the engine diagram can prevent major breakdowns down the line, enhancing the engine’s overall reliability.
A Tool for Troubleshooting
In addition to aiding repairs, engine diagrams are valuable tools for troubleshooting. When an engine exhibits symptoms like poor performance or unusual noises, a diagram allows you to correlate these symptoms with specific components. By understanding how each part interacts with others, you can better pinpoint the source of a problem and address it more effectively.
For example, if an engine is losing power, you can check fuel delivery or air intake components as indicated by the diagram. Such systematic troubleshooting not only saves time but can also save money by preventing unnecessary part replacements. Understanding your Vanguard engine through its parts diagram sets the foundation for successful repairs and maintenance.
Key Components of Vanguard Engines
Engine Block and Cylinder Head
The engine block is the core of any engine, including Vanguard models. It houses essential components such as the cylinders, crankshaft, and camshaft. Each cylinder contains pistons that move up and down, converting fuel into mechanical energy. Understanding the structure of the engine block is vital for anyone looking to perform repairs or upgrades.
Above the engine block sits the cylinder head, which seals the top of the cylinders. It contains intake and exhaust valves, allowing air and fuel to enter while letting exhaust gases escape. The cylinder head is vital for engine efficiency and performance. Any issues with the cylinder head, such as cracks or warpage, can lead to severe engine problems. Knowing its location and function can be crucial when troubleshooting performance issues.
Fuel System Components
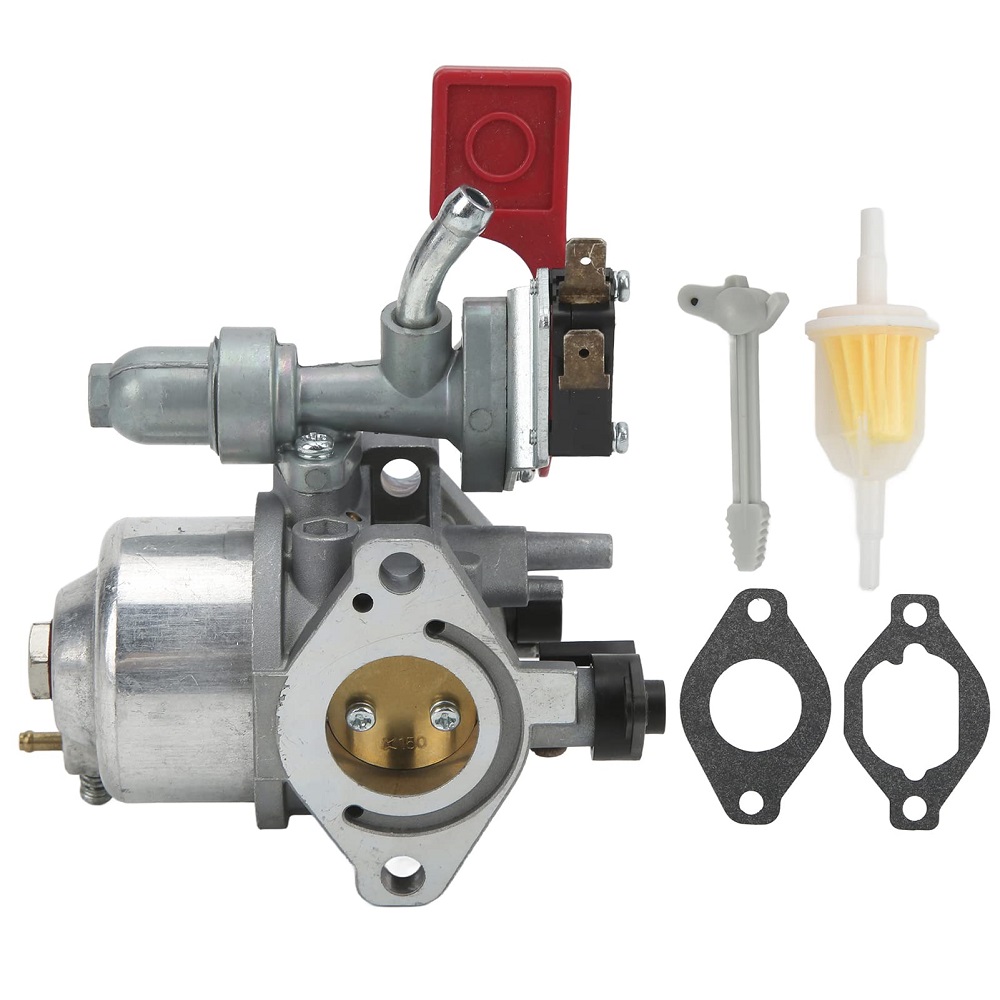
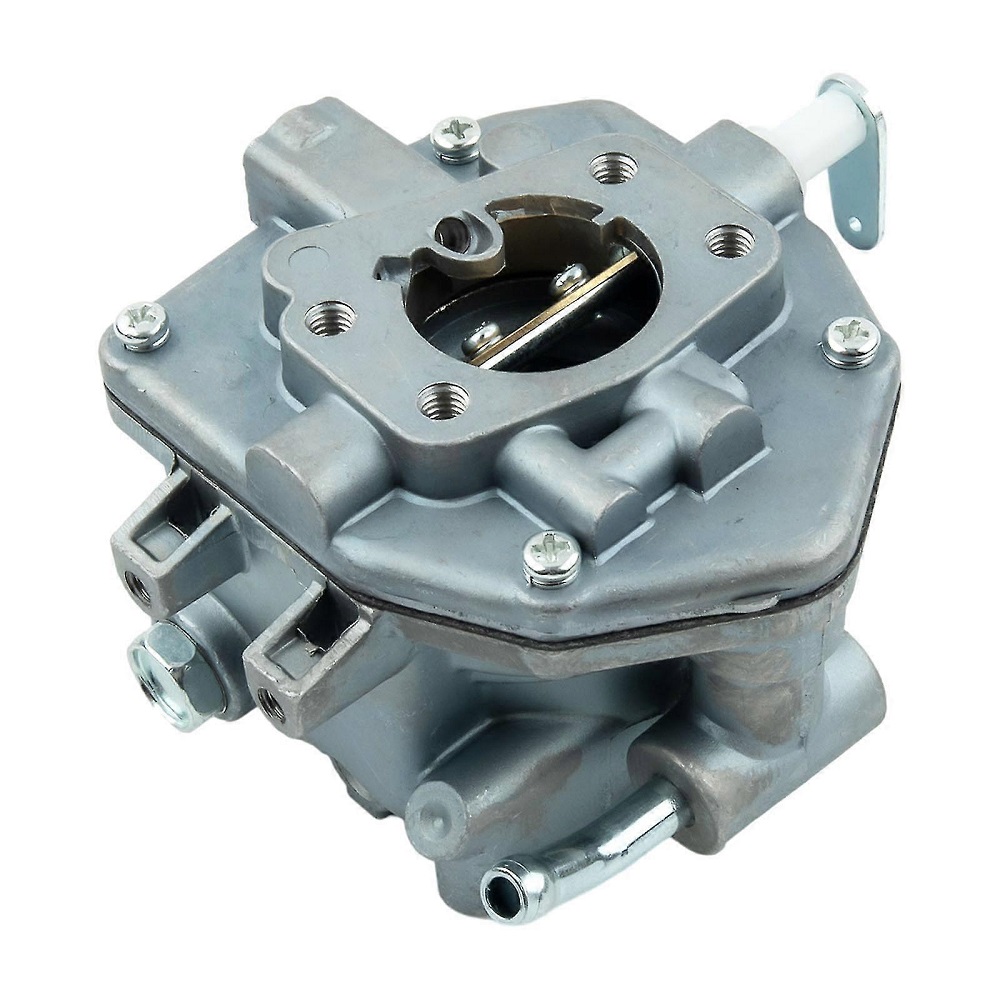
The fuel system is responsible for delivering fuel to the engine, and several key components ensure this process runs smoothly. The fuel tank collects and stores the fuel, while the fuel pump delivers it to the carburetor or fuel injector. Proper operation of the fuel system is essential for efficient engine performance.
Inspecting the fuel filters, which eliminate contaminants from the fuel, is critical for maintaining optimal engine function. If these filters become clogged, fuel delivery will be compromised, leading to poor engine performance. Understanding how the entire fuel system functions, as illustrated in the engine diagram, will help you troubleshoot fuel-related issues effectively.
Electrical System Components
Spark Plugs and Ignition System
The ignition system, including the spark plugs, plays a vital role in engine performance. Spark plugs ignite the air-fuel mixture within the cylinders, initiating the combustion process. Over time, spark plugs can wear out or become fouled, leading to misfires or poor engine response.
Regular inspection and replacement of spark plugs are crucial for maintaining optimal performance. The engine diagram highlights the ignition system’s components, allowing you to identify the spark plugs’ locations and any associated parts, such as ignition coils. Understanding these components will enable you to make timely changes and improvements.
Battery and Charging System
The electrical system of the Vanguard engine parts diagram also includes the battery and charging components. The battery provides the necessary electrical power to start the engine and run accessories such as lights and gauges. If the battery is weak or dead, the engine may fail to start, leading to frustration.
The voltage regulator and alternator work together to ensure that the battery remains charged while the engine is running. Understanding the electrical layout, as shown in the Vanguard engine parts diagram, will help you identify any electrical issues quickly. Knowing the components’ functions not only aids in troubleshooting but also helps you recognize when it is time to replace parts before they fail.
Cooling System Components
Radiator and Cooling Fan
The cooling system of a Vanguard engine is essential for preventing overheating. The radiator dissipates heat generated during combustion, while the cooling fan circulates air to maintain a consistent temperature. If either of these components fails, the engine can overheat, leading to potential damage.
The radiator typically contains coolant that absorbs heat from the engine, while the cooling fan aids in dissipating this heat. By studying the engine diagram, you can locate the radiator, coolant hoses, and fan assembly quickly. This allows you to perform inspections and maintenance efficiently.
Thermostat and Water Pump
The thermostat regulates the engine’s temperature by controlling the flow of coolant. It opens and closes based on the engine’s temperature to maintain optimal conditions. The water pump circulates coolant throughout the engine, facilitating effective cooling.
Both components are crucial for maintaining safe operating temperatures. A faulty thermostat can lead to overheating, while a malfunctioning water pump can restrict coolant flow. Familiarizing yourself with their placement on the diagram allows for quick assessments and repairs, ensuring the cooling system operates efficiently.
Lubrication System Components
Oil Pump and Filter
The lubrication system is vital for reducing friction and wear on engine components. The oil pump circulates engine oil, ensuring that all moving parts receive adequate lubrication. A well-functioning oil pump is essential for maintaining performance and preventing serious engine damage.
The oil filter removes contaminants from the oil, protecting critical engine parts. Regularly changing the oil and filter is crucial for efficiency. The engine diagram allows you to identify the oil pump and filter locations quickly, ensuring timely maintenance.
Oil Pan and Drain Plug
The oil pan stores engine oil when the engine is not in use. Understanding how the oil pan connects to the lubrication system is essential for oil changes and repairs. The drain plug, typically located at the lowest point of the oil pan, is where oil is removed during an oil change.
Familiarizing yourself with these components enables you to perform oil changes more efficiently. This maintenance task is crucial for the overall health of your engine, and knowing how to access the oil pan and drain plug simplifies the process.
Air Intake and Exhaust System
Air Filter and Intake Manifold
The air intake system plays a significant role in engine performance. It brings air into the combustion chamber, allowing for the fuel-air mixture required for combustion. The air filter cleans the incoming air, ensuring that contaminants do not enter the engine.
Replacing the air filter at regular intervals is crucial for maintaining engine power and efficiency. The intake manifold distributes the air evenly to each cylinder for better combustion. By understanding how these components fit together through the engine diagram, you can easily locate and replace them as needed.
Exhaust Manifold and Muffler
The exhaust system removes combustion gases from the engine. The exhaust manifold collects these gases from the cylinders and directs them to the exhaust pipe. A clogged or damaged exhaust manifold can lead to reduced engine performance and increased emissions.
The muffler reduces noise produced by the escaping gases, ensuring a quieter operation. Familiarizing yourself with the exhaust system’s components through the engine diagram allows for quicker troubleshooting and repairs. Inspecting these parts regularly can ensure that your engine operates efficiently and meets emissions standards.
Tips for Effective DIY Repairs
Gather the Right Tools and Information
Before embarking on DIY repairs, it is crucial to gather the appropriate tools. Common tools for engine repair include wrenches, screwdrivers, pliers, and torque wrenches. Additionally, having the Vanguard engine parts diagram available will make identifying parts and their functions much easier.
Taking the time to research specific repair tasks can also enhance your success. Manuals and online resources provide valuable insights into common issues and repairs specific to Vanguard engines. This preparation minimizes errors, saves time, and ensures that repairs are done correctly.
Follow Safety Guidelines
Safety should always be a priority during DIY repairs. Before working on the engine, ensure that it is turned off and cool to the touch. Disconnect the battery to avoid accidental starts. Wear appropriate safety gear, including gloves and goggles, to protect against debris and sharp edges.
When handling fuel or oil, take precautions against spills, and use absorbent materials to clean up any leaks. By following safety guidelines, you can create a safer work environment and reduce the risk of injury while working on your Vanguard engine.
Empowering DIY Enthusiasts
Understanding the components of your Vanguard engine parts diagram through its parts diagram empowers you as a DIY enthusiast. Knowledge of essential parts and their functions simplifies maintenance and repairs, saving you time and money. By taking a proactive approach to engine care, you can ensure your engine runs smoothly and efficiently.
Referencing the Vanguard engine parts diagram allows for effective troubleshooting and targeted repairs. Regular inspections and the timely replacement of worn parts maintain optimal engine function. As you embark on your DIY journey, remember that safety, preparation, and knowledge are your best tools. With these insights, you are well-equipped to tackle repairs and ensure the longevity of your Vanguard engine parts diagram. Happy repairing!
Leave a Reply