When it comes to maintaining small engines like those found in lawn mowers, chainsaws, and leaf blowers, understanding the carburetor is crucial. The carburetor is a vital component that mixes air and fuel for the engine to run efficiently. Over time, these small engines may encounter issues that can hinder performance, often related to the carburetor itself. Knowing the key parts and their functions can empower you to conduct DIY repairs effectively. This comprehensive guide will delve into the various elements of small engine carburetor parts, the common issues they face, and how to repair or replace them.
Understanding the Basics of Carburetors
How Carburetors Work
Carburetors are responsible for mixing air and fuel in the correct proportions to facilitate combustion in the engine. The fundamental operation of a carburetor revolves around the Venturi effect, where air flows through a narrow passage within the carburetor, creating a vacuum that draws fuel into the airstream.
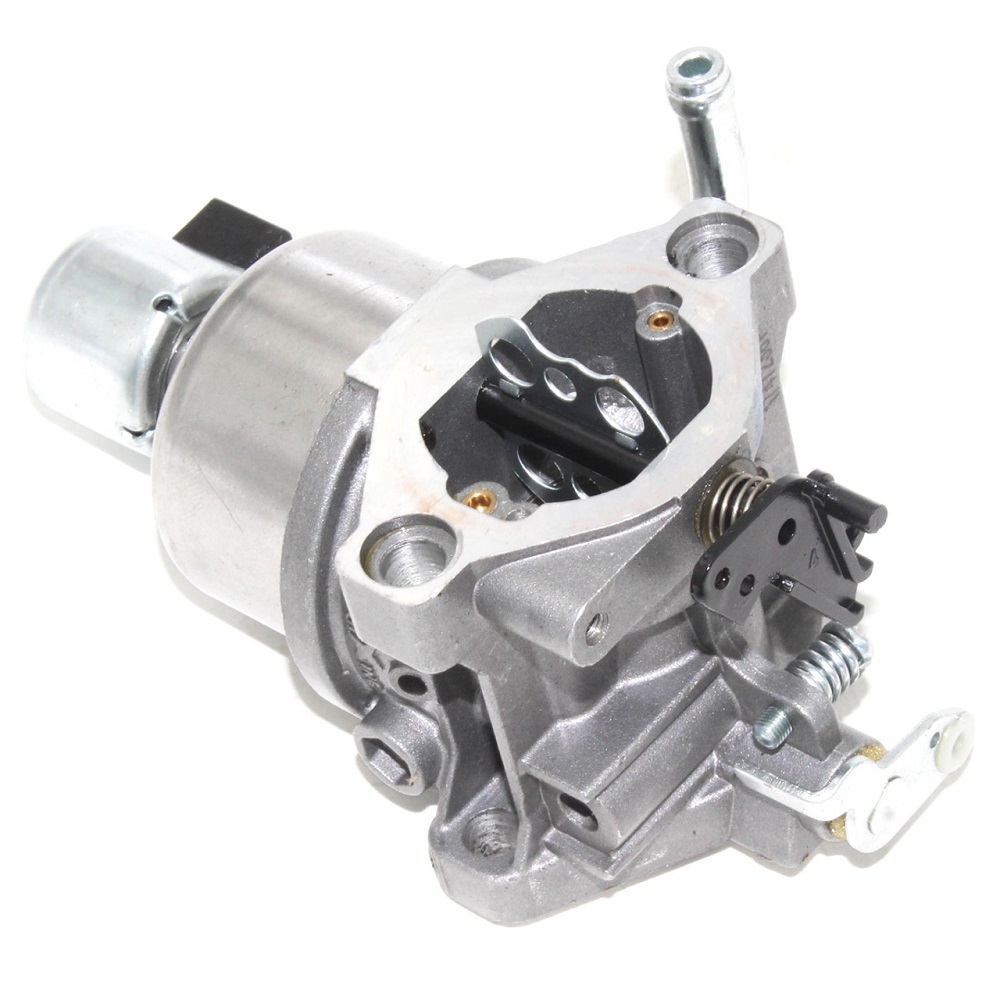
This mixture travels into the combustion chamber, where it ignites to produce power. Carburetors are generally adjustable, allowing for fine-tuning to optimize engine performance. The three main components involved in this process are the float chamber, fuel jets, and the throttle valve. Understanding these components is crucial for diagnosing issues related to the carburetor.
Key Components of a Carburetor
- Float Chamber: This part holds a reserve of fuel and ensures a steady supply to the jets. It uses a float mechanism to maintain the right fuel level, preventing overflow or starvation.
- Fuel Jets: These tiny openings regulate the amount of fuel entering the carburetor. They can become clogged with debris over time, disrupting the fuel flow.
- Throttle Valve: This component controls the engine’s speed by adjusting the amount of air-fuel mixture entering the combustion chamber. A faulty throttle can lead to stalling or lack of acceleration.
Each of these parts plays a critical role in how efficiently your small engine runs. Familiarizing yourself with their functions will make troubleshooting and repairs much easier.
Common Carburetor Issues
Fuel Starvation Problems
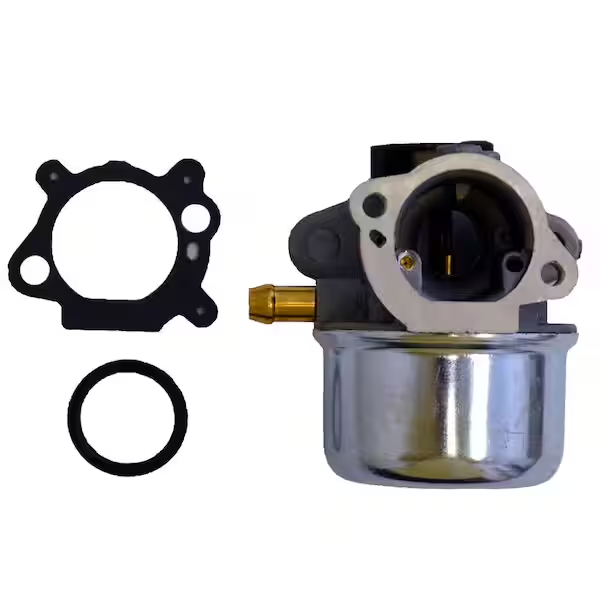
One of the most common issues small engine carburetor parts face is fuel starvation. This occurs when there is insufficient fuel reaching the engine, leading to poor performance. The primary causes of fuel starvation can include clogged fuel lines, blocked fuel filters, and, most often, clogged fuel jets.
If your engine is experiencing stalling or has difficulty starting, fuel starvation could be the culprit. To diagnose this, check for fuel flow from the tank to the carburetor. If you notice any blockages, they will need to be cleared before proceeding further.
Overrich Mixture and Flooding
On the other side of the spectrum, carburetors can also experience an overrich fuel mixture. This happens when too much fuel enters the engine, causing it to flood. Symptoms of flooding include excessive smoke from the exhaust, a strong gas smell, and difficulty starting the engine.
Several factors may lead to an overrich mixture. A malfunctioning float can allow too much fuel into the float chamber, while clogged air jets can limit air intake, throwing off the air-fuel ratio. Adjusting the settings and inspecting these components can help resolve the issue.
Essential Carburetor Parts
Gaskets and Diaphragms
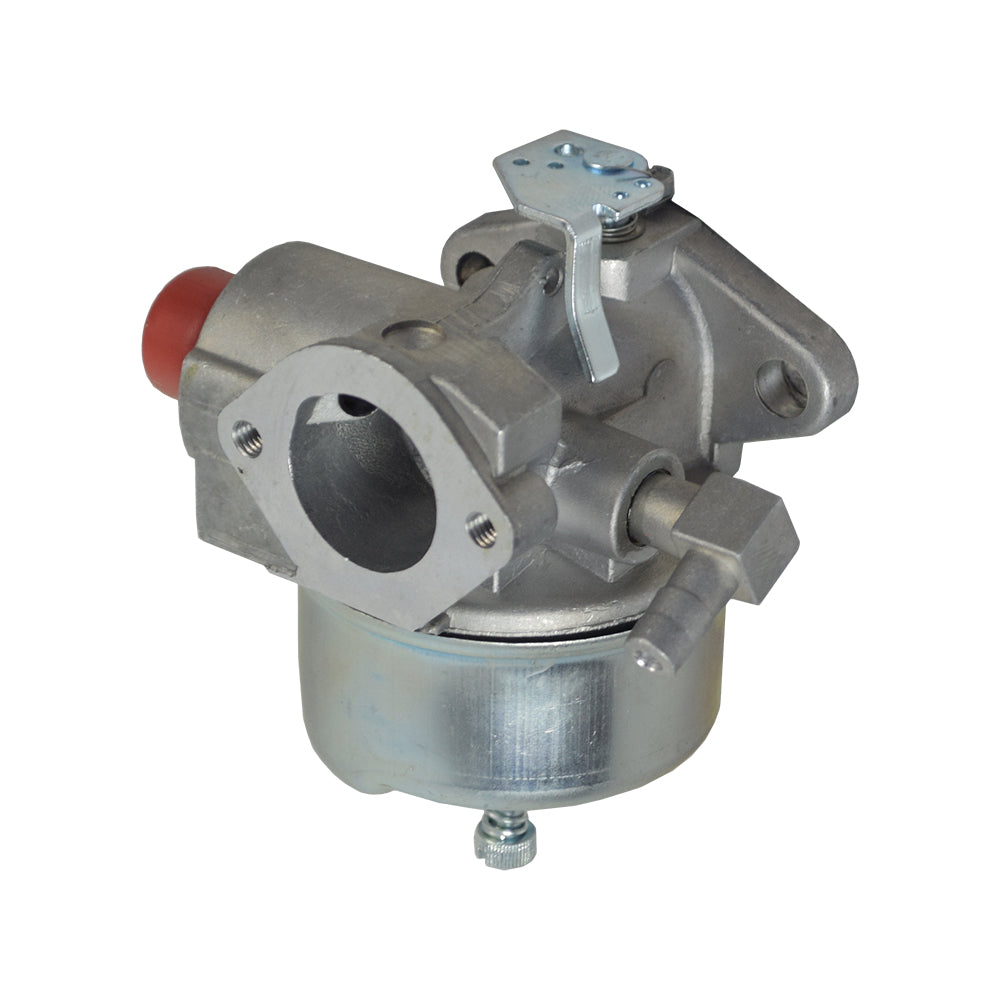
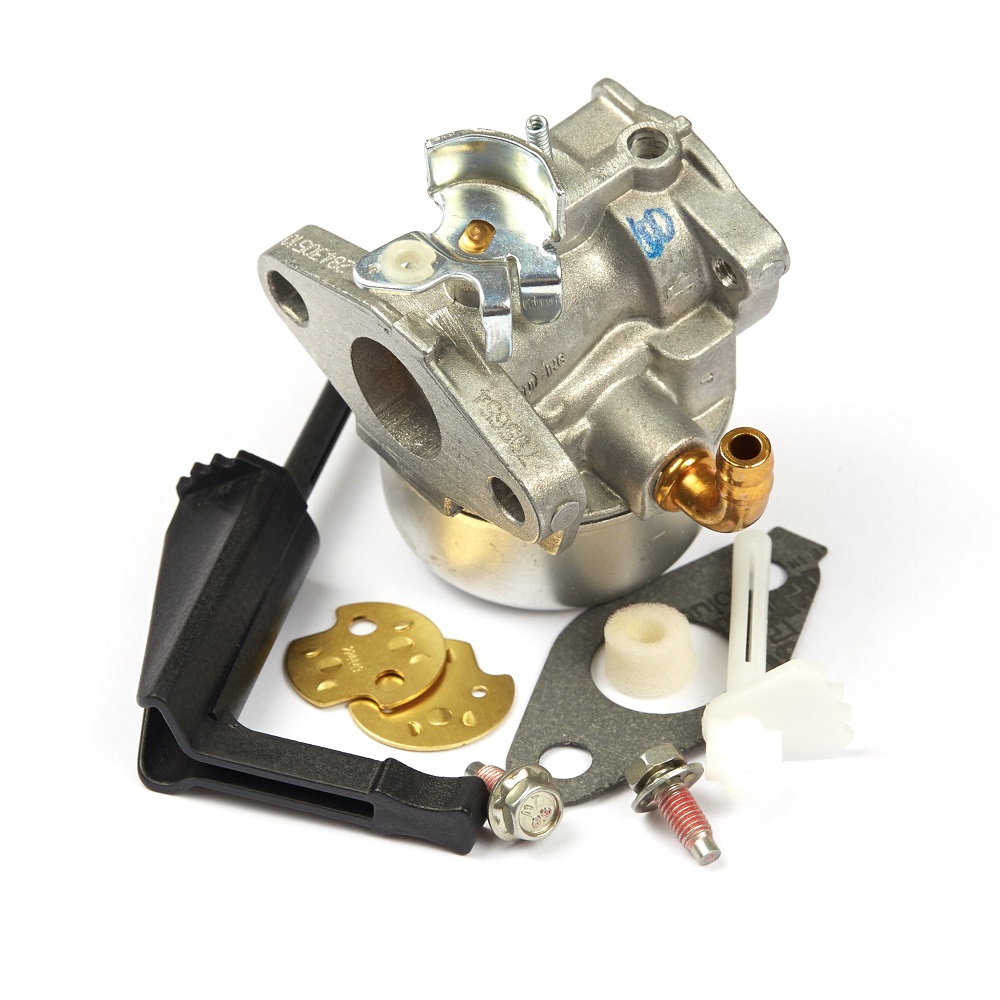
Gaskets and diaphragms are crucial for ensuring a proper seal within the carburetor. These parts prevent leaks and maintain the appropriate pressure within the system. Over time, gaskets can degrade due to exposure to fuel and heat, leading to air leaks that cause the engine to run poorly.
Diaphragms, often found in diaphragm carburetors, help control the flow of fuel and maintain consistent air-fuel ratios. If you notice signs of wear or damage on these components, they will need to be replaced. It’s a relatively straightforward repair that can significantly improve engine performance.
Float and Needle Valve
The float and needle valve assembly works together to regulate fuel levels in the float chamber. If the float becomes stuck due to dirt or corrosion, it can lead to either overwhelming amounts of fuel flooding the engine or a lack of fuel reaching it.
To check for proper operation, remove the carburetor and inspect the float for movement. Ensure the needle valve is clean and free of debris. Proper cleaning or replacement of the float and needle valve can resolve many fuel flow issues and improve engine operation.
Tools Needed for DIY Repairs
Basic Tool Set
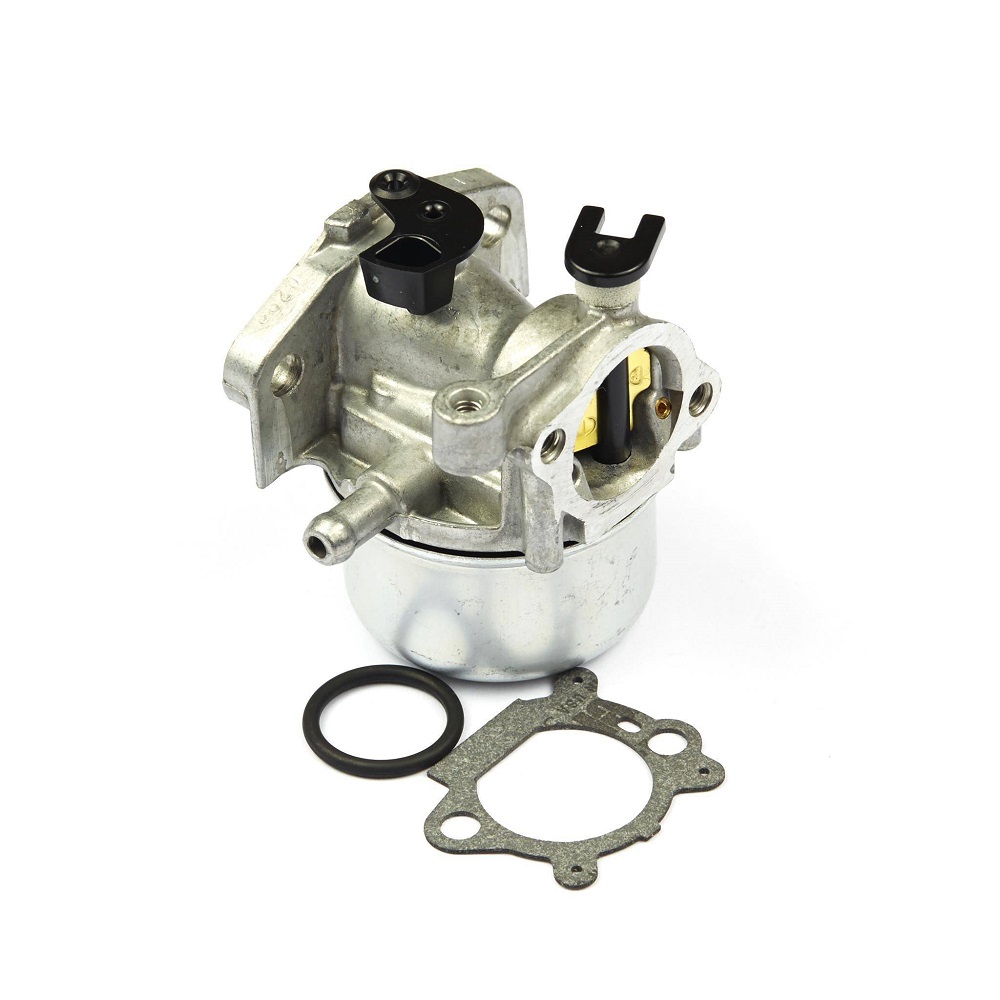
Before embarking on carburetor repairs, it is essential to have the right tools. A basic set should include:
- Screwdrivers: A set of Phillips and flathead screwdrivers will help you remove screws that secure the carburetor cover and other components.
- Wrenches: A set of wrenches will allow you to remove the carburetor from the engine. Make sure to include both metric and standard sizes as needed.
- Pliers: Pliers can be useful for gripping and removing small parts, particularly when dealing with interconnected fuel lines.
Specialized Tools
In addition to basic tools, you may want to invest in some specialized equipment, such as:
- Carburetor Cleaning Kit: These kits usually come with solvents and brushes specifically designed for cleaning carburetors. They can help remove stubborn deposits in jets and other small passages.
- Gauge Tools: Carburetor gauge tools can help in adjusting fuel and air mixture settings accurately. This is crucial for optimizing performance after repairs.
Having the right tools at hand will not only expedite the repair process but also enhance the quality of your work. Armed with the correct equipment, you can tackle even the most challenging carburetor issues confidently.
Steps for Cleaning and Rebuilding a Carburetor
Disassembly
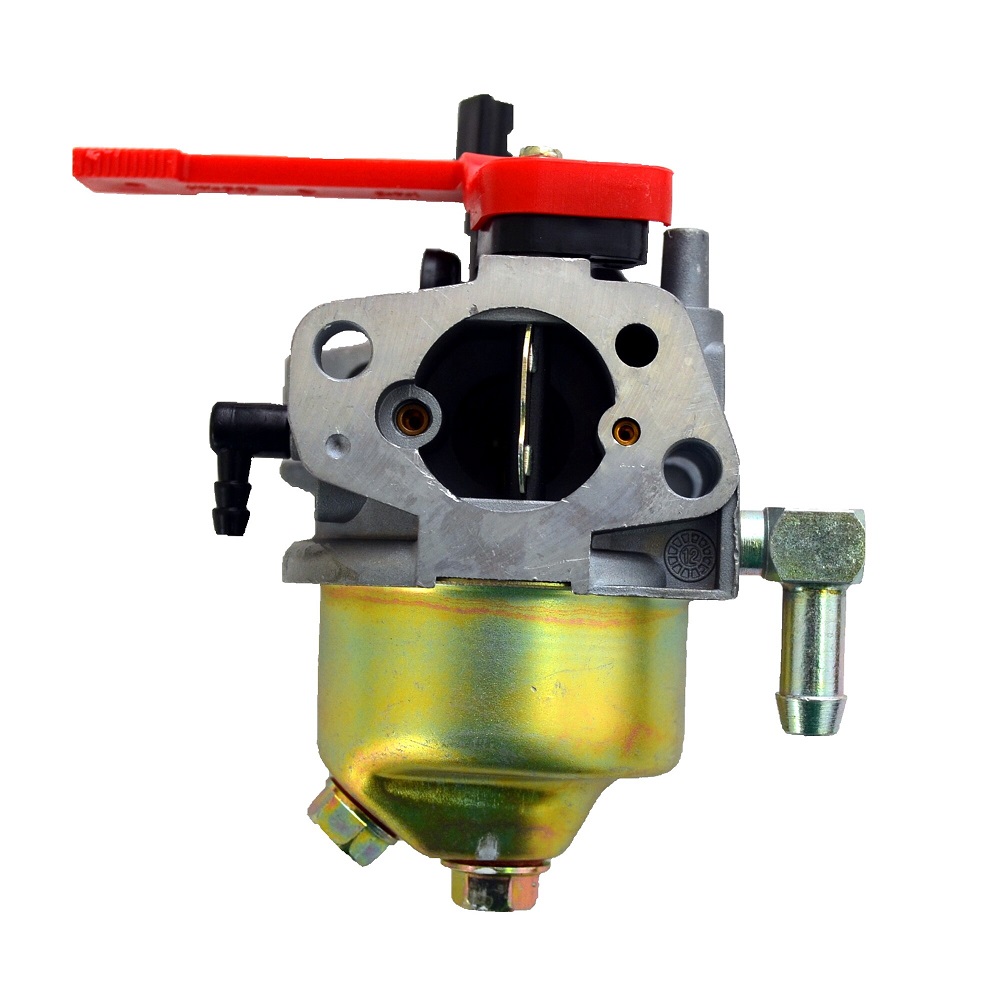
Cleaning and rebuilding a carburetor can improve engine performance significantly. Start by removing the carburetor from the engine. Ensure to disconnect fuel lines and linkages carefully to avoid damaging any components. Keep a clean workspace, as small pieces can easily get lost.
Once removed, disassemble the carburetor by taking off the float chamber cover, float, and any other removable parts. Take care to note the assembly order for reinstallation later. This process helps in thoroughly cleaning each part and identifying any that may need replacement.
Cleaning Process
After disassembly, immerse the parts in a carburetor cleaner solution. This will help dissolve any built-up grime and fuel deposits. Use a soft brush to scrub hard-to-reach areas. Pay special attention to the jets and passages, as these are critical for fuel flow. After cleaning, rinse the parts thoroughly with water and allow them to dry completely.
Inspect each part for wear or damage. Replace any gaskets, diaphragms, or jets that appear degraded. A thorough inspection ensures you won’t run into issues once the carburetor is reassembled.
Reassembly and Reinstallation
Proper Reassembly Techniques
Once cleaning and inspections are complete, begin reassembling the carburetor. Ensure that you replace gaskets and seals as necessary. Check for any scratches on the mating surfaces, as these can lead to leaks if not addressed.
Follow your notes from the disassembly step to ensure that each component goes back together correctly. Make sure everything is tightened according to the manufacturer’s specifications to avoid issues during operation.
Installation Back on the Engine
Carefully reinstall the carburetor onto the engine, reconnecting all fuel lines and linkages. Ensure that everything is tightened but avoid overtightening, as this could damage the carburetor. After installation, it’s crucial to check for leaks by running the engine and observing the carburetor for any fuel escaping.
After confirming there are no leaks, it may be necessary to fine-tune the fuel-air mixture. This tuning might involve adjusting the idle speed screw and mixture screw to optimize performance based on your riding conditions.
Maintenance Tips for Longevity
Regular Cleaning and Inspections
To keep your small engine running smoothly, regular maintenance is key. Clean the carburetor at least once a season or more frequently if you use the engine regularly. This helps prevent the buildup of dirt and debris that can disrupt performance.
Additionally, regularly inspect the fuel lines and filters. Ensure they are clear and free from blockages. Replacing filters as needed will ensure that the fuel reaching the carburetor is clean and free from contaminants.
Seasonal Storage Precautions
If you plan to store your small engine for an extended period, take precautions to protect the carburetor. Drain the fuel to prevent gummy deposits from forming. Alternatively, you can add a fuel stabilizer to the remaining fuel to keep it fresh longer.
Consider removing the carburetor and cleaning it before storage. This proactive approach will reduce the likelihood of complications the next time you start the engine.
Embrace DIY Carburetor Repair
In conclusion, understanding small engine carburetor parts can empower you to handle DIY repairs efficiently. From diagnosing common issues to performing thorough cleaning and reassembly, the knowledge gained can significantly enhance your repair skills. Maintenance is essential for longevity, ensuring your small engine runs smoothly for years to come.
By taking the time to familiarize yourself with the components and repair techniques, you can troubleshoot problems and perform your repairs confidently. This skill will not only save you money but also enhance your overall enjoyment of small engine activities. Embrace the rewarding experience of DIY repairs and keep your small engines in prime condition!
Leave a Reply