In the world of motorcycling, capturing your journeys can add an exciting dimension to the experience. A motorcycle camera allows riders to document their adventures, share breathtaking views, and record thrilling moments on the road. However, simply having a motorcycle camera isn’t enough. Proper mounting and usage of the camera are crucial to obtaining the best possible footage. In this article, we will explore how to mount a motorcycle camera effectively and provide tips for using it to capture optimal footage.
Understanding the Benefits of Motorcycle Cameras
Documenting Your Adventures
Motorcycle cameras serve as excellent tools for documenting your journeys. Whether you’re riding through scenic landscapes or tackling challenging terrains, capturing these experiences on video allows you to relive them later. Sharing your rides on social media or with friends enhances the enjoyment, as they can see the world through your eyes.
Additionally, creating video logs (vlogs) of your rides can help you connect with other enthusiasts who share your passion. Many riders love watching footage collected by fellow bikers, as it offers insights into new routes and experiences. A motorcycle camera also allows you to track your progress as a rider, showcasing how your skills have improved over time.
Enhancing Safety and Accountability
Using a motorcycle camera goes beyond just capturing beautiful scenery. It can provide an important layer of safety and accountability as well. In the unfortunate event of an accident, having recorded footage can serve as critical evidence in determining fault and understanding the circumstances surrounding the incident.
Moreover, by recording your rides, you can analyze your riding technique. Reviewing footage allows you to identify areas for improvement and assess your style. This self-reflection can lead to becoming a more skilled and safe rider. Therefore, investing in a motorcycle camera is beneficial for both leisure and safety.
Choosing the Right Motorcycle Camera
Considerations for Selection
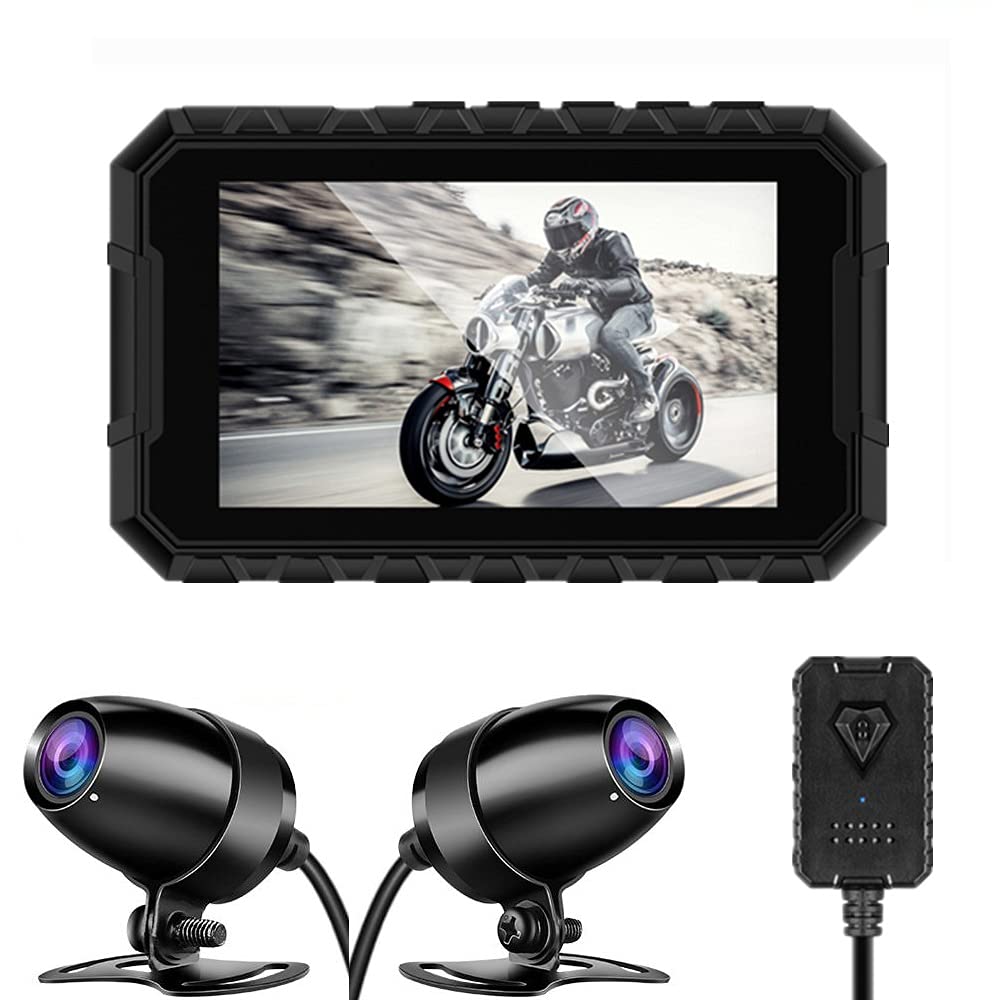
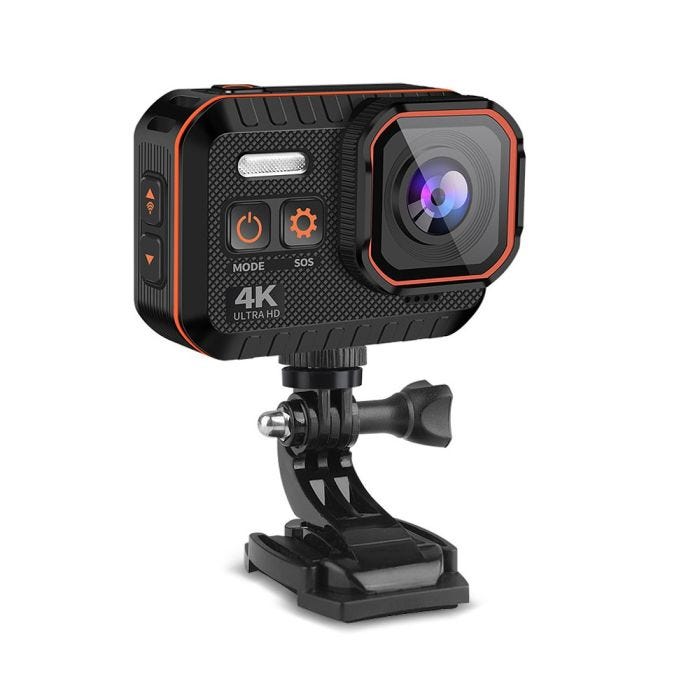
When selecting a motorcycle camera, consider your specific needs. Various models offer different features, so it is essential to prioritize what is most important for your use. Look for cameras that are waterproof, shockproof, and have a high-resolution recording capability. Durability is especially important when riding in challenging conditions.
Video quality is another crucial consideration. The resolution you choose can impact the overall clarity of your footage. High-definition (HD) cameras provide a better viewing experience, while 4K cameras offer even greater detail. Depending on your preferences and budget, you may choose a camera that suits your needs without overextending your finances.
Battery Life and Storage
Battery life is an important factor that can significantly affect your recording time. Ensure the camera you choose has a reliable battery life, particularly for longer rides. Some cameras come with removable batteries, allowing you to carry extras for extended adventures. Always check the specifications to understand how long the camera can run on a single charge.
In addition to battery life, consider the storage capacity of the camera. Most modern motorcycle cameras use microSD cards to store footage. A card with sufficient storage is essential for recording lengthy rides without interruptions. Look for cameras that support high-capacity storage options to ensure you can capture all the action.
Mounting Your Motorcycle Camera
Finding the Right Location
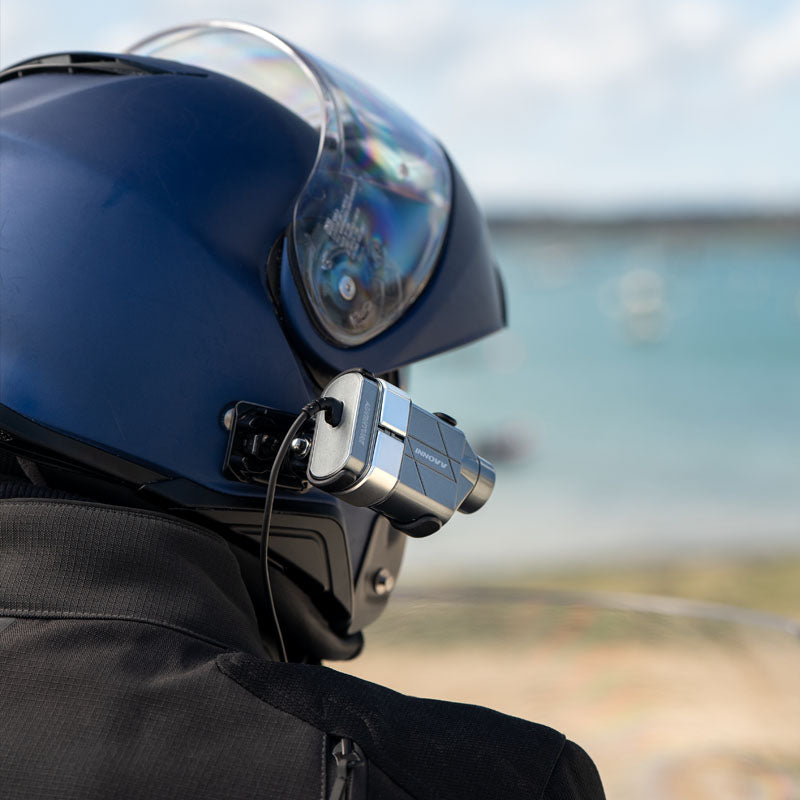
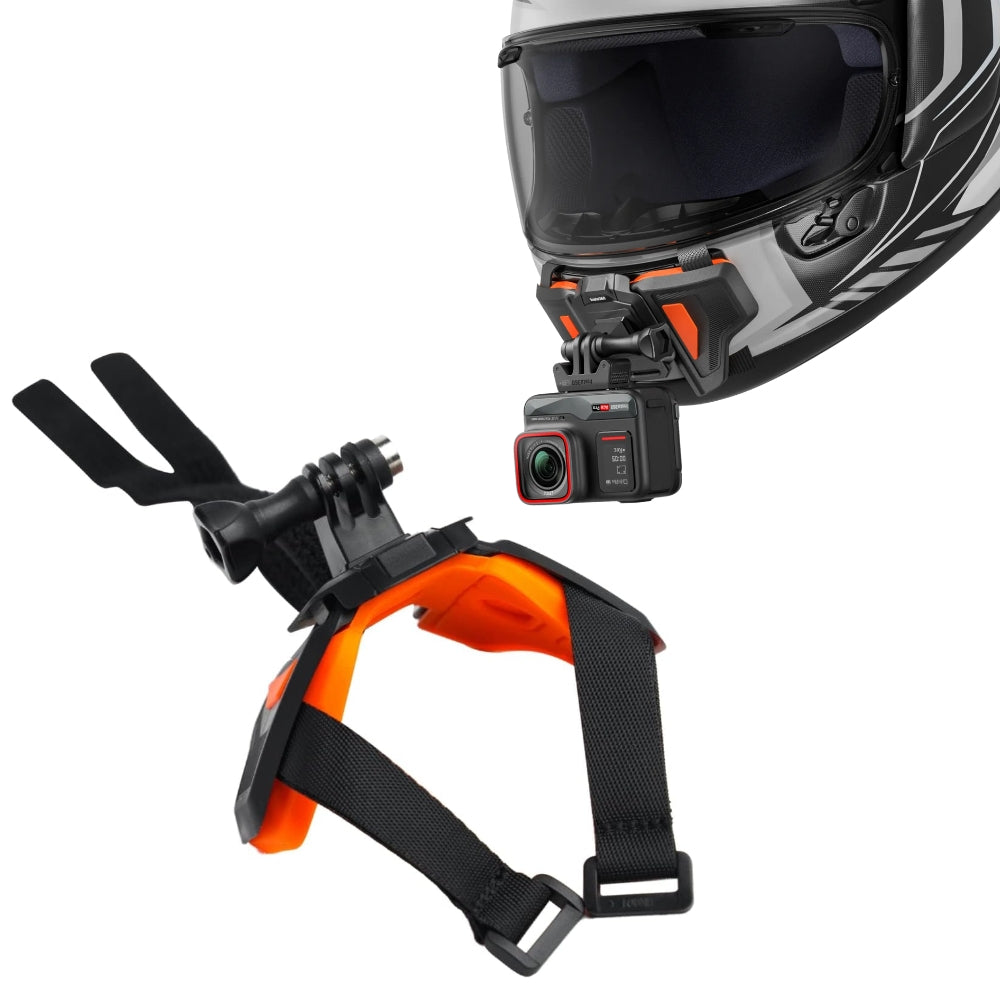
Proper mounting is crucial for achieving stable and high-quality footage. The location where you mount the camera can significantly affect the perspective of the recorded video. Common mounting locations include the helmet, handlebars, and fairings.
- Helmet Mount: Mounting the camera to your helmet offers a first-person perspective. This angle allows viewers to experience the ride as if they are the ones in control. However, ensure that the mount doesn’t obstruct your view or add excessive weight to the helmet.
- Handlebar Mount: A handlebar mount can capture the road ahead while providing a broader perspective of the bike. This option is preferable if you want to showcase both the ride and the motorcycle. Choose a mount that is adjustable and securely fits on various handlebar sizes.
- Fairing or Side Mount: Mounting the camera on the fairing or side of the bike allows for unique angles. You can capture footage of the scenic views alongside you during your ride. However, be cautious about wind resistance, as it can cause vibrations in the footage.
Securing the Camera
Once you have chosen the mounting location, ensure that the camera is secured properly. Many cameras come with adhesive mounts or clamps for easy installation. Make sure the mount is compatible with both the camera and the motorcycle.
Before hitting the road, always double-check the security of the camera mount. A loose or improperly attached camera can fall off during the ride, resulting in damage to the camera and loss of footage. Take a moment to inspect the installation, ensuring everything is secure and stable.

Optimizing Camera Settings
Resolution and Frame Rate
Before starting your ride, take time to adjust the camera’s settings. A higher resolution generally provides clearer and more detailed footage. Most cameras offer multiple resolutions, such as 1080p or 4K. Choose the highest resolution that your camera supports, balancing quality with storage space.
The frame rate also plays an important role in the quality of your footage. A higher frame rate results in smoother playback, especially during fast-paced action. Most cameras support frame rates of 30, 60, or even 120 frames per second (fps). For capturing invigorating rides, setting the camera to a higher fps provides dynamic footage.
Stabilization Features
Many modern motorcycle camera are equipped with stabilization features that help reduce vibrations and shake in your footage. When riding, it is common to encounter bumps and irregularities in the road. Therefore, ensuring that you have effective electronic image stabilization (EIS) can improve the viewing experience for your audience.
Before heading out, familiarize yourself with your camera’s stabilization settings. Activate these features to enhance the quality of your recordings. This step can have a significant impact on how smooth and professional your final footage will appear.

Capturing Quality Footage
Planning Your Shots
To capture engaging footage, consider planning your shots before you begin your ride. Think about the angles and perspectives you want to achieve. For instance, you might wish to capture a shot of the open road, the landscape, or your riding companions.
Planning also includes anticipating potential stops or scenic viewpoints. Many riders prefer to record specific moments during their ride, such as reaching a summit or stopping for a picturesque view. Knowing when and where to capture these moments enhances the overall storytelling aspect of your footage.
Riding Techniques for Better Footage
Your riding technique can affect the quality of your footage. Smooth, controlled movements will yield better results than erratic actions. If you’re planning to use a helmet-mounted camera, make sure your head movements are steady. Look towards the road ahead while maintaining a natural posture.
When recording, try to avoid sudden stops or sharp turns, as these can create abrupt cuts in the video. Keeping a consistent speed and direction will lead to more fluid and enjoyable viewing. Always be aware of your surroundings to ensure that you maintain both safety and quality in your footage.
Reviewing and Editing Footage
Importance of Post-Ride Review
After each ride, reviewing your footage is an essential step. Watching your videos allows you to assess the quality of your shots and identify areas for improvement. You’ll get insights into your riding technique, camera placements, and overall composition.
During the review process, look for standout moments that could be highlighted in a final edit. Identify any issues related to lighting or stabilization, so you can adjust your settings for future rides. By being critical of your footage, you’ll develop your skills as a rider and videographer.
Editing Your Videos
Editing your footage allows you to create exciting and engaging riding videos. Various software options are available, providing easy-to-use interfaces for both beginners and experienced editors. Basic editing can include trimming clips, adding transitions, and including music or voiceovers.
Consider using titles and captions to give context to your videos. This way, viewers can understand what they’re watching and engage more effectively. Sharing well-edited footage on social media or YouTube can inspire others and foster a sense of community among fellow riders.
Conclusion: Ride with Confidence and Creativity
In conclusion, a motorcycle camera is an excellent investment for riders looking to capture their adventures. Properly mounting your camera, optimizing its settings, and using effective riding techniques will lead to high-quality footage. Personalized angles and creative styles can enhance the storytelling aspect of your ride.
Remember that motorcycle safety is paramount. While capturing footage is exciting, focus on the road and your surroundings to ensure your safety and the safety of others. The combination of a great bike, good gear, and creative video techniques can turn each ride into an unforgettable journey.
Embrace your creativity and passion for riding. With the right approach and the necessary gear, you can create stunning visuals that showcase your love for motorcycles. So gear up, hit the road, and capture the thrill of every adventure. Happy riding!
Leave a Reply