Introduction: The Appeal of Motorcycle Wrapping
Why Wrap Your Motorcycle?
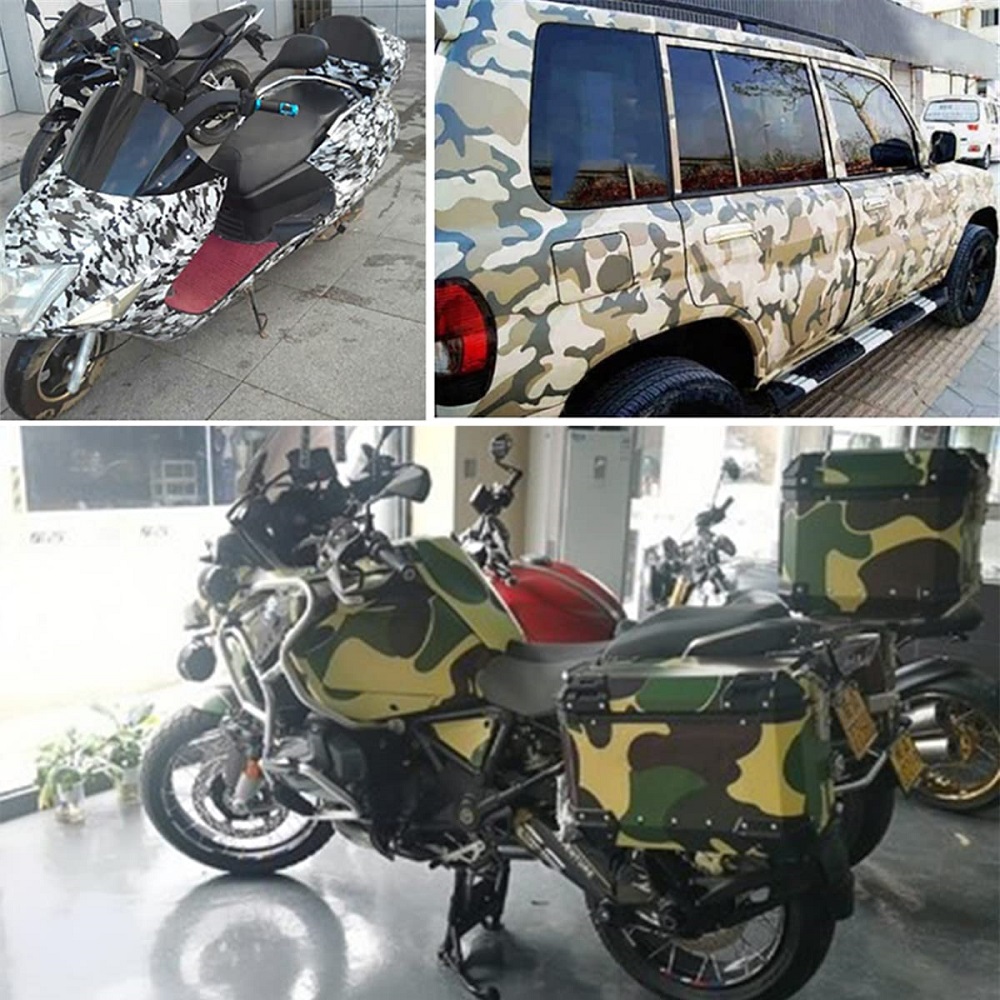
Motorcycling is not just about the ride; it’s also about how your bike looks on the road. A motorcycle wrap offers a fantastic opportunity to customize your bike’s appearance while protecting its original paint. Wraps allow for individual expression, enhancing aesthetic appeal without the permanence of paint. Whether you want to promote a business, give your motorcycle a fresh new look, or simply personalize it, the options are endless.
The Benefits of Wrapping
In addition to aesthetic enhancement, wrapping your motorcycle has several advantages. Firstly, it serves a protective function, acting as a shield against scratches, UV rays, and environmental elements. Wrapping can also help preserve the motorcycle’s resale value by protecting the underlying paint from wear and tear. Finally, a wrap can easily be removed or replaced, allowing for continual updates to your bike’s look.
Overview of the Wrapping Process
While you can have your motorcycle professionally wrapped, applying the wrap yourself can be a rewarding project that saves money. With the right tools, materials, and guidance, you can achieve professional-looking results at home. This article provides a comprehensive, step-by-step guide to help you successfully wrap your motorcycle.
Preparing for the Wrap
1. Gathering Necessary Tools and Materials
Before diving into the wrapping process, you need to gather the proper tools and materials:
- Vinyl Wrap: Choose high-quality cast vinyl wrap specifically designed for vehicle wrapping. Look for brands like 3M, Avery Dennison, or Oracal, which are well-regarded in the industry.
- Tools:
- Squeegee: A flat tool to secure the wrap and eliminate air bubbles.
- Utility Knife: For cutting excess vinyl and trimming edges.
- Heat Gun: To warm the vinyl for better adhesion and flexibility.
- Measuring Tape: For accurate measurements and minimal waste.
- Cleaning Supplies: Isopropyl alcohol, microfiber towels, and surface cleaner to prepare the motorcycle.
2. Preparing Your Motorcycle
Thorough Cleaning
Before applying the wrap, it’s crucial to clean the motorcycle thoroughly to ensure proper adhesion.
- Wash the Surface: Use soap and water to remove dirt, grime, and debris. Pay special attention to areas where the wrap will be applied, ensuring that all surfaces are clean.
- Degreasing: After washing, apply isopropyl alcohol to a microfiber towel with the intent to degrease. This will help remove any oils or residues that can prevent the wrap from adhering properly.
Removing Accessories
To achieve a clean application, it’s often best to remove accessories and components that could interfere with the wrapping process.
- Removing Parts: Take off any parts that could obstruct your wrap, such as mirrors, lights, or fairings. This makes it easier to apply the wrap smoothly and accurately. Be sure to store these components safely for reinstallation later.
Measuring and Cutting the Wrap
1. Accurate Measurements
Measuring Your Motorcycle
Careful measurement is crucial to ensure that you have enough vinyl for your motorcycle’s surfaces without unnecessary waste.
- Key Areas to Measure: Identify the key areas you want to wrap, such as the tank, fenders, side panels, and fairings. Measure the length and width of each area, taking care to check for contours or curves that will require additional fabric.
- Adding Extra Material: It’s wise to add an extra inch or two to your measurements to accommodate handling and trimming. This extra material can come in handy when wrapping around corners or edges.
2. Cutting the Vinyl
Creating Templates
With your measurements in hand, it’s time to cut the vinyl to fit your motorcycle.
- Flat Cutting: Lay the vinyl flat on a clean surface and use the measuring tape to transfer your measurements onto the back of the vinyl. Use the utility knife to cut along the guidelines, taking care to make straight cuts for a clean edge.
- Templates for Complexity: For complex shapes or curves, consider making cardboard templates based on your measurements. This can reduce cutting errors and help visualize how the pieces will fit together.
Applying the Wrap
1. Begin with the Largest Panels
Starting with Big Areas
Start applying the wrap to the largest panels of your motorcycle, as this will provide you with an easier foundation for wrapping the smaller areas later.
- Positioning the Vinyl: Carefully lay the vinyl over the panel, aligning it correctly before any adherence occurs. Don’t peel the backing just yet; ensure the positioning is accurate.
- Adhesion Technique: Once you’re satisfied with the positioning, carefully peel back a section of the backing while pressing the vinyl onto the motorcycle. Use a squeegee to smooth it from the center outwards, preventing air bubbles.
2. Heat Application
The Importance of Heating
Using a heat gun during the wrapping process can improve the application and ensure better adhesion.
- Warming the Vinyl: As you apply the wrap, gently heat the vinyl with the heat gun. Warming the material allows it to contour better around curves and edges, making it more pliable.
- Smoothing the Surface: Continue using the squeegee after applying heat to secure the wrap and eliminate any air bubbles or wrinkles. Always work from the center outwards to promote smoothness.
3. Wrapping Around Contours and Edges
Attention to Detail
As you progress to areas with contours and edges, it’s essential to work carefully to create smooth transitions.
- Stretching Properly: Use the heat gun liberally in areas with sharp curves to help the vinyl stretch easily around the contours. Be cautious not to overheat, which can damage the material or cause it to lose its adhesive properties.
- Trimming Excess Vinyl: After wrapping, carefully trim any excess vinyl with the utility knife. Aim for a clean edge while making sure not to cut too deeply, which could damage the underlying paint.

Final Touches and Inspection
1. Heating the Edges
Securing the Installation
After the main application is complete, it’s crucial to address the edges of the wrap.
- Final Heating: Go over the edges of the wrap with the heat gun to re-secure the adhesive, ensuring that it bonds well to the motorcycle. This process helps prevent lifting and is especially beneficial in high-wear areas.
2. Inspecting the Wrap
Quality Check
Once you’ve finished applying the wrap, take the time to inspect your work thoroughly.
- Checking for Bubbles: Look for any remaining air bubbles and gently squeegee or push them towards the nearest edge to release them. If necessary, use a pin to puncture stubborn bubbles and smooth them out.
- Detailing Inspection: Pay attention to edges, seams, and corners to ensure everything has adhered well. Make any necessary adjustments before calling the job complete.
Long-Term Care of Your Wrap
1. Regular Cleaning
Maintaining Appearance
To keep your wrapped motorcycle looking fresh and new, regular cleaning and maintenance are essential.
- Gentle Cleaning: Use a mild soap and water solution along with a microfiber cloth to clean the wrapped surfaces. Avoid harsh chemicals or abrasives that can damage the wrap.
- Spot Cleaning: For stubborn spots, such as bugs or tar, carefully remove them with specialized vinyl cleaning solutions or adhesive removers designed for wraps.
2. Protecting Your Investment
Avoiding Damage
Taking proactive measures can help prevent damage to your wrap and maintain its longevity.
- Parking Considerations: When parking your motorcycle, avoid areas with direct sunlight for extended periods, as UV exposure can fade the colors and degrade vinyl over time. Consider using a motorcycle cover for protection.
- Washing Considerations: When washing your motorcycle, avoid using automatic car washes that might scrub against the wrap. Instead, opt for hand washing and avoid high-pressure water that may lift the edges of your wrap.
Conclusion: Embrace the Transformation
Revamping Your Motorcycle
Wrapping your motorcycle with a stylish vinyl design is an excellent way to enhance its appearance, protect its paint, and express your personal style. Following this step-by-step guide helps ensure that the process is both efficient and successful, resulting in a professional-looking finish that you can be proud of.
Celebrating Your Accomplishments
Embarking on the journey of motorcycle wrap can be a rewarding experience that lets you personalize your ride. Embrace the satisfaction of completing the project, as every curve and angle transformed carries your creativity and dedication.
Building Your Confidence
With the knowledge and techniques obtained, you’ll feel empowered to tackle future projects or modifications, such as customizing motorcycle rims as needed. Don’t hesitate to share your success with friends and fellow motorcyclists; your stories and experiences could inspire others who are considering giving their bikes a unique twist.
Enjoy the Ride
Finally, with your motorcycle beautifully wrapped, be sure to consult the step-by-step motorcycle wrapping tutorial for any tips you might need. Get out there and enjoy the ride! The combination of style and protection will enhance your riding experience while allowing you to turn heads wherever you go. Ride safely and confidently; you’ve made your bike uniquely yours!
Leave a Reply