Types of Motorcycle Paint
Choosing the right motorcycle paint can make a big difference. Different types of paint offer varied features, such as durability, texture, and appearance. Understanding their characteristics helps you pick the best option for your bike.
Acrylic Paint
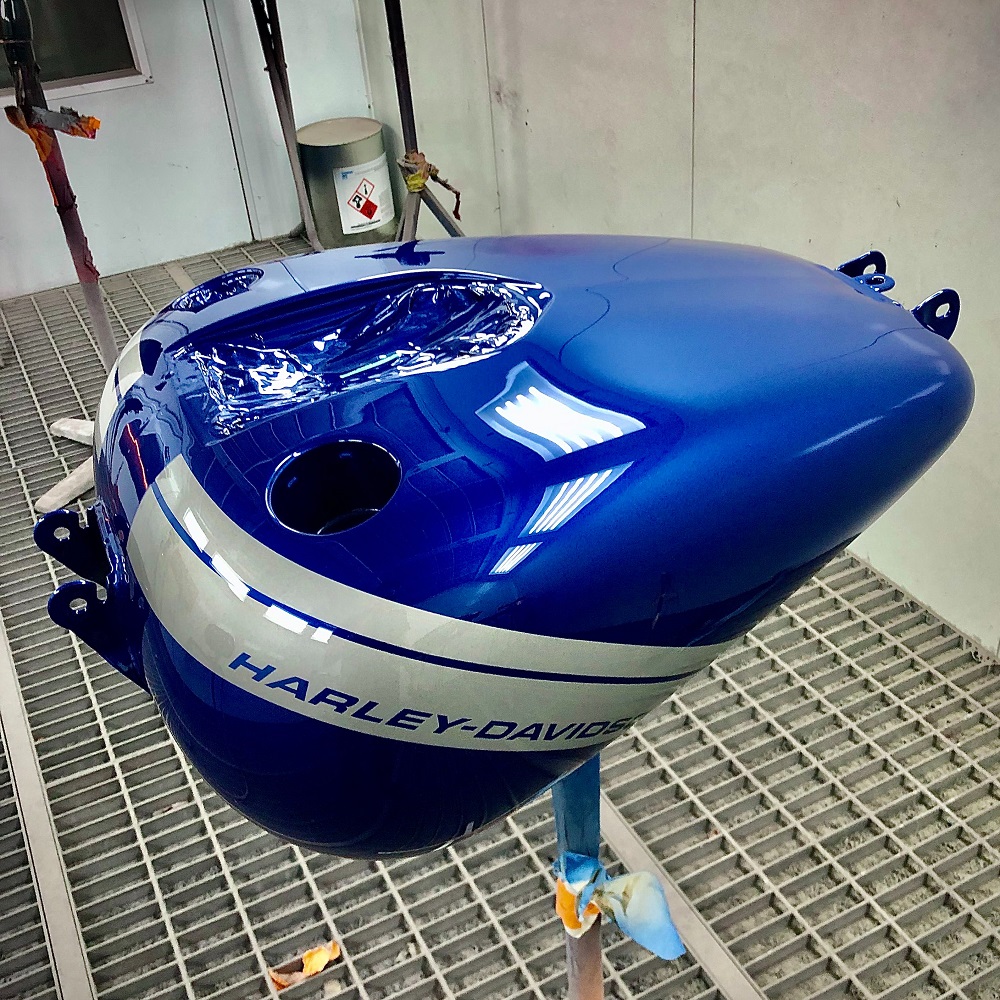
Acrylic paint is ideal for a smooth and shiny finish. It dries faster compared to other paint types, making it convenient for quick applications. This type of paint is easy to apply and affordable. However, it is less durable, and chips or scratches may occur more easily.
Urethane Paint
Urethane paint is known for its toughness and long-lasting performance. It resists UV rays and damage, making it suitable for outdoor exposure. The application process is more complex, often requiring professional expertise. This paint may be more expensive, but the durability is worth the cost.
Powder Coating
Powder coating offers a unique, sturdy finish. It is applied using an electrostatic method and cured under heat. This process ensures a strong bond to the surface, making it highly resistant to damage. Powder coating is eco-friendly since it produces no harmful fumes. However, it requires special equipment and expertise to apply effectively.
Choosing the Right Paint for Your Motorcycle
Choosing the perfect motorcycle paint involves balancing style and functionality. It’s essential to pick a paint that aligns with your bike’s aesthetic while meeting practical needs like durability and cost. Below, we cover key aspects to help guide your decision.
Matching Paint to Your Bike?s Style
Your motorcycle’s style plays a major role in paint selection. For vintage bikes, consider classic hues like black or navy blue. These timeless colors enhance the bike’s authenticity and nostalgic feel.
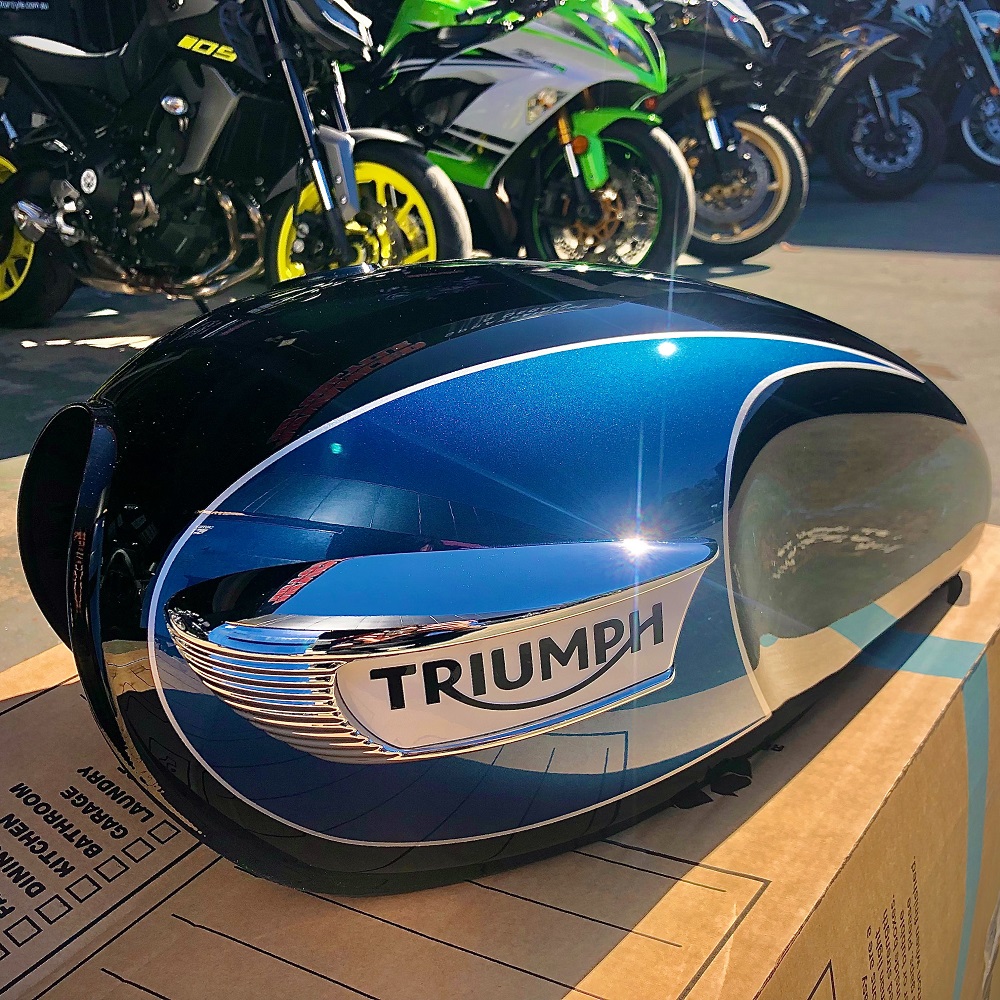
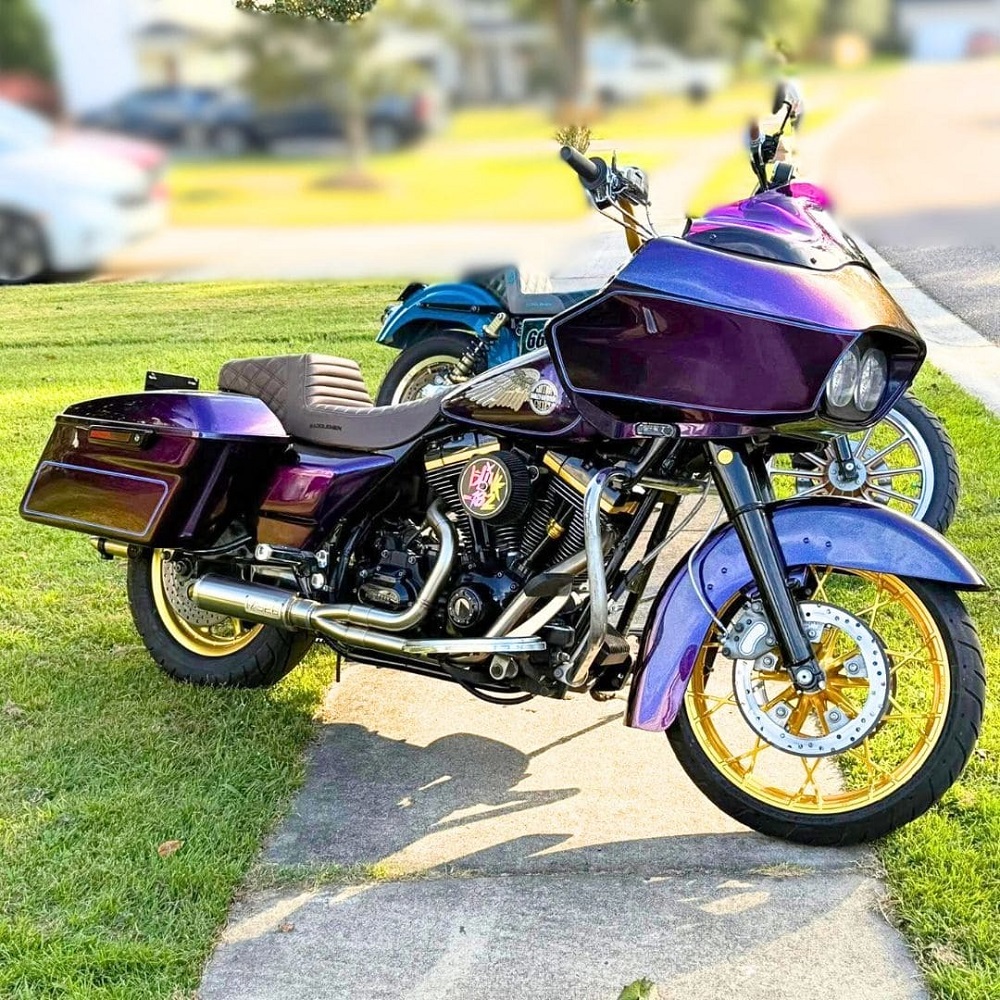
For modern bikes, bold colors can highlight sleek designs. Metallic finishes like silver or chrome add futuristic elegance. Custom themes, such as flames or matte designs, create a unique aesthetic.
Factor in paint texture to complement your bike’s style. A glossy finish suits sporty bikes, while matte finishes cater to rugged designs. Choosing paint that enhances your bike’s appeal amplifies its visual impact.
Factors to Consider: Durability, Cost, and Usage
When selecting motorcycle paint, durability should remain a top priority. Urethane paints provide robust protection against weather and UV rays, suitable for outdoor usage. Powder coating excels in resistance to scratches and does not emit harmful fumes.
Cost also matters. Acrylic paint is affordable but less durable, making it ideal for budget-conscious riders. Powder coating and urethane paints cost more but offer long-lasting results.
Consider how often your bike is exposed to harsh conditions. Regular riders may prioritize tougher paints for guaranteed longevity. Occasional use may call for less expensive options, as wear and tear are minimal.
Preparing Your Motorcycle for Painting
Preparing your motorcycle properly ensures the paint adheres and lasts longer. This step involves cleaning and removing old paint, followed by sanding and priming.
Cleaning and Removing Old Paint
Start by thoroughly cleaning your motorcycle. Remove dirt, grease, and debris using soap and water. Avoid skipping this step to prevent uneven paint application. Once cleaned, dry the surface completely.
Next, strip the old paint. Use paint remover or chemical stripper designed for motorcycles. Apply the remover evenly, allowing it to dissolve the old paint layer. Scrape off softened paint using a plastic scraper carefully. If needed, repeat this process for stubborn paint areas.
After removing paint, wipe the surface with a clean cloth. Use degreaser to eliminate any remaining residue. A spotless, bare surface helps your new paint stick effectively.
Sanding and Priming
After cleaning, sand the motorcycle surface to smooth imperfections. Start with medium-grit sandpaper to remove rough edges and marks. Use fine-grit sandpaper for a polished, even finish. Sand the entire bike surface carefully to avoid missing spots.
Once sanding is complete, apply primer. Choose a primer made for motorcycles. This layer helps paint adhere better while protecting the metal underneath. Apply the primer in thin, even layers using a spray gun or brush. Allow each layer to dry before adding the next.
Preparing your motorcycle properly sets the foundation for a flawless paint job. Effective cleaning, paint removal, sanding, and priming ensure long-lasting, vibrant results.
Step-by-Step Motorcycle Painting Process
Painting a motorcycle requires precision and proper steps to achieve great results. Follow this step-by-step process to ensure a smooth and professional finish for your motorcycle.
Tools and Equipment You’ll Need
Before you begin, gather the necessary tools and materials:
- Sandpaper: Use different grits like medium (80-120 grit) and fine (220-320 grit).
- Primer: Choose a primer suitable for motorcycle surfaces.
- Masking Tape: Protect areas you do not want to paint.
- Spray Paint or Paint Gun: Select high-quality motorcycle paints.
- Protective Gear: Gloves, goggles, and a respirator mask are essential for safety.
- Degreaser and Cleaner: Clean the surface thoroughly to remove dirt and grease.
- Microfiber Cloths: Wipe down the surface after cleaning and sanding.
- Clear Coat: Add a protective layer for a glossy, durable finish.
- Drop Cloths or Plastic Sheets: Protect the surrounding area from paint overspray.
Arranging these tools beforehand ensures an efficient and hassle-free painting process.
Applying Base Coats and Top Coats
- Apply the Base Coat:
- Start by shaking the paint can or mixing your paint if using a spray gun.
- Begin with a light and even first coat. Avoid heavy layers to prevent dripping.
- Allow the first coat to dry completely before adding another layer.
- Apply 2-3 thin coats for even coverage. Let each coat dry as per the instructions.
- Add the Top Coat:
- Once the base coat is dry, apply the top coat.
- Hold the spray nozzle 6-8 inches away for precise application.
- Spray consistently in even strokes, moving in a single direction.
- Apply 2-3 layers for the best results and allow each coat to dry properly.
Drying and Curing the Paint
After painting, follow these steps for proper drying and curing:
- Let the Paint Dry:
- Allow the paint layers to air dry according to the manufacturer’s instructions.
- Place the motorcycle in a dust-free and well-ventilated area.
- Curing the Paint:
- Curing ensures the paint hardens fully for durability.
- Follow the specific curing time recommended by your paint manufacturer.
- Avoid exposing your motorcycle to adverse weather during the curing period.
- Inspect the Finish:
- Carefully check for imperfections or uneven areas.
- Sand lightly and reapply paint if needed before the final clear coat.
By following these steps and using the right tools, you can achieve a professional-looking motorcycle paint job that will last for years. Make sure to take your time and follow the instructions for each product carefully.
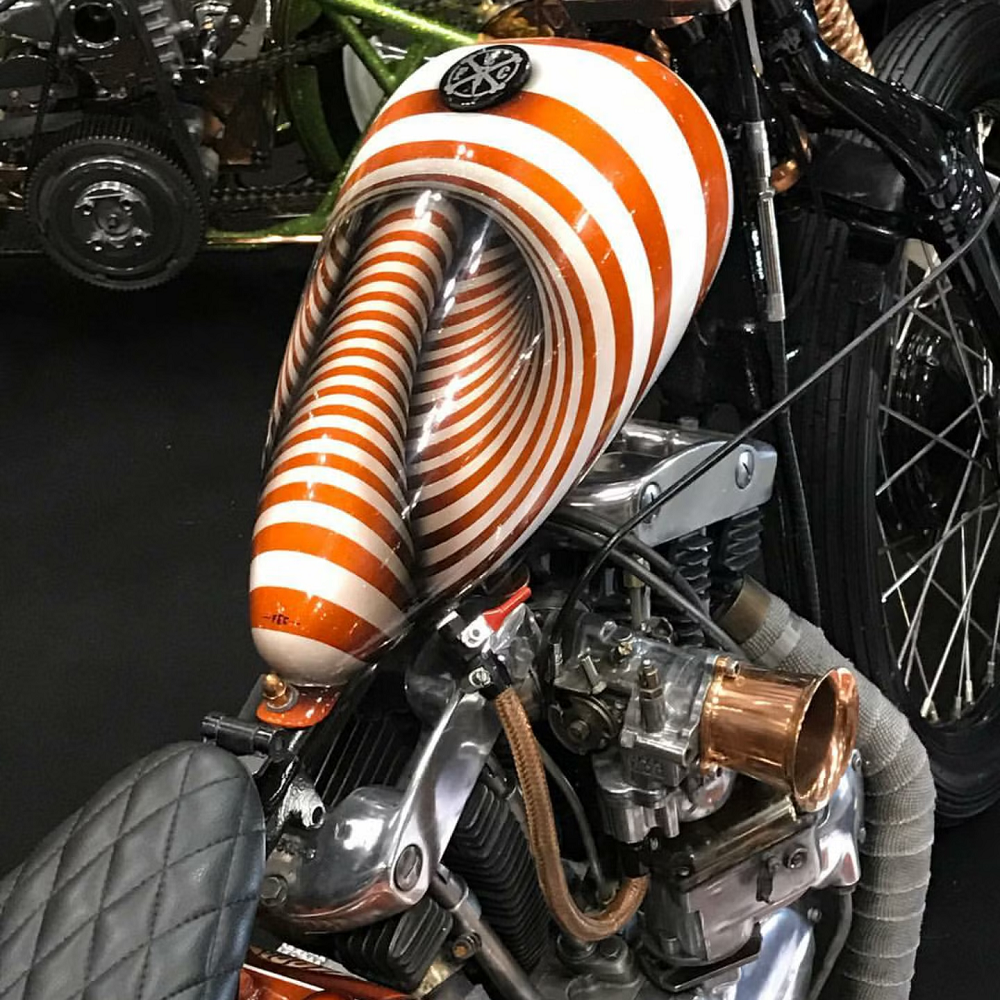
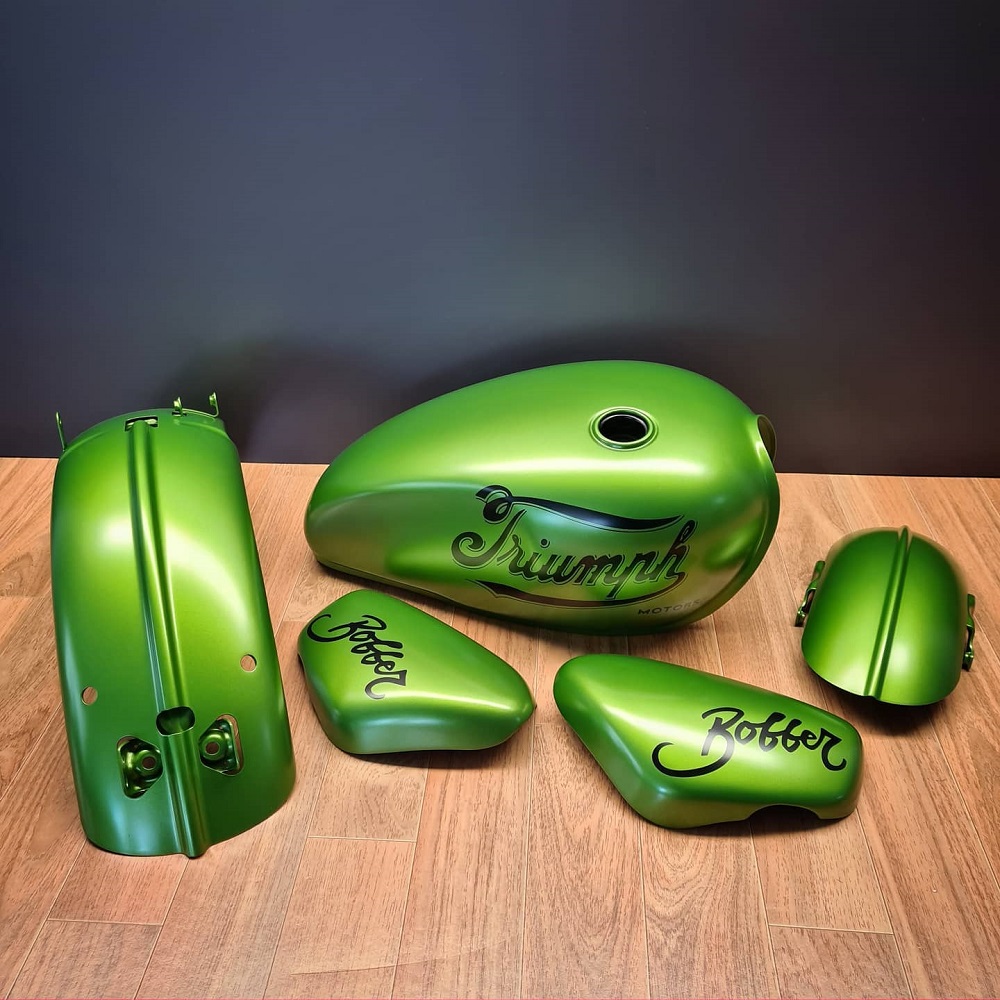
Custom Motorcycle Paint Jobs
Custom motorcycle paint jobs allow you to showcase your unique style and creativity. By adding artistic elements, you can make your bike truly stand out. Here, we will explore two popular techniques for custom paint jobs.
Airbrushing Techniques
Airbrushing is a versatile and artistic method for adding intricate designs to your motorcycle. Using a specialized airbrush tool, you can spray paint in fine, controlled patterns. This technique is commonly used for creating detailed images, gradients, and effects like flames or skulls.
Steps for airbrushing:
- Prepare the surface by cleaning and applying a base coat.
- Use stencils or freehand techniques to create a design.
- Make thin layers to prevent dripping and achieve precision.
- Apply a clear coat to protect the design and enhance its appearance.
Skilled airbrushing can transform your motorcycle into a true work of art. However, it requires practice and patience to perfect. If you’re new to airbrushing, consider hiring a professional.
Decals and Graphics Options
Decals and graphics are simpler options for personalizing your motorcycle. These are pre-made or custom-designed stickers that you can apply to your bike’s surface. They are perfect if you want a creative design without committing to permanent paint.
Benefits of decals:
- Easy to Apply: You don’t need special tools or advanced skills.
- Removable: You can replace or remove them anytime without damaging the paint.
- Affordable: Decals are a cost-effective option for customization.
How to apply decals:
- Clean the surface to remove dust and grease.
- Peel off the backing layer of the decal.
- Carefully place it on the desired spot.
- Smooth out any air bubbles using a squeegee or credit card.
- Seal the decal with a clear coat for extra protection and durability.
Custom paint jobs can elevate your motorcycle’s appearance. Whether you choose intricate airbrushing techniques or versatile decals, you can achieve a unique look. Select the method that suits your skills, budget, and style to create a bike that truly reflects your personality.
Maintaining Your Motorcycle Paint
Proper maintenance keeps your motorcycle paint vibrant and long-lasting. Regular care not only ensures your bike looks great but also protects it from potential damage. Here’s how you can maintain your motorcycle paint effectively.
Cleaning and waxing
- Regular Cleaning: Wash your motorcycle often to remove dirt, dust, and debris. Use mild soap and water to avoid scratching the surface.
- Soft Sponge or Microfiber Cloth: Use a soft sponge or microfiber cloth to prevent scratches while cleaning.
- Dry Thoroughly: Always dry your bike with a clean, dry microfiber towel to avoid water spots.
- Apply Wax: Wax protects your motorcycle paint and adds a shiny finish. Choose a high-quality automotive wax.
- Polish Occasionally: Use motorcycle-safe polish to enhance the gloss and keep the paint vibrant.
- Avoid Harsh Chemicals: Only use motorcycle-specific cleaning agents to prevent paint damage.
Regular cleaning and waxing routine will protect your motorcycle paint from fading and weather effects.
Protection against Weather Conditions and Scratches
- Park in Covered Areas: Protect your bike from exposure to sun and rain by parking in garages or shaded spots.
- Use a Motorcycle Cover: When outside, use a breathable motorcycle cover to safeguard against dust, sun, and rain.
- Apply Paint Protection Film: Use a clear paint protection film on areas prone to scratches.
- Be Careful with Fuel: Wipe off any spilled gasoline immediately to prevent harming the paint.
- Avoid Harsh Conditions: Minimize riding in extreme weather conditions, like heavy rains or snow.
- Inspect for Chips or Scratches: Check your bike frequently for any small chips or scratches to address them early. These can be fixed with touch-up paint.
With regular cleaning, waxing, and protective measures, you can extend the life of your motorcycle paint and keep it looking fresh for years.
Common Mistakes to Avoid When Painting Your Motorcycle
Painting your motorcycle can be satisfying, but mistakes may ruin the final result. Identifying common pitfalls will help you avoid them and ensure a flawless finish.
Skipping Surface Preparation
Proper surface preparation is crucial for a successful paint job. Skipping this step can lead to chipped or uneven paint.
- Ignoring Cleaning: Dirt or grease on the surface affects paint adhesion. Always clean the bike thoroughly.
- Skipping Paint Removal: Leaving old paint on can prevent the new paint from adhering properly. Use a paint remover.
- Not Sanding: Uneven surfaces lead to a rough finish. Sand the surface until smooth.
- Skipping Primer: Paint may peel off if no primer is applied. Use a primer suited for motorcycles.
Investing time in preparation creates a sturdy foundation for the paint and ensures its durability.
Over-applying Paint
Applying too much paint can cause dripping, uneven layers, or cracks after drying. Follow these tips:
- Avoid Thick Layers: Apply thin coats to ensure even color coverage.
- Let Each Coat Dry: Allow enough drying time before applying the next coat.
- Don’t Rush: Moving too quickly can compromise the finish.
- Maintain Distance: Keep a consistent distance while spraying for better control.
Excess paint leads to an unprofessional finish. Patience and precision are key to success.
By avoiding these common mistakes, you can achieve a smooth, durable, and professional-looking paint job for your motorcycle.
Professional vs. DIY Motorcycle Painting
Painting your motorcycle can be done professionally or as a DIY project. Each option has advantages and drawbacks. Understanding these will help you choose the best method.
Costs Comparison
DIY painting is more affordable compared to professional services. Buying necessary tools and materials costs less than hiring experts. However, the expenses vary depending on the type of paint and equipment.
- DIY Painting Costs:
- Paint and primer: $50-$150.
- Sandpaper, masking tape, and cleaning tools: $20-$50.
- Spray paint gun (optional): $30-$100.
- Clear coat: $30-$50.
Total DIY costs range between $100-$300, based on materials chosen.
- Professional Painting Costs:
- Average cost: $300-$1500.
- Price depends on paint type, design complexity, and labor charges.
- Custom graphics or airbrushing increase the cost significantly.
DIY is cost-effective for simple paint jobs, while professional painting suits complex designs.
Benefits of Professional Touch
Professionals offer expertise, ensuring high-quality finishes and long-lasting results. They have specialized tools and experience.
- Skill and Precision:
- Professionals deliver smooth surfaces and even coats.
- They minimize risks like dripping or uneven paint.
- Advanced Techniques:
- Skilled painters can create custom designs using techniques like airbrushing.
- Metallic finishes or intricate graphics are easier for experts to achieve.
- Durability:
- Expert application ensures better durability and UV protection.
- High-quality paints last longer with professional curing processes.
- Convenience:
- Save time and effort as professionals handle all steps.
- No need to purchase tools or learn painting techniques.
While DIY painting offers budget-friendly solutions, professional services deliver superior quality and convenience. Consider your skills and budget before deciding which suits your needs better.
Leave a Reply