Motorcycle driving lights are essential for enhancing visibility and safety while riding at night or in low-light conditions. These lights provide additional illumination, making it easier to see the road ahead and be seen by other vehicles. Proper installation is crucial to ensure they function optimally. In this article, we will explore the benefits of motorcycle driving lights, the installation process, and tips to get the best performance from your lighting system.
The Importance of Motorcycle Driving Lights
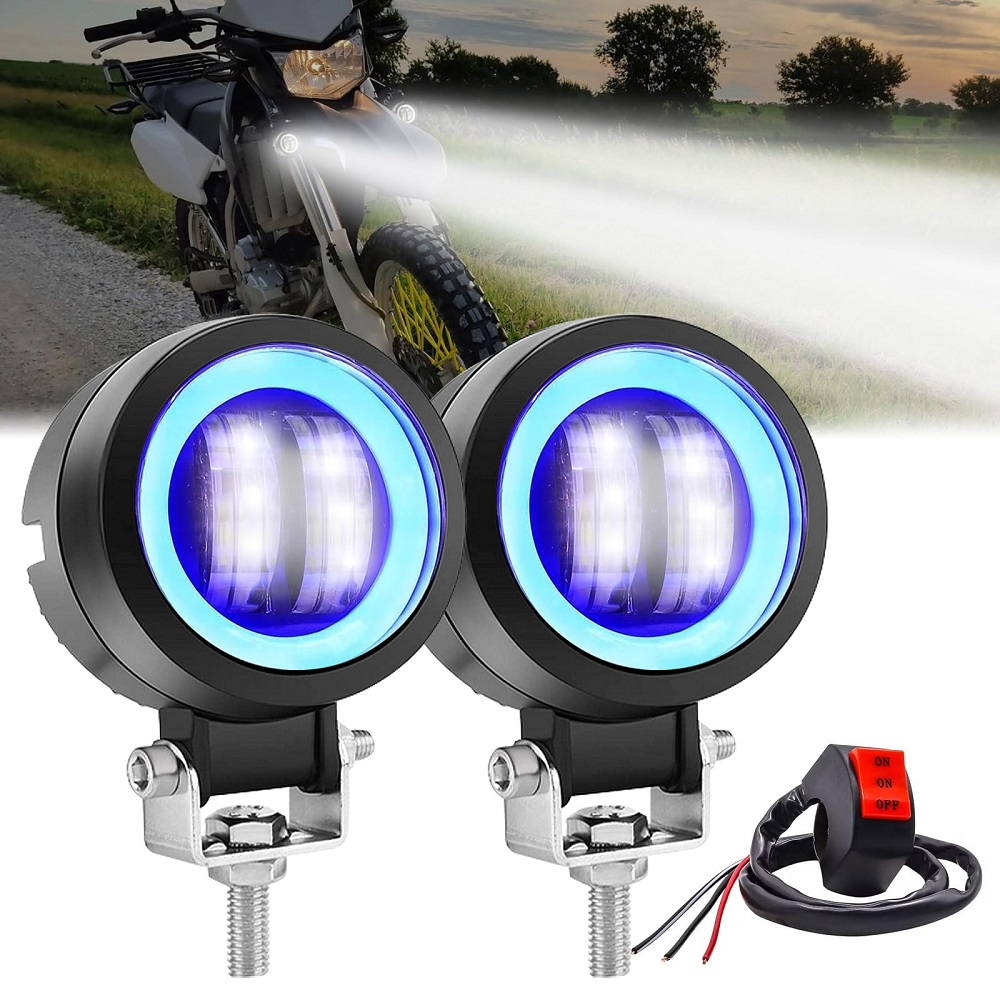
Enhanced Visibility
Driving lights significantly improve visibility, especially during nighttime rides. They illuminate a wider area of the road, allowing riders to spot obstacles, road signs, and other vehicles from a greater distance. Enhanced visibility is not only crucial for your safety but also for the safety of others on the road.
Increased Safety
Motorcycle accidents often occur due to low visibility conditions. Adding driving lights can reduce this risk, making it easier for other drivers to see you. When you are more visible, the likelihood of accidents decreases, contributing to a safer riding experience.
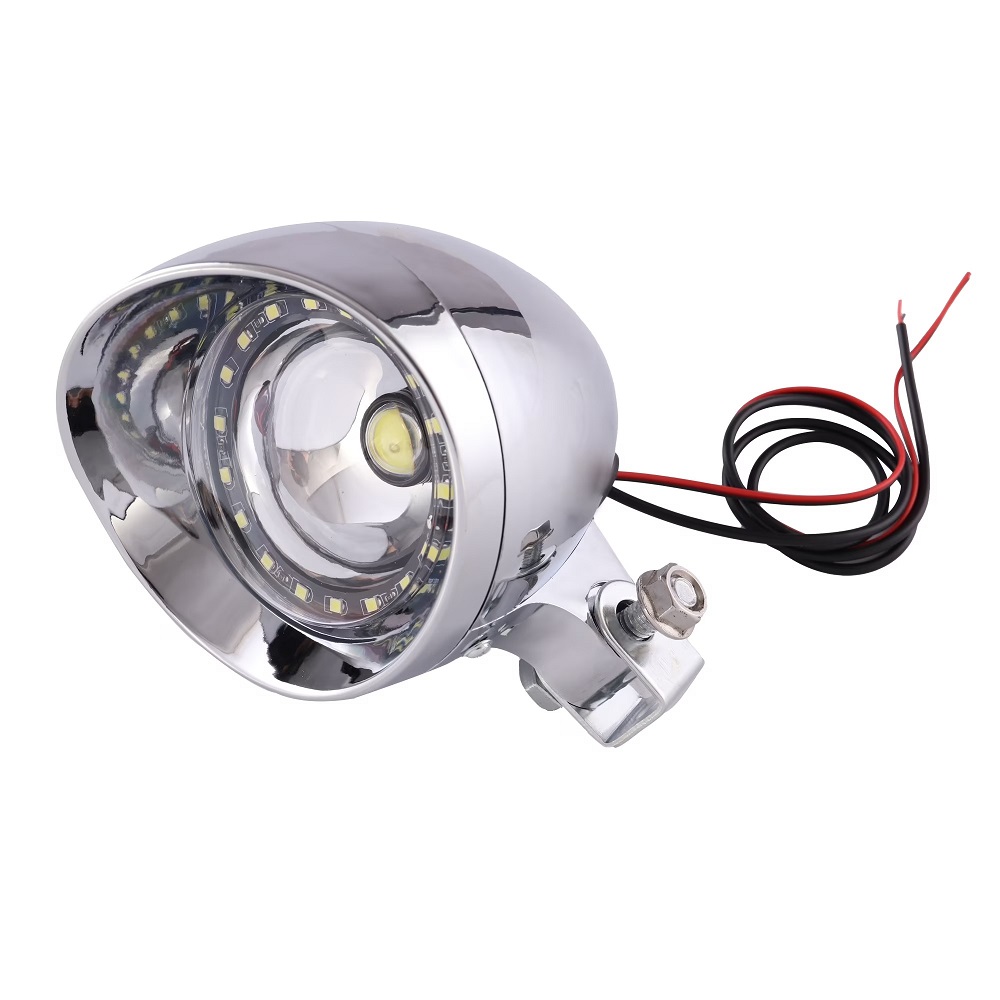
Improved Aesthetics
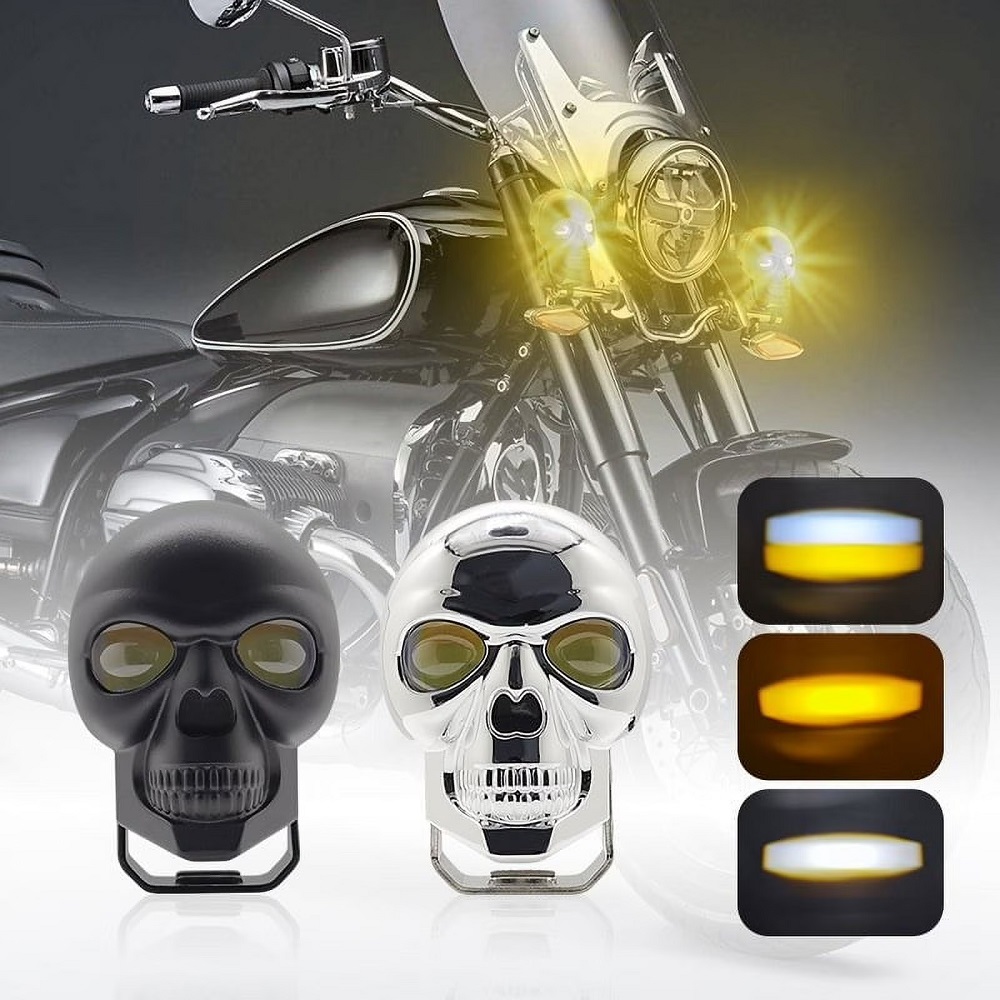
Beyond safety, motorcycle driving lights can also enhance the overall look of your bike. Depending on the design, adding these lights can add a touch of style to your motorcycle, setting it apart from others. Riders often take pride in customizing their bikes, and lights are an excellent way to enhance aesthetics.
Types of Motorcycle Driving Lights
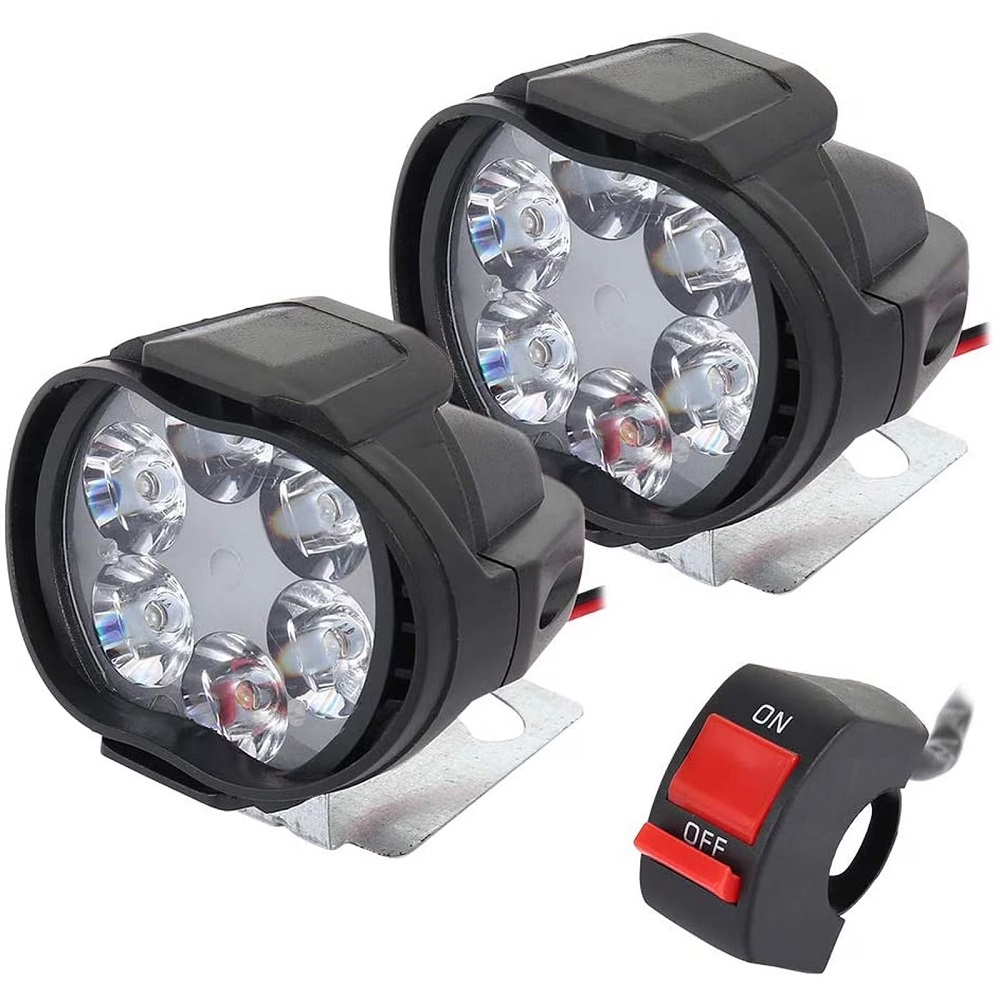
LED vs. Halogen
When selecting motorcycle driving lights, riders typically choose between LED and halogen options. LED lights are popular for their brightness, energy efficiency, and longevity. They consume less power and generate less heat compared to halogen bulbs, making them an excellent choice for extended rides.
Halogen lights, on the other hand, are less expensive and easier to find. They provide a warm light, but their performance may not match the efficiency of LED lights. Depending on your riding habits and preferences, you may choose either option based on the desired brightness and budget.
Spot Lights vs. Flood Lights
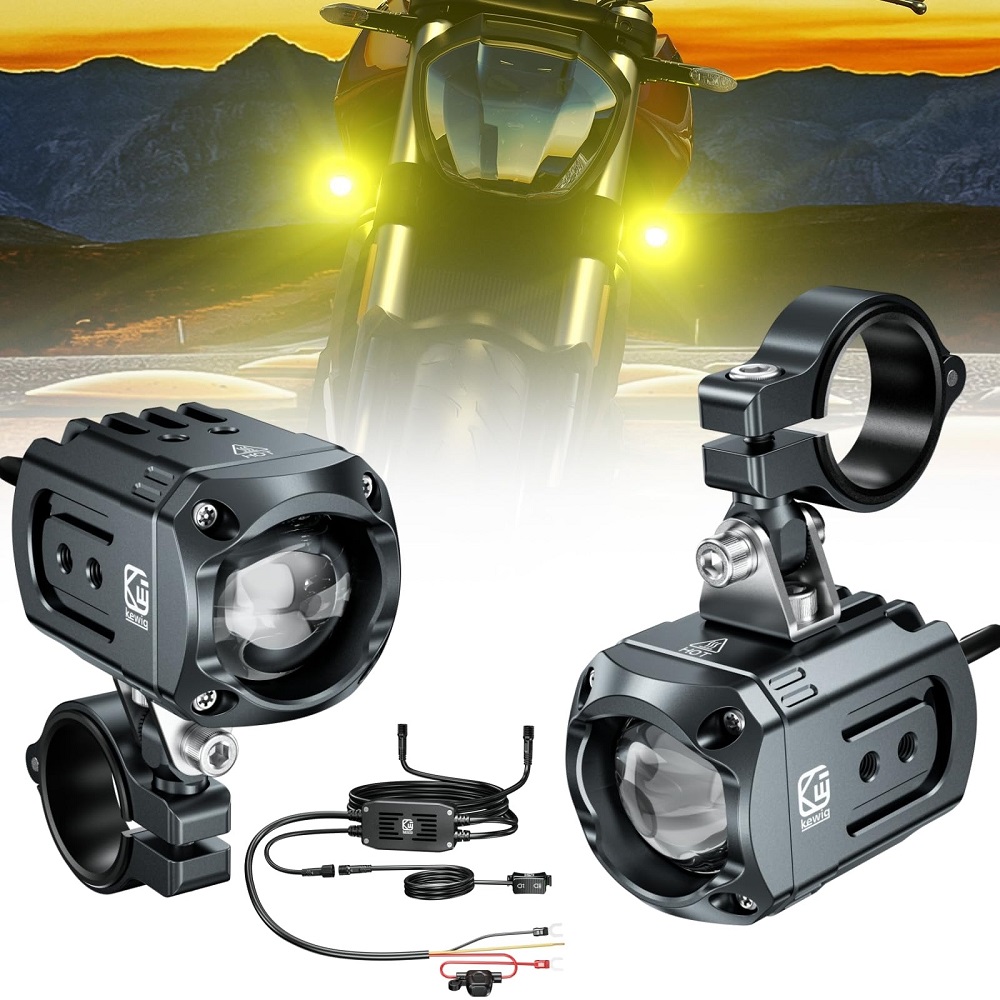
Driving lights are often categorized into spot lights and flood lights. Spot lights produce a concentrated beam of light, ideal for illuminating distant objects. This feature makes them excellent for long-distance riding. In contrast, flood lights generate a wider beam, illuminating a larger area. They are particularly useful for riding in tight spaces or busy traffic, where peripheral visibility is critical.
Combo Lights
Some riders opt for combo lights that integrate both spot and flood capabilities. These lights allow for versatile performance, making them ideal for various riding conditions. Combo lights balance focused illumination with expansive visibility, providing an adaptable lighting solution.
Selecting the Right Driving Lights
Assessing Compatibility
Before purchasing motorcycle driving lights, assess compatibility with your motorcycle model. Check the size and mounting options to ensure a proper fit. Manufacturer specifications may provide insights into which lights work best with your bike, preventing potential installation challenges.
Evaluating Brightness Levels
Consider the brightness levels of the lights you intend to install. Brightness is typically measured in lumens, with higher lumens offering a more potent light output. However, it’s essential to balance brightness with your typical riding conditions, as excessively bright lights can cause glare for oncoming traffic.
Setting a Budget
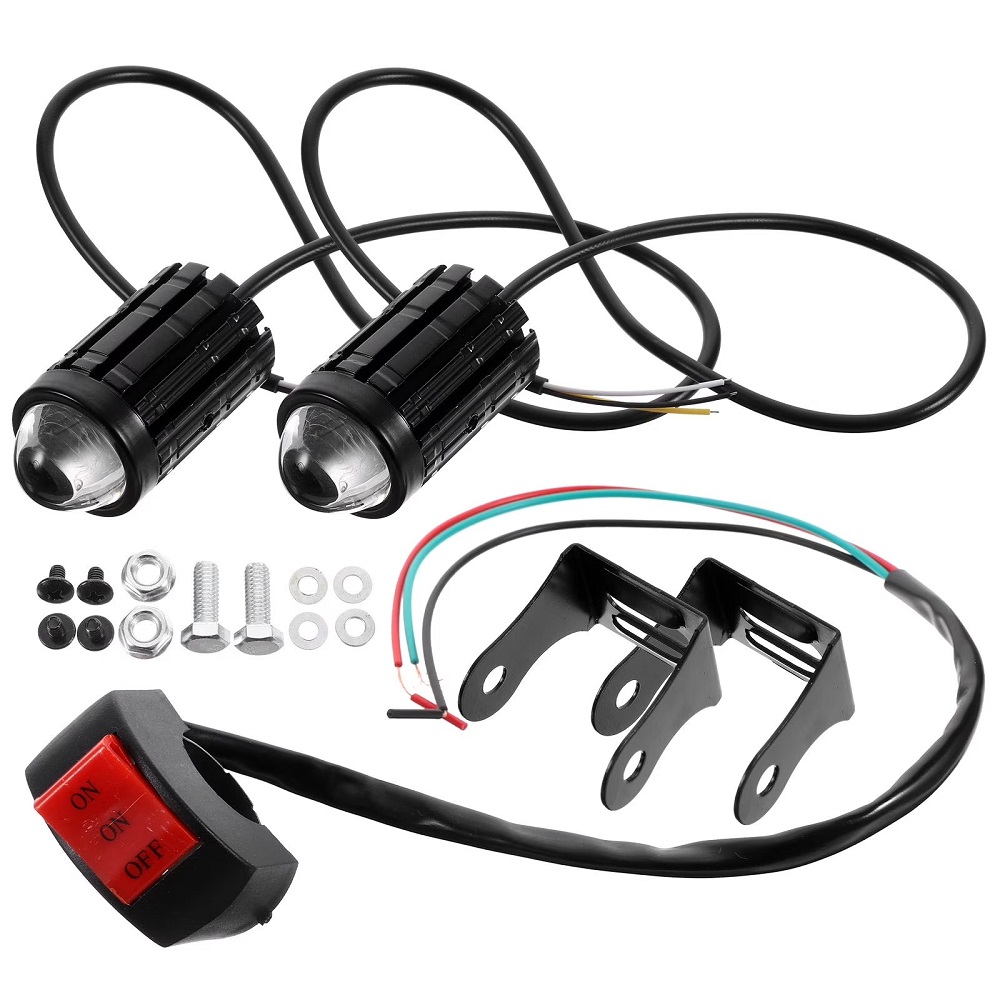
Establishing a budget for your motorcycle driving lights can help narrow your options. Driving lights vary in price, so it’s crucial to find a quality set within your budget. Remember to factor in additional costs for installation and any necessary accessories, such as mounting brackets and wiring harnesses.
Tools Needed for Installation
Basic Tools
Before beginning your installation, gather the necessary tools to ensure a smooth process. Basic tools may include:
- Socket set or wrenches for mounting brackets
- Screwdrivers (flathead and Phillips)
- Wire strippers
- Electrical tape
- Zip ties for securing wiring
Additional Equipment
In some cases, you may require specialized equipment, such as a multimeter to test electrical connections or a drill for creating new mounting holes. Familiarizing yourself with these tools beforehand will streamline the installation process and reduce setbacks.
Step-by-Step Installation Process
Step 1: Prepare the Area
Find a Safe Workspace
Before starting the installation, ensure your motorcycle is on a stable surface. A flat garage floor or driveway is ideal for this task. Make sure the bike is turned off and that the keys are removed from the ignition to avoid accidental starts during the process.
Gather Tools and Equipment
Lay out the tools and equipment you’ll need for the installation. Having everything organized and within reach will prevent interruptions and make the installation process smoother. Take a moment to review the manufacturer’s instructions, as they may contain specific guidelines for your light model.
Step 2: Mounting the Lights
Select Mounting Locations
Choose appropriate mounting locations for the driving lights. Consider factors like visibility, aesthetics, and the bike’s geometry. Common locations include the front forks, handlebars, or custom brackets. Ensure that the lights do not obstruct normal operation or interfere with other components.
Securely Fasten the Lights
Using the provided mounting hardware, securely attach the driving lights to the chosen location. Follow the manufacturer’s instructions for tightening bolts or screws, ensuring the lights are firmly in place. Double-check that the lights are aimed correctly before proceeding to electrical connections.
Step 3: Wiring the Lights
Connect the Wires
After the lights are mounted, it’s time to connect the wiring. Most driving lights come with a wiring harness that simplifies the installation. Identify the positive and negative terminals for the lights and connect them to the harness. If your model does not include a harness, follow the wiring diagram provided in the manual.
Test Connections
After wiring, use a multimeter to test electrical connections and ensure everything is working correctly. This testing step can reveal any issues before the installation is complete, allowing for quick corrections. Confirm that the lights are functioning correctly when switched on.
Step 4: Securing Wires
Using Zip Ties
Once the wiring is connected and functioning, it is essential to secure loose wires. Use zip ties to bundle and fasten the wiring along the bike’s frame, avoiding any moving parts or hot surfaces. Properly secured wires prevent damage and maintain a clean appearance.
Electrical Tape for Protection
For additional safety, wrap exposed connections with electrical tape. This tape protects against moisture and corrosion, ensuring the longevity of your electrical connections. Properly insulating connections can reduce the risk of electrical failures in the future.
Step 5: Final Adjustments and Testing
Check Light Alignment
With the installation complete, take a moment to adjust the alignment of the lights. Ensure they aim correctly for optimal visibility. Position the lights so that they illuminate the road ahead without causing glare for oncoming traffic.
Test the Lights
Once everything is in place, perform a final test of the lights. Start the motorcycle and turn on the driving lights to check their operation. Ride the motorcycle for a short distance to verify that the lights enhance visibility and performance while riding.
Maintenance for Your Driving Lights
Regular Cleaning
Keeping Lights Clear
To ensure optimal performance, clean your driving lights regularly. Dust, dirt, and grime can accumulate and reduce light output. Use a soft cloth and a mild cleaner to wipe the light surfaces. Regular maintenance will ensure they function well and remain bright.
Inspecting Electrical Connections
Preventing Issues
Periodically inspect the wiring and electrical connections for signs of wear or damage. Look for frayed wires or loose connections that might interfere with performance. Addressing any concerns promptly will help prevent larger issues down the line.
Checking Alignment
Ensuring Optimal Performance
Make it a habit to check the alignment of your lights. The vibrations from riding can occasionally cause adjustments. Ensure the lights point in the correct direction to maximize effectiveness. Adjustments, if necessary, should be made after checking the light’s performance regularly.
FAQ:
- How do I choose the right driving lights for my motorcycle?
- Consider factors such as brightness (measured in lumens), light color (white or yellow), mounting options, and compatibility with your motorcycle’s electrical system. LED lights are a popular choice due to their energy efficiency and longevity.
- What tools do I need for installing motorcycle driving lights?
- Common tools needed for installation may include a wrench set, screwdrivers, wire cutters, and electrical tape. Depending on the driving lights, you might also need a drill for mounting brackets. Always refer to the product manual for specific requirements.
- Where should I install the driving lights on my motorcycle?
- Driving lights are typically mounted on the front of the motorcycle, either on the handlebars, fork mounts, or engine guard. Ensure they are positioned at an appropriate height and angle to maximize visibility without blinding other drivers.
- Do I need to modify my motorcycle’s electrical system for installation?
- Depending on the type of driving lights, some models may require additional wiring or relay connections. It’s important to follow the manufacturer’s instructions and, if necessary, consult a professional to ensure your motorcycle’s electrical system can handle the added load.
- How can I ensure the driving lights perform optimally after installation?
- After installation, check the alignment of the lights to ensure they are aimed correctly for optimal visibility. Regularly inspect the wiring connections for corrosion or wear and keep the light lenses clean for maximum brightness during use.
Conclusion: Elevate Your Riding Experience
Installing motorcycle driving lights is a valuable upgrade for enhancing safety and visibility during rides. Understanding the importance of these lights and how to install them properly can make a significant difference in your riding experience. By following the steps outlined in this article, motorcycle enthusiasts can confidently set up their lighting systems for optimal performance.
As you venture out on your motorcycle, enjoy the peace of mind that comes with knowing you are well-equipped for various conditions. The combination of improved visibility and a well-organized setup enhances not only safety but also the overall enjoyment of your ride.
Investing in the best motorcycle driving lights for visibility and taking the time for proper installation will make every journey safer and more enjoyable. Embrace the freedom of the open road and ride confidently into the sunset with your enhanced lighting setup. Your adventures await!
Leave a Reply