Choosing the right tire for your motorcycle is crucial to ensuring a safe and smooth riding experience. The 240/40R18 motorcycle tire has gained popularity among riders looking for enhanced traction and performance. However, proper installation is key to maximizing these benefits. This article will provide essential installation tips for 240/40R18 motorcycle tire, helping you achieve a smooth ride on the road.
Understanding Motorcycle Tires
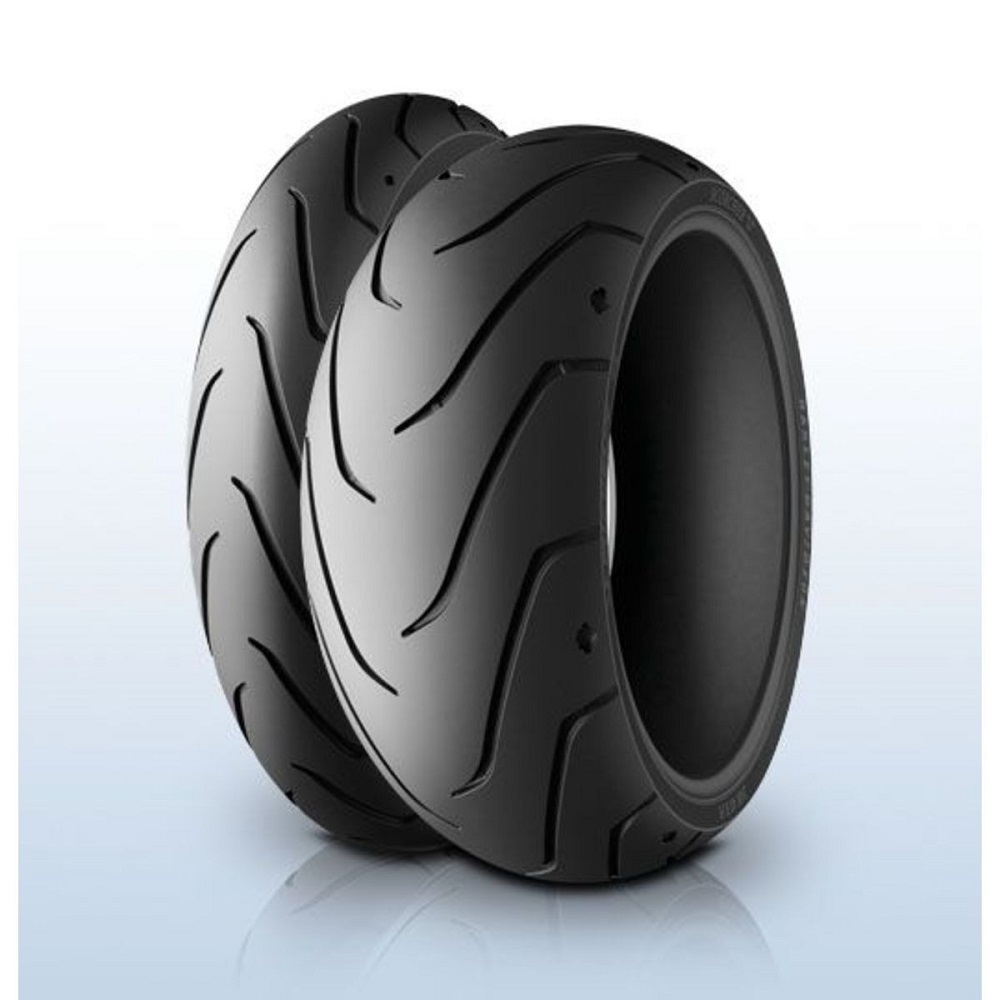
What Does 240/40R18 Mean?
The designation “240/40R18” provides vital information about the tire’s size and specifications. The first number, 240, represents the tire’s width in millimeters. This width is crucial for balancing stability and agility on the road. The second number, 40, is the aspect ratio. This ratio indicates the height of the tire’s sidewall as a percentage of its width. A 40% aspect ratio suggests a shorter sidewall, often leading to better handling and responsiveness.
The Importance of Tire Specifications
The final number, 18, indicates the diameter of the wheel in inches. A tire sized 240/40R18 is designed for an 18-inch wheel. Ensuring compatibility between the tire and wheel size is essential for safety and performance. Incorrect sizing could lead to poor handling, increased wear, and potential safety hazards. Understanding these specifications helps riders make informed choices when selecting tires for their motorcycles.
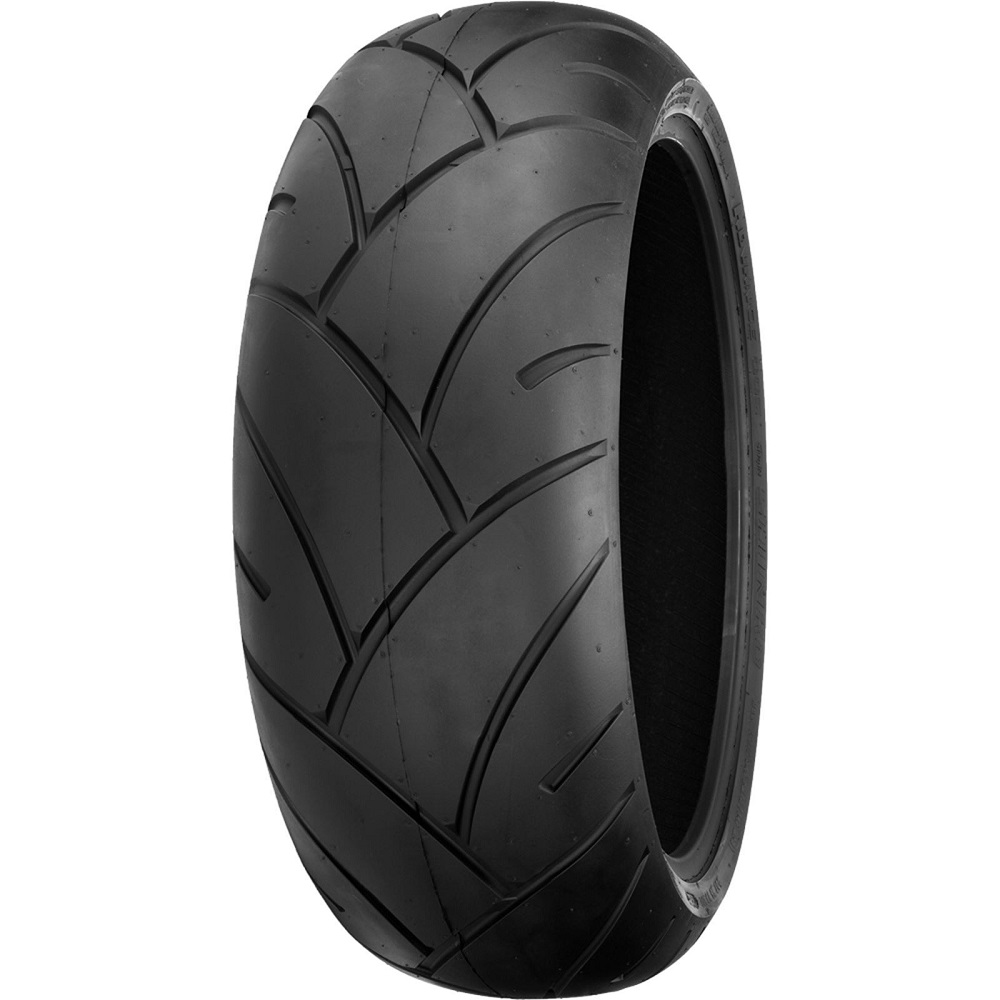
Benefits of the 240/40R18 Tire
The 240/40R18 motorcycle tire is known for enhancing contact with the road, offering improved traction and stability. It is particularly popular among cruiser and touring motorcycles, where comfort and performance are paramount. This tire is designed to provide effective grip while delivering a smooth ride. These benefits are especially important for riders who travel long distances or navigate various terrains.
Preparing for Installation
Gather Necessary Tools
Before beginning the installation process, it’s essential to gather all necessary tools and equipment. You’ll need a motorcycle jack or lift, wrenches, tire levers, and a torque wrench. Additionally, having a new tire, inner tube if needed, and some soapy water can aid in the installation process. Ensuring that you have everything at hand will make the installation faster and smoother.
Safety First
Safety should always be a priority when working on your motorcycle. Make sure you are in a well-ventilated area and wear appropriate safety gear, such as gloves and goggles. Working in a clean, organized space will reduce the risk of accidents and help you focus on the task at hand. If you are unfamiliar with tire installation, consider seeking assistance to ensure that it is done correctly.
Read the Manufacturer’s Instructions
Before starting the installation, read the manufacturer’s instructions carefully. This documentation provides specific guidelines tailored to your motorcycle and tire model. Following these guidelines will help you avoid common mistakes and achieve the best performance from your new tire. Proper preparation sets the stage for a successful installation.

Removing the Old Tire
Lifting the Motorcycle
Start by lifting the motorcycle using a motorcycle jack or lift. This elevation provides easy access to the wheels and reduces strain during the installation process. Ensure the motorcycle is stable when lifted. It’s crucial to take precautions to avoid accidents or injuries while working on the bike. Maintain a stable position and double-check that the lift is secure before proceeding.
Loosening the Wheel Bolts
Next, locate the wheel bolts or nuts on the motorcycle. Use the appropriate wrench to loosen them, but do not remove them completely yet. Loosening the bolts reduces straining on the tire’s mounting area when it is time to remove the wheel. Make sure to keep the bolts in a safe place to avoid losing them during the process.
Detaching the Wheel
Once you have sufficiently loosened the bolts, carefully remove them and detach the wheel from the motorcycle. Pay attention to how the wheel is fitted so that you can understand how to reinstall it later. Make sure there are no cables or wires obstructing the wheel’s removal. Place the wheel on a stable surface, ensuring it’s well-supported to facilitate tire work.
Removing the Old Tire
Deflating the Tire
Before removing the old tire, it must be deflated. Locate the valve stem and press down to release air completely. This step makes the tire easier to work with during removal. Make sure to remove any residual air inside before proceeding, as any air left could create potential hazards when you attempt to remove the tire.
Using Tire Levers
To remove the old tire, utilize tire levers. Insert one lever between the tire bead and the rim, pushing down to break the seal. Use a second lever to work around the rim, carefully prying the tire off. Patience is key during this process; rushing can damage the tire or rim. Take breaks if needed and ensure that you are not applying excessive force.
Inspecting the Rim
Once the tire is removed, inspect the rim for damages or debris. Look for dents, rust, or dirt that may affect the performance of the new tire. Cleaning the rim thoroughly ensures that the new tire seals properly. A smooth rim surface is crucial for preventing air leaks and ensuring safety on the road. Taking the time to assess the condition of the rim pays off in the long run.
Installing the New Tire
Preparing the New Tire
Before installation, it’s essential to prepare the new tire. Check the rotation direction indicated on the tire sidewall to ensure it is mounted correctly. Additionally, inspect the tire for any damage or defects before placing it on the rim. This step is critical to ensuring safety and performance. Properly preparing your tire reduces installation issues further down the line.
Applying Lubricant
To make installation smoother, apply a thin layer of soapy water or tire lubricant around the rim. This lubrication helps the tire bead slip into place during installation and reduces the risk of pinching. Apply the lubricant generously enough to coat the surface but not so much that it becomes messy. This will ease the installation process and provide better adherence later on.
Mounting the New Tire
Align the tire with the rim and push one side of the tire bead onto the rim. Then, use your hands or a set of tire levers to guide the rest of the tire into place. Take care to ensure that the tire is seated evenly all around the rim. A smooth fit is essential, as a misaligned tire can lead to air leaks and unsafe riding conditions. Patience is key; take your time to adjust the bead accurately.

Securing the Tire
Inflating the Tire
Once the tire is mounted, it’s time to inflate it. Use an air compressor or manual pump to gradually add air. Monitor the pressure as you inflate to ensure it fits within the manufacturer’s specifications. Proper inflation is critical for safety and handling. After reaching the recommended pressure, check that the tire bead has seated properly against the rim.
Rechecking for Seals
After inflating the tire, inspect the rim for any signs of leaks. You can do this by applying soapy water around the bead area and checking for bubbles. If you notice bubbles forming, you may have an issue with the bead seat that needs to be addressed. Taking this step confirms a secure tire fit and ensures a safe ride.
Reinstalling the Wheel
Carefully reposition the wheel back onto the motorcycle. Align the axle holes and insert the axle through the wheel. Once in place, hand-tighten the bolts initially. This will ensure that everything is securely in position before applying the final torque. Proper alignment is crucial at this stage; ensure that the wheel is fitted straight and stable.
Final Checks and Adjustments
Tightening the Wheel Bolts
Use a torque wrench to tighten the wheel bolts to the manufacturer’s specifications. Ensuring the correct torque helps maintain stability while riding. This step minimizes the risk of wobbling or loosening during use. Properly secured bolts enhance safety and improve overall riding performance.
Checking the Brakes
After the wheel is installed, do not forget to check the brakes before taking the bike on the road. Squeeze the brake lever and ensure they are functioning effectively. Adjustments may be necessary if the wheel removal affected the brake alignment. Ensuring brakes are in optimal condition is critical for safe riding.
Testing the Ride
Once everything is secure and in place, take your motorcycle for a short test ride. Pay attention to how it feels and listen for unusual noises that could indicate a problem. Make any necessary adjustments based on the ride. This brief test ensures that the installation was successful and confirms that everything is functioning properly.
FAQ:
- How do I know if a 240/40R18 tire is suitable for my motorcycle?
- To determine if a 240/40R18 tire is suitable, check your motorcycle’s specifications provided by the manufacturer. Look for the recommended tire sizes in the owner’s manual or on a label found on the frame or swingarm.
- What tools do I need to install a motorcycle tire?
- Basic tools required for installing a motorcycle tire include a tire lever, a torque wrench, a bead breaker, a valve stem tool, and a pump or tire inflator. You might also need rim protectors to avoid damaging the wheel during installation.
- Can I install a motorcycle tire myself, or should I seek professional help?
- While experienced DIYers can install motorcycle tires themselves, it’s often best to seek professional help if you’re unfamiliar with the process. You must ensure proper installation for safety, as professionals have the tools and expertise to complete the job correctly.
- What are the signs that my motorcycle tire needs to be replaced?
- Signs that your motorcycle tire needs replacing include significant tread wear, visible cracks or bulges on the sidewall, frequent loss of air pressure, or poor handling and traction. Regularly inspect your tires for these indicators.
- How can I ensure a smooth ride after installing a new tire?
- To ensure a smooth ride after installation, properly inflate the tire to the recommended pressure, balance the tire, and check wheel alignment. Test the bike at low speeds to ensure everything is functioning correctly before riding at higher speeds.
Conclusion
The Value of Proper Installation
In conclusion, installing a 240/40R18 motorcycle tire requires attention to detail and care. Understanding each step ensures a smooth and successful process. A well-installed tire maximizes your motorcycle’s performance and safety on the road. The effort you put into this task pays off with improved riding experiences, comfort, and peace of mind.
Embrace the Journey
As you enjoy every ride, remember the importance of tire quality and maintenance. Regularly inspect your tires and ensure they are in good condition for optimal performance. Embracing proper care will lead to countless adventures on two wheels, allowing you to travel comfortably and confidently.
Leave a Reply