Motorcycles are more than just a means of transportation; they embody freedom and adventure. However, to keep your motorcycle in top condition, having a protective shelter is essential. A motorcycle shelter hard shell offers excellent protection against harsh weather conditions, offering security and peace of mind. This article will provide you with valuable installation tips for easy setup, ensuring your motorcycle remains safe and secure.
Understanding the Benefits of a Hard Shell Shelter
Enhanced Protection from the Elements
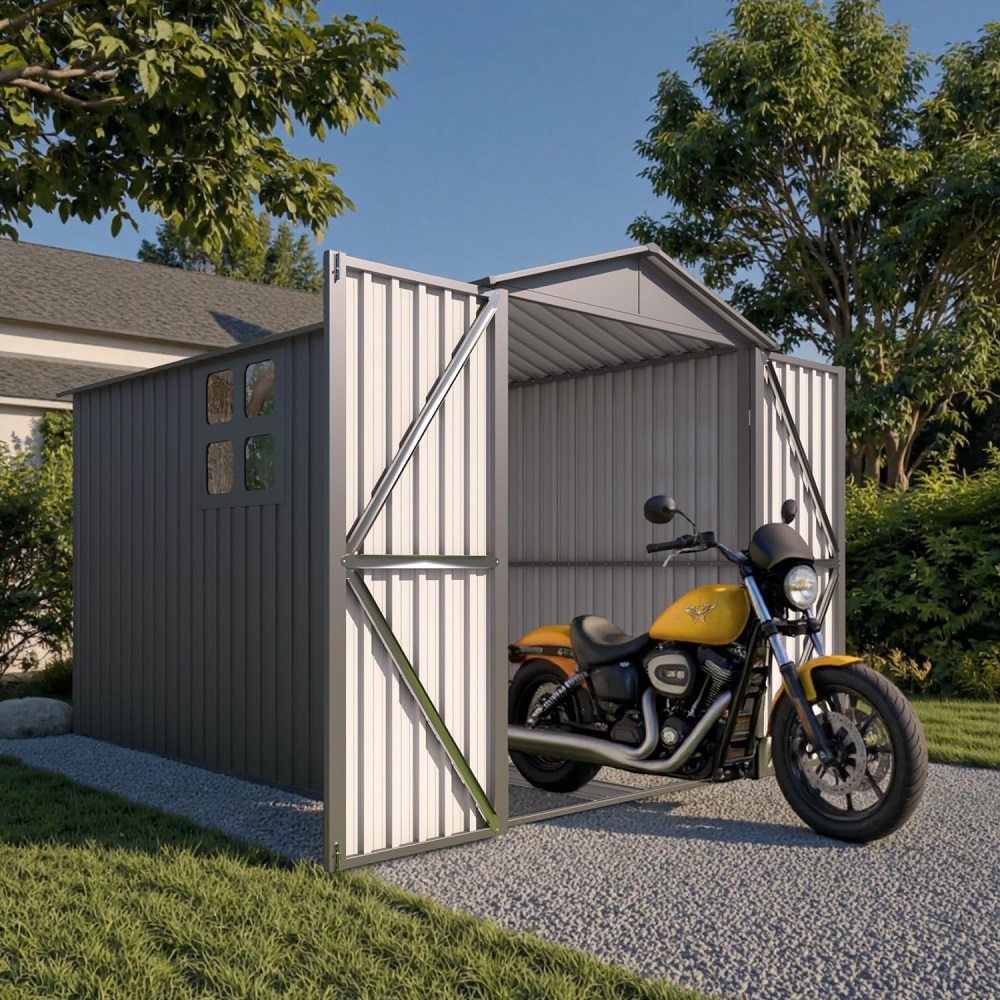
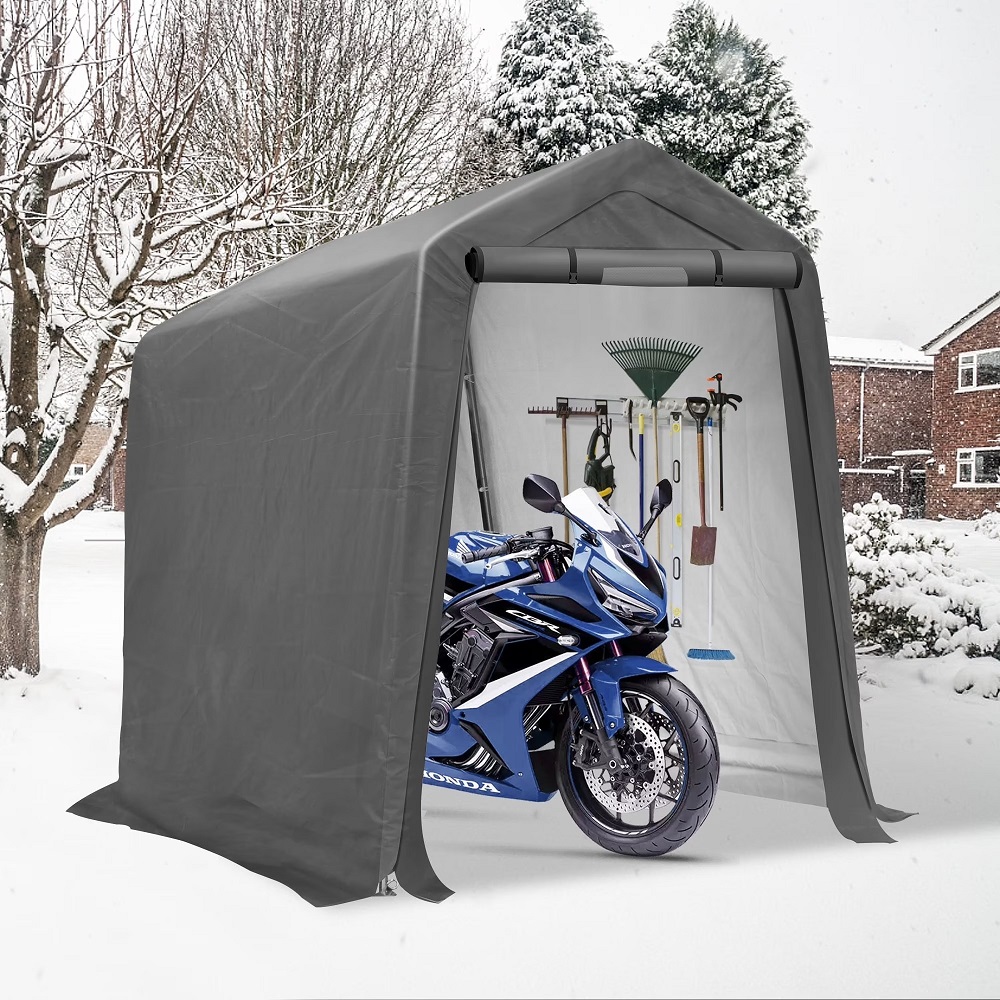
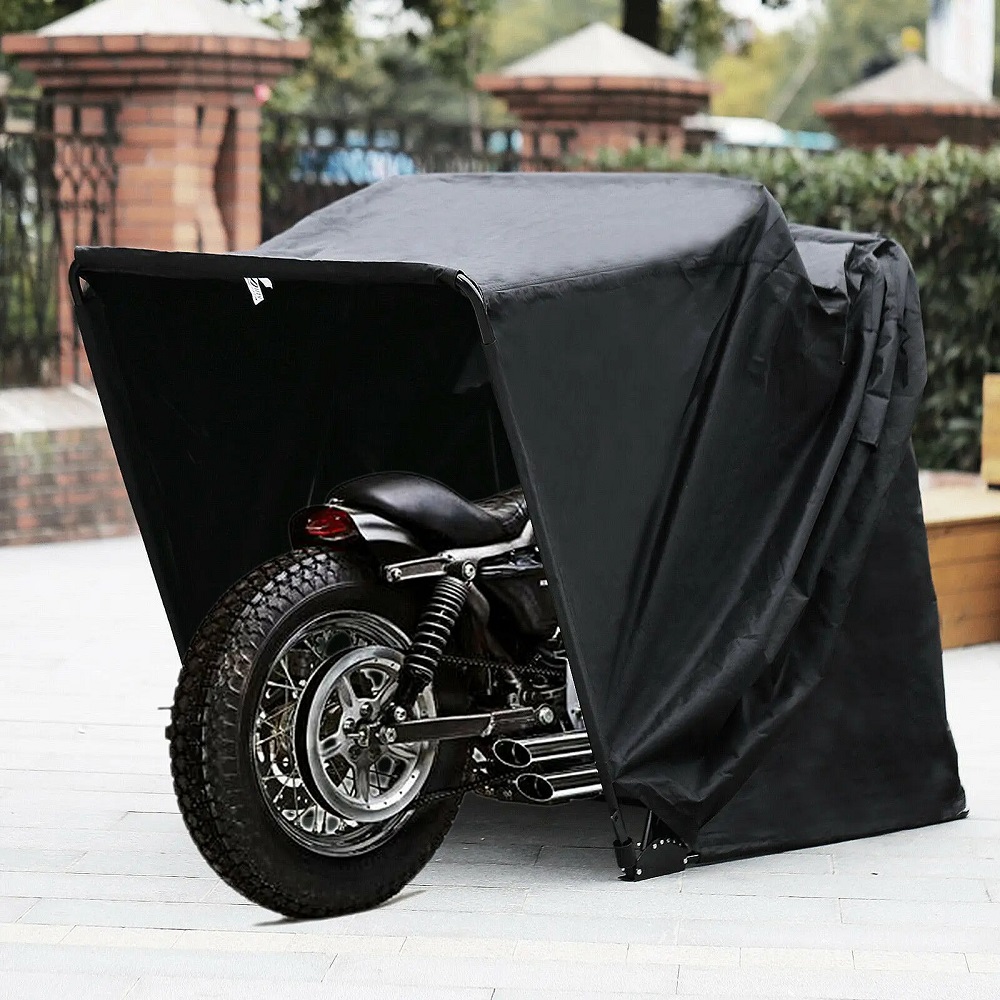
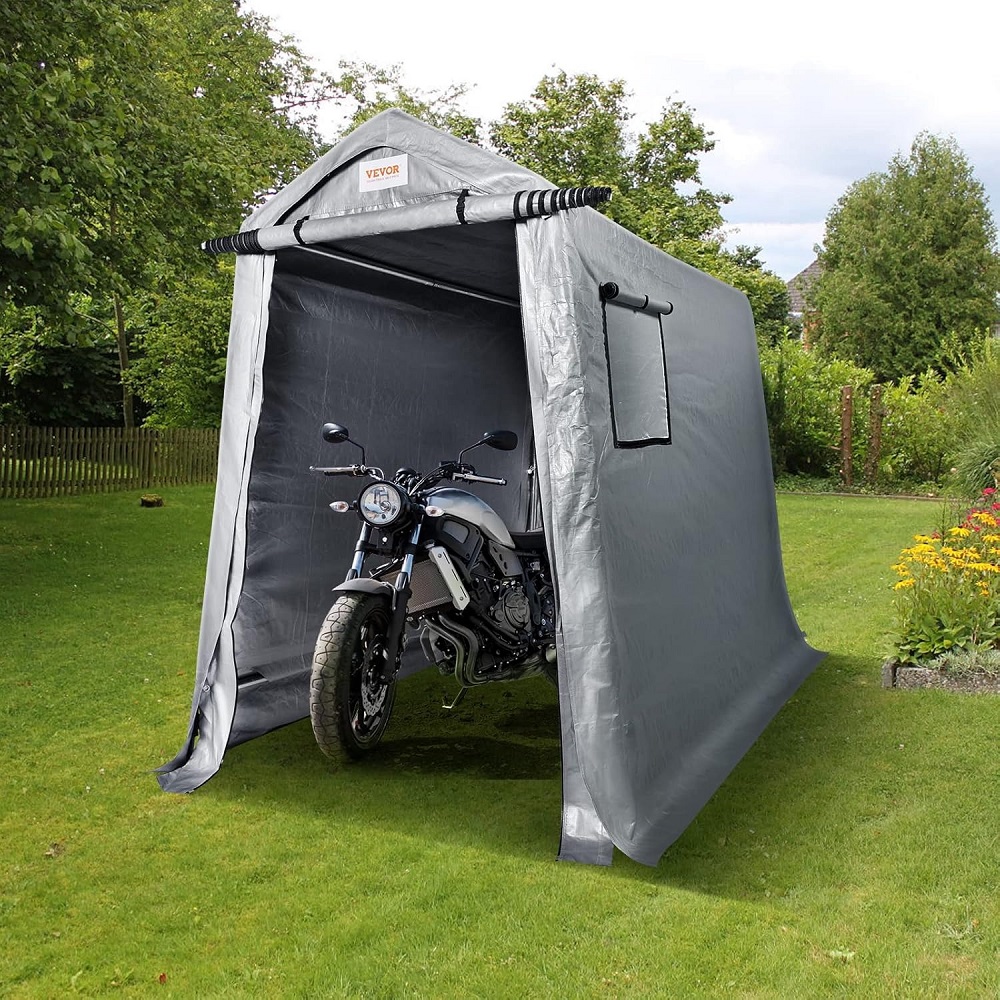
A hard-shell motorcycle shelter provides excellent protection against harsh weather conditions, including rain, snow, and UV rays. Unlike soft covers, which can tear and wear down, a hard shelter keeps your bike safe from moisture and temperature extremes. This protection prevents rust and fading, ensuring your motorcycle maintains its appearance and functionality.
Increased Security
Another significant benefit of a hard-shell shelter is the added security it offers. Many models come equipped with locks and secure latching mechanisms, deterring potential theft. A sturdy shelter acts as a barrier, making it more challenging for thieves to access your motorcycle. Knowing that your bike is secure can provide peace of mind, especially if you live in an area with a high crime rate.
Aesthetically Pleasing Design
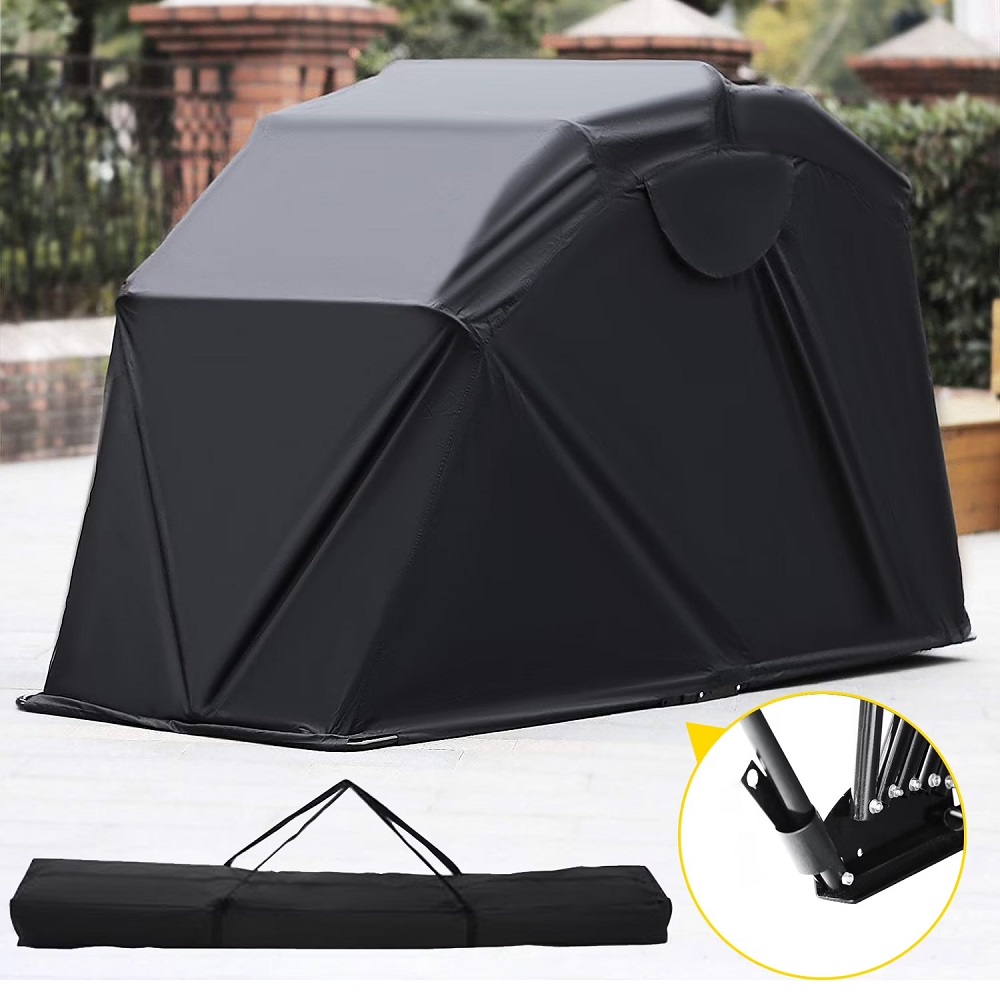
Hard-shell shelters are often designed with aesthetics in mind. Many options on the market feature sleek, modern designs that can enhance your property’s appearance. Choosing a shelter that complements your home or garage can improve your home’s overall look while providing the functionality you need.
Choosing the Right Location
Assessing Available Space
Before installation, assess the available space in your yard or garage. Ensure that the area chosen for the shelter is large enough to accommodate your motorcycle and any additional items you may want to store. Consider your motorcycle’s dimensions and add some extra space for easy access, allowing you to maneuver without difficulty.
Considering Accessibility
Choose a location that provides convenient access to the shelter. You should be able to park your motorcycle easily and remove it without any hassle. If you have to navigate a narrow pathway to reach the shelter, it can become tedious over time. Ensure your motorcycle can enter and exit comfortably without restrictions.
Evaluating Surface Stability
The surface where you place your hard-shell shelter should be stable and level. Grass or uneven ground can lead to issues such as water pooling or tipping. A concrete slab or patio is ideal since it provides stability and drainage capabilities. The right surface contributes to the longevity of the shelter and helps your motorcycle remain safe and dry.
Gathering Necessary Tools
Basic Tools Required
Before you start the installation process, gather all necessary tools. Generally, you will need a power drill, a level, a measuring tape, a wrench, and screws or anchors. Having everything organized and accessible will streamline the installation process and prevent unnecessary delays.
Optional Tools
Consider obtaining optional tools such as clamps or a saw, depending on the specific shelter model you’ve chosen. These tools may come in handy if any extra modifications are required for installation. Having the proper supplies on hand will simplify your setup and make it more efficient.
Reviewing the Instruction Manual
Before proceeding, thoroughly review the instruction manual that comes with your shelter. Each model may have specific requirements, so familiarizing yourself with the guidelines ensures a smoother installation. If sections appear confusing, don’t hesitate to consult online resources or customer service for assistance.
Planning the Assembly
Organizing Shelter Components
Once you have all your tools ready, start organizing the components of the shelter. Lay out the panels, screws, and any additional materials in an easily accessible manner. This organization allows you to work more efficiently and prevents confusion during the assembly process.
Reviewing the Assembly Steps
Go through the assembly steps outlined in the instruction manual. Make note of any particularly challenging aspects of the installation. Understanding the entire process beforehand allows for smoother execution and minimizes potential errors.
Enlisting Help When Necessary
If the shelter is large or complex, consider enlisting help from a friend or family member for the assembly. Having an extra set of hands can simplify the process by allowing one person to hold components while the other secures them. Working together makes the installation more enjoyable and efficient.
Assembling the Base
Securing the Foundation
The foundation is critical for the overall stability of the hard-shell shelter. Start by assembling the base according to the manufacturer’s instructions. If your shelter requires anchoring into the ground, drill holes and use anchors to secure it. This step is vital to prevent the shelter from shifting during strong winds or severe weather.
Ensuring Level Alignment
As you assemble the base, use a level to ensure everything is aligned correctly. An uneven foundation can impair the overall structure, leading to problems during installation and in the future. Adjust as necessary to create a flat, secure surface.
Checking for Stability
Once the base is secured, check for stability by applying slight pressure to various points. The shelter should feel solid and adequately anchored. If it shifts or feels wobbly, re-evaluate the construction and adjust as needed. A sturdy base ensures the protection of your motorcycle and enhances the shelter’s longevity.
Constructing the Shelter Walls
Attaching Wall Panels
With the foundation complete, start attaching the wall panels to the base. Follow the instructions closely, aligning each panel according to the manufacturer’s specifications. This alignment is crucial for the overall durability of the structure.
Securing with Fasteners
Use the provided screws or fasteners to secure the panels. Be careful not to overtighten, as this can lead to damage. Ensure that panels fit snugly together, eliminating gaps that could allow moisture or pests to enter the shelter.
Checking Alignment Again
As you attach more panels, periodically check for alignment. Use a level to confirm that each wall is straight and secure. Addressing any discrepancies during this process will save you time and effort in the long run.
Installing the Roof
Understanding Roof Structure
Once the walls are complete, it’s time to install the roof. Understanding the roof structure is vital, as it plays a significant role in the shelter’s overall stability. The roof should fit securely on top of the walls, ensuring adequate protection from rain, snow, and UV rays.
Attaching Roof Panels
Carefully position the roof panels onto the wall structure. Secure the panels according to the instructions, ensuring they fit tightly to prevent leaks. Patience is key during this process, as ensuring a solid roof can impact the shelter’s performance significantly.
Checking for Gaps
After securing the roof panels, check for any gaps between the roof and walls. Gaps can allow moisture and debris to enter, potentially compromising your motorcycle’s safety. If you notice gaps, use weather stripping or sealant to create a tight seal.
Adding Ventilation Features
Importance of Ventilation
Proper ventilation is essential for maintaining the conditions inside your motorcycle shelter. Adequate airflow helps reduce moisture buildup, preventing mold and corrosion on your bike.
Installing Vents
Some hard-shell shelters come equipped with built-in ventilation systems. If yours does, ensure they are properly installed according to the instructions. If your model does not include ventilation, consider adding passive vents to allow for airflow.
Examining Airflow
Once ventilation is installed, check it to ensure it allows for adequate airflow. During the dry months, proper ventilation helps reduce heat buildup inside the shelter. Be mindful of this during installation, as overlooking ventilation can lead to unforeseen consequences.
Finalizing the Setup
Inspecting Completed Installation
After the shelter is fully assembled, conduct a thorough inspection. Ensure that all panels, screws, and locks are secure. Double-check ventilation features and make adjustments if necessary. A comprehensive inspection helps identify any potential issues before it becomes a problem.
Cleaning the Shelter Interior
Before placing your motorcycle inside, take a few moments to clean the interior of the shelter. Remove any debris or dust that may have accumulated during the installation process. A clean interior prevents contaminants from affecting your motorcycle.
Adding Secure Anchors
Consider adding secure anchors or locks once you are satisfied with your installation. These additional security measures provide peace of mind, knowing your motorcycle is safeguarded.
Maintaining Your Shelter
Regular Inspections
After installation, regular maintenance is essential. Conduct frequent inspections of your hard-shell shelter to ensure it remains in good condition. Check for signs of wear, rust, or damage periodically.
Cleaning the Exterior
Also, clean the exterior of the shelter regularly. Use mild soap and water to prevent the buildup of grime or dirt. A clean shelter not only looks better but also lasts longer due to reduced wear and tear.
Addressing Repairs Promptly
If any repairs are needed, address them promptly. Addressing minor issues early prevents them from escalating into more significant problems. Keeping your motorcycle shelter in top condition ensures it serves you well for years to come.
FAQ:
- How do I install a hard shell motorcycle shelter?
- Installation typically involves assembling the frame, attaching the hard panels, and securing the shelter to the ground or a stable surface. Refer to the manufacturer’s instructions for specific steps, and make sure you have the necessary tools on hand. It’s advisable to have at least one other person assist during installation for ease.
- What tools do I need for installation?
- Common tools required for installing a hard shell motorcycle shelter may include a screwdriver, wrenches, a level, and possibly a drill, depending on the model. Review the installation guide to confirm specific tool requirements before starting.
- Can I install a motorcycle shelter on any surface?
- Ideally, a motorcycle shelter should be installed on a flat, stable surface like concrete or compacted gravel to ensure it remains secure and upright. Avoid soft or uneven surfaces, as they can compromise the stability of the shelter.
- How do I secure the shelter to prevent it from tipping?
- To secure the shelter, use the anchoring system provided by the manufacturer, which may include stakes, straps, or weights. Ensure all anchors are firmly in place, especially in windy conditions, to prevent the shelter from tipping or being dislodged.
- Are hard shell motorcycle shelters weatherproof?
- Yes, most hard shell motorcycle shelters are designed to be weatherproof, providing protection against rain, snow, and UV damage. However, it’s essential to check the specifications and reviews of the particular model to verify its weather resistance and durability in various conditions.
Conclusion
Installing a motorcycle hard-shell shelter involves careful planning and execution. Understanding the benefits of a hard-shell shelter and choosing the right location is essential. Proper measurements, gathering tools, and following assembly instructions play critical roles in the installation process.
Once installed, regular maintenance ensures your shelter retains its protective qualities. The right shelter, such as the best motorcycle shelter hard shell for protection, not only safeguards your motorcycle but also enhances your riding experience. By following these tips, you can enjoy the peace of mind that comes with knowing your beloved machine is protected from the elements. Safe riding!
Leave a Reply