Building a bobber motorcycle is a rewarding project for custom bike enthusiasts. With its minimalist design and stripped-down aesthetic, the bobber offers a unique blend of vintage style and modern performance. This comprehensive guide will walk you through the essential steps to build your own bobber motorcycle, from selecting the right base bike to customizing your design. Each section will provide practical tips and insights to help you through the process.
Understanding the Bobber Concept
The History of Bobber Motorcycles
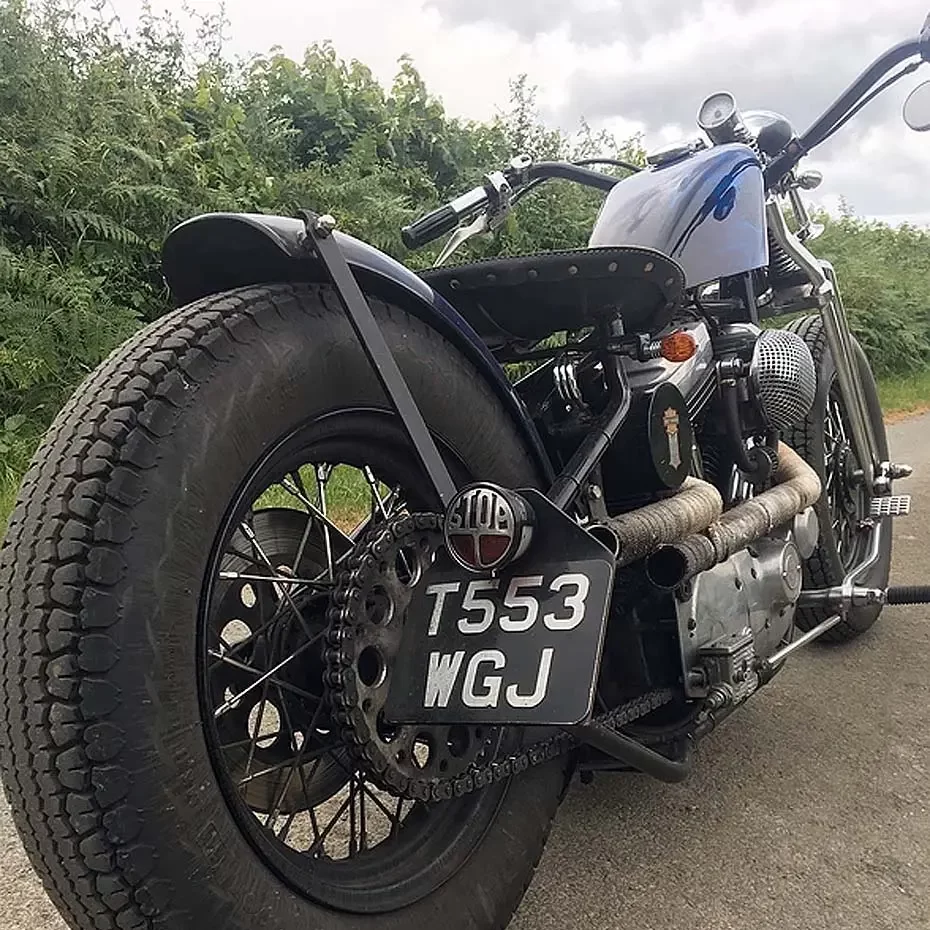
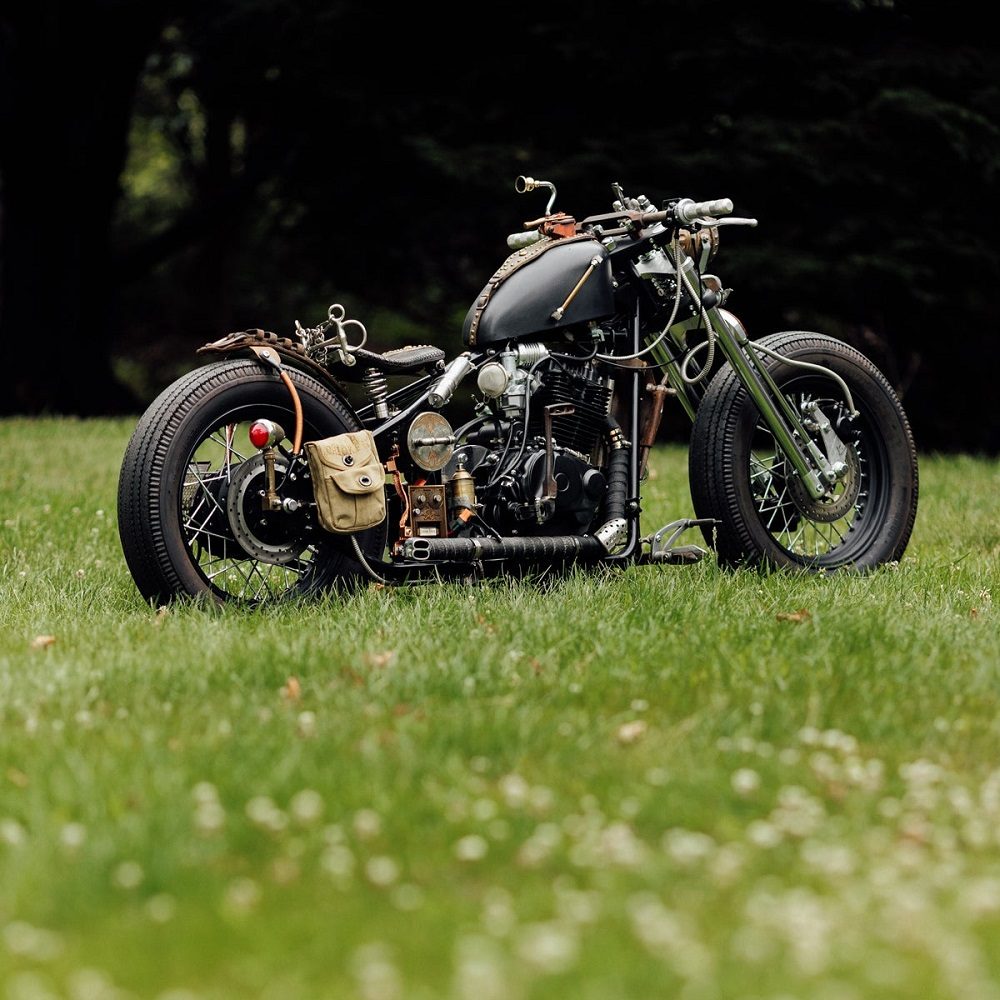
Bobber motorcycles have a rich history that dates back to the post-World War II era. Soldiers returning from the war sought to customize their motorcycles to make them lighter and more agile. They removed unnecessary parts, leading to the signature bobbed or shortened fenders. This modification reduced weight and created a cleaner, more streamlined look. Over the decades, bobbers have evolved, but they remain rooted in that original design philosophy.
Today, bobbers encapsulate a rebellious spirit. They celebrate individuality and creativity, allowing riders to tailor their motorcycles according to personal style preferences. The aesthetic can range from vintage bobbers with retro elements to modern interpretations that integrate cutting-edge technology. Understanding this history can ignite your passion as you begin your own build, connecting you with a rich tradition of motorcycle customization.
Key Characteristics of Bobber Motorcycles
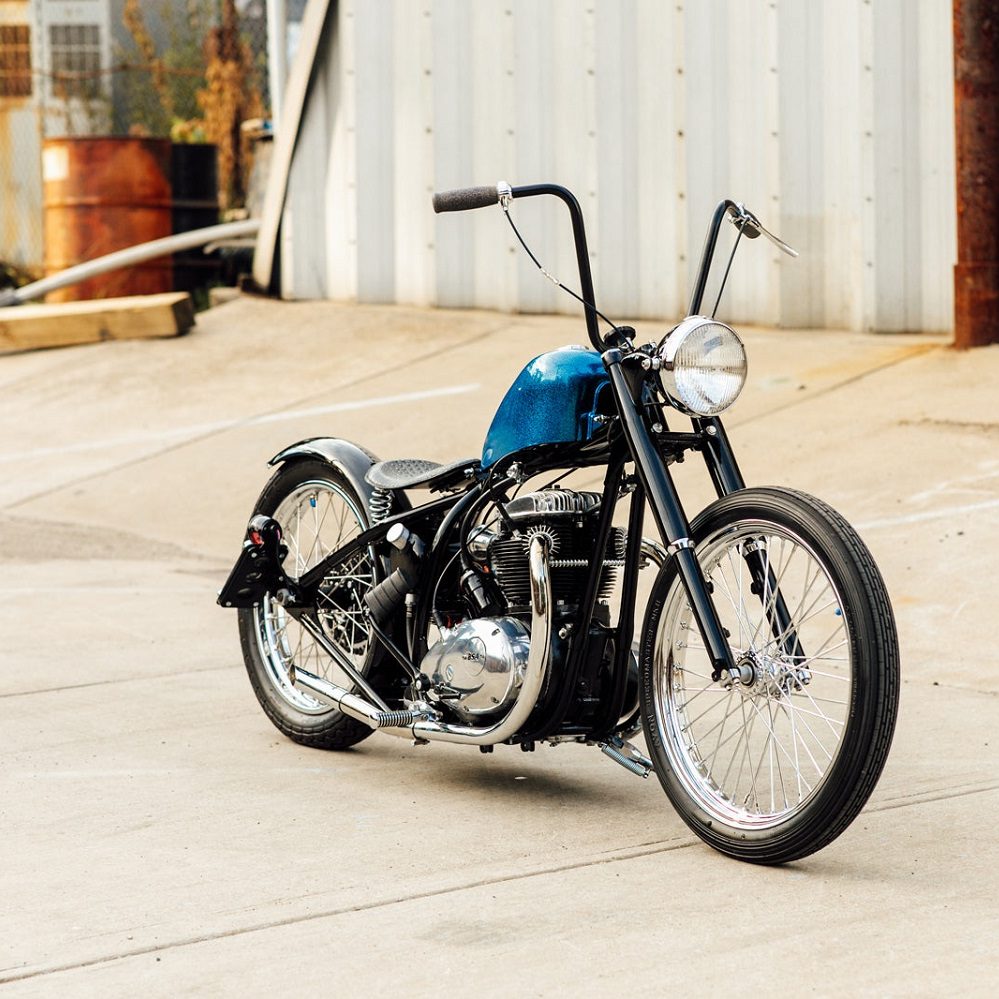
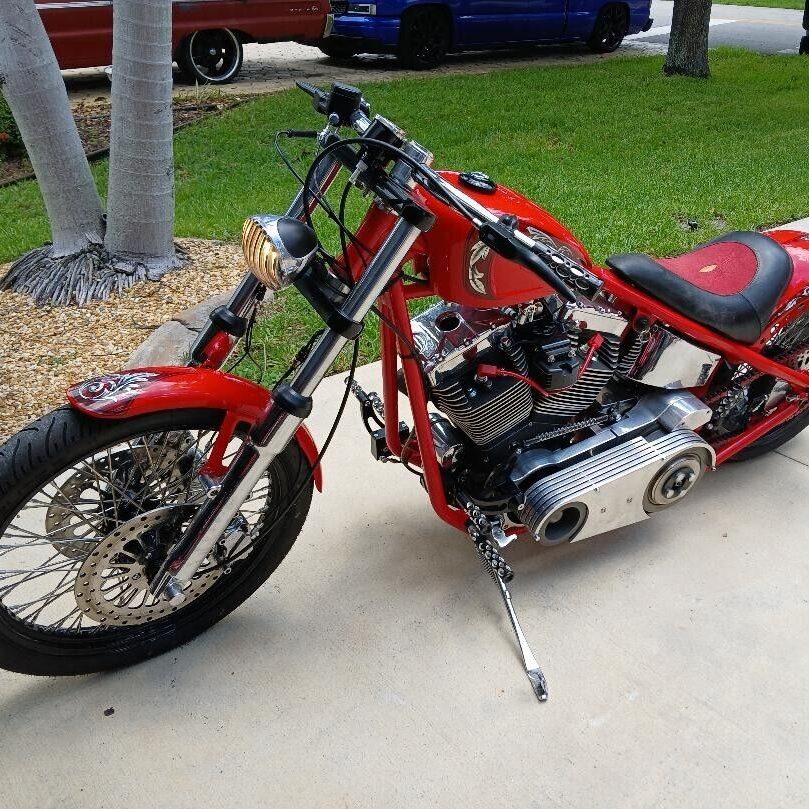
While every bobber can vary in style and design, several key characteristics define this motorcycle genre. First, bobbers typically feature a minimalist design. This aesthetic often includes shortened or completely removed fenders, simplified lines, and a general absence of unnecessary components. This simplicity not only contributes to the bike’s lightweight profile but also enhances its visual appeal.
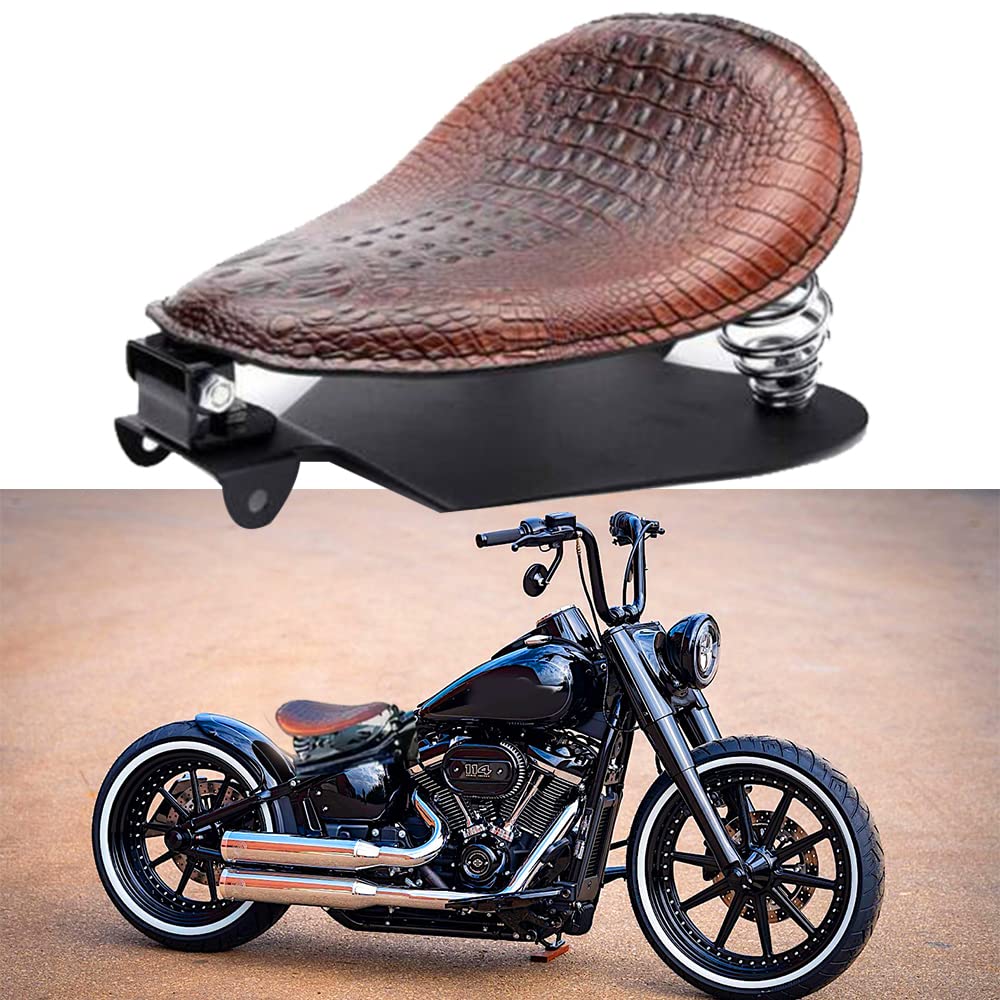
Moreover, bobbers often sport solo seats or minimalist rider platforms, emphasizing the bike’s streamlined look. Other common elements include mid-mounted foot controls and drop handlebars, which lend an aggressive riding position. Understanding these basic elements will provide a solid foundation as you plan your bobber build.
Selecting the Right Base Motorcycle
Popular Base Models for Bobber Conversions
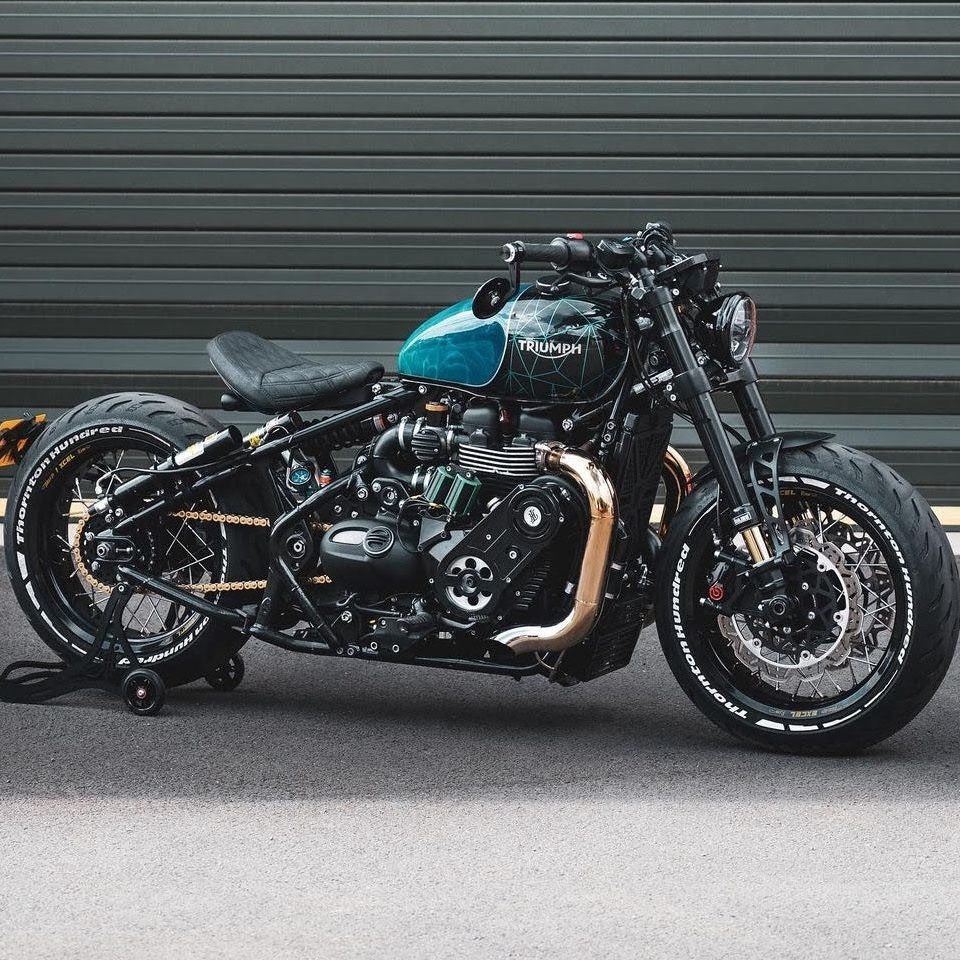
When embarking on your bobber project, choosing the right base motorcycle is crucial. While virtually any motorcycle can be customized into a bobber, certain models are more suitable due to their design and components. Popular choices include the Harley-Davidson Sportster, Triumph Bonneville, and older Japanese models like the Honda CB series. Each of these models offers a solid framework and parts availability for customization.
The Harley-Davidson Sportster is often favored for its robust engine and extensive aftermarket support. The Triumph Bonneville provides a classic British styling that lends itself well to bobber modifications. Those looking for an affordable option might consider the Honda CB series, which offers reliable performance and a vintage aesthetic. Researching these models will help you make an informed decision.
Evaluating Condition and Budget
Once you’ve selected a few potential models for your bobber build, evaluate their condition and your budget. Look for a motorcycle that is mechanically sound, as this will reduce the time and cost involved in repairs. Consider factors such as frame integrity, engine performance, and the overall condition of the components.
Budgeting is equally important during this stage. A bobber build can range from a few hundred to several thousand dollars, depending on the base bike and the extent of customization desired. For those on a tight budget, consider purchasing a used motorcycle and focusing on essential modifications first. This approach allows you to spread costs over time while still working toward your ideal bobber.
Essential Tools and Equipment
Gathering the Right Tools
Before diving into the build, it’s essential to gather the necessary tools and equipment. While the specific tools needed may vary based on your particular project, certain basics are key to any motorcycle build. A proper toolkit will typically include wrenches, socket sets, pliers, screwdrivers, and a torque wrench. These tools will help you work effectively and efficiently.
Additionally, consider investing in specialized tools such as a motorcycle lift or stand. A lift simplifies the process of working on your bike, as it allows you to access all parts easily. Other valuable tools include a band saw or angle grinder for fabricating parts and a welder for any custom framework or modifications. Having the right tools on hand will make your build smoother and more enjoyable.
Safety Gear and Workspace
Creating a safe workspace is essential before starting any motorcycle project. Ensure that your workspace is well-ventilated, especially if you will be working with potentially hazardous materials like paint or solvents. Set up adequate lighting to keep your workspace bright and easy to navigate.
Investing in safety gear is also crucial. Wear safety goggles, gloves, and a dust mask while working on your bike. Protective clothing can help prevent injuries and ensure the project is completed safely. A well-organized and safe workspace will foster a productive environment for your bobber build.
Planning Your Bobber Design
Sketching Your Vision
Before beginning the construction phase of your bobber, sketching out your design is a helpful exercise. Consider the overall style you wish to achieve, including color schemes, components, and aesthetics. Your vision can serve as a blueprint throughout the build, keeping you focused on your intended outcome.
Explore inspiration from various sources, such as motorcycle magazines, online forums, and social media. Collect images of bobbers that resonate with you and note the specific features you find appealing. This visual collection will inform your design choices and assist you in crafting a cohesive look.
Researching Components and Upgrades
As you refine your design, start researching the components and upgrades you may want to include in your bobber. Consider aspects such as the seat type, handlebars, exhaust system, and lighting. Customizing these elements will allow you to create a unique look.
Choosing the right components can sometimes involve trade-offs between style and functionality. For instance, more streamlined components may look sleek, but they need to maintain performance and comfort during rides. Thoroughly researching options can help you strike that balance and ensure your bobber is both stylish and practical.
Disassembling the Base Motorcycle
Documenting the Process
Once you’ve completed your planning and sourced your components, it’s time to disassemble your base motorcycle. Carefully document the process by taking photos at each step. This documentation can serve as a reference during reassembly and help you keep track of how each component fits together.
Begin by removing the seat and fenders along with any components that won’t be used in the final build. It’s essential to keep track of all screws, bolts, and small parts. Consider labeling bags or containers to avoid confusion later. This organized approach will simplify the project as you begin to add components back to the bike.
Protecting Key Components
While disassembling your motorcycle, be mindful of protecting key components. For example, if you plan to reuse the engine, be sure to cover it to prevent dust and debris from entering. Additionally, avoid scratching or damaging other parts during disassembly by using appropriate tools and methods.
Taking the time to protect your base motorcycle will save you from unnecessary headaches later in the build. This careful approach reflects a commitment to quality and enhances your overall bobber experience.
Building Your Custom Bobber
Frame Modifications
With your base motorcycle disassembled, it’s time to begin building your custom bobber. Start with any necessary frame modifications. This might involve shortening or customizing the frame to achieve the desired look. If welding is required, ensure you have the proper equipment and safety gear to perform the task.
Take care when modifying the frame, as these changes affect both appearance and functionality. Make sure any adjustments maintain structural integrity. If you’re uncertain about your welding skills, consider consulting a professional or seeking assistance from an experienced friend for this phase.
Fitting New Components
After completing frame modifications, begin fitting your new components. Start with the essential parts, such as the seat and handlebars. As you fit the new pieces, double-check their alignments and adjust as needed. Creating a balanced look is vital during this phase.
When attaching components, use proper fasteners and ensure everything is secure. Following manufacturer guidelines for installation helps avoid common mistakes. As you build, regularly step back and assess the overall appearance. Making adjustments early can save you time and frustration later on.
Final Touches and Testing Your Bobber
Aesthetics and Finishing Touches
Once the core building is complete, turn your attention to the aesthetics and finishing touches. This includes painting, adding decals, or polishing metal components. Choose colors and designs that align with your initial vision for the bobber. Personalize the bike with unique elements that make it truly yours.
Additionally, consider upgrading accessories, such as lights and mirrors. These additions can enhance not only the style but also the functionality of your bike. A well-thought-out aesthetic can set your bobber apart and create a head-turning masterpiece.
Testing and Tuning
Before taking your custom bobber on the road, conduct thorough testing and tuning. Check the brakes, gears, and electrical systems to ensure everything operates smoothly. Take the time to go through a pre-ride checklist, looking for any potential issues that may affect performance.
Once satisfied with your inspections, consider taking a short test ride. Pay attention to how the bike handles and performs. Testing allows you to fine-tune aspects like suspension and alignment, ensuring a comfortable ride. Make adjustments based on your experience and inspect components regularly for wear or maintenance needs.
Enjoying Your Custom Bobber
Building a custom bobber motorcycle is a fulfilling adventure. From selecting the right base bike to refining the aesthetics, each step is a chance to express your creativity. By following this comprehensive guide, you can navigate the complexities of building your bike with confidence.
With a focus on comfort, performance, and style, your custom bobber will reflect your personality and passion for motorcycling. Embrace the journey, and enjoy riding your unique creation on the open road. Through dedication and creativity, your dream of building a bobber motorcycle can become a reality, enriching your experience as a rider.
Leave a Reply