What is a Car Fender?
A car fender is an essential part of your vehicle’s design. It protects your car from dirt, debris, and minor impacts, ensuring a safe and clean drive.
Definition and Purpose of a Fender
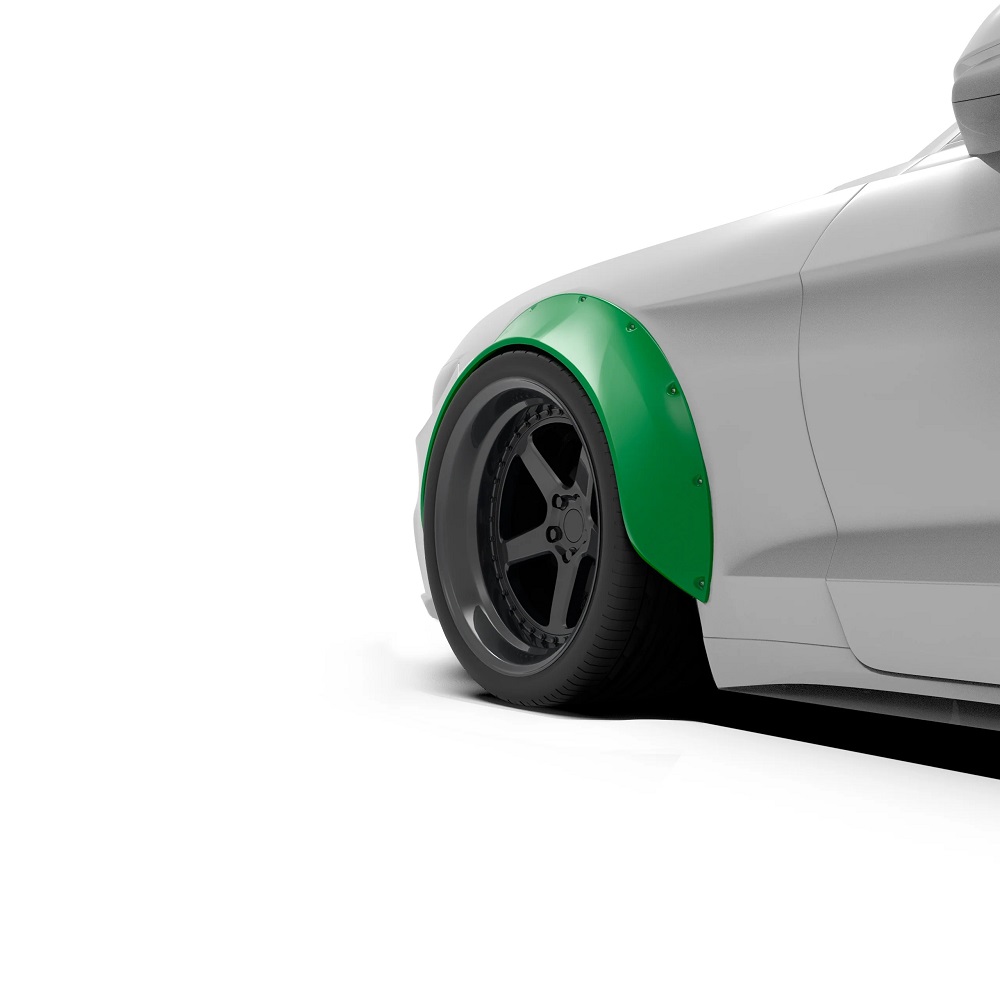
A fender is a curved panel surrounding the wheel well of your vehicle. It stops mud, rocks, and road debris from hitting your car’s body. Fenders also shield pedestrians and nearby vehicles from flying particles caused by tire motion. The purpose of a fender is mainly to enhance both safety and aesthetics.
Common Types of Car Fenders
There are two main types of car fenders:
- Front Fenders: Located over the front wheels, they provide protection to the engine area from dirt and minor impacts.
- Rear Fenders: Positioned over the rear wheels, they shield the trunk section and rear components of the car.
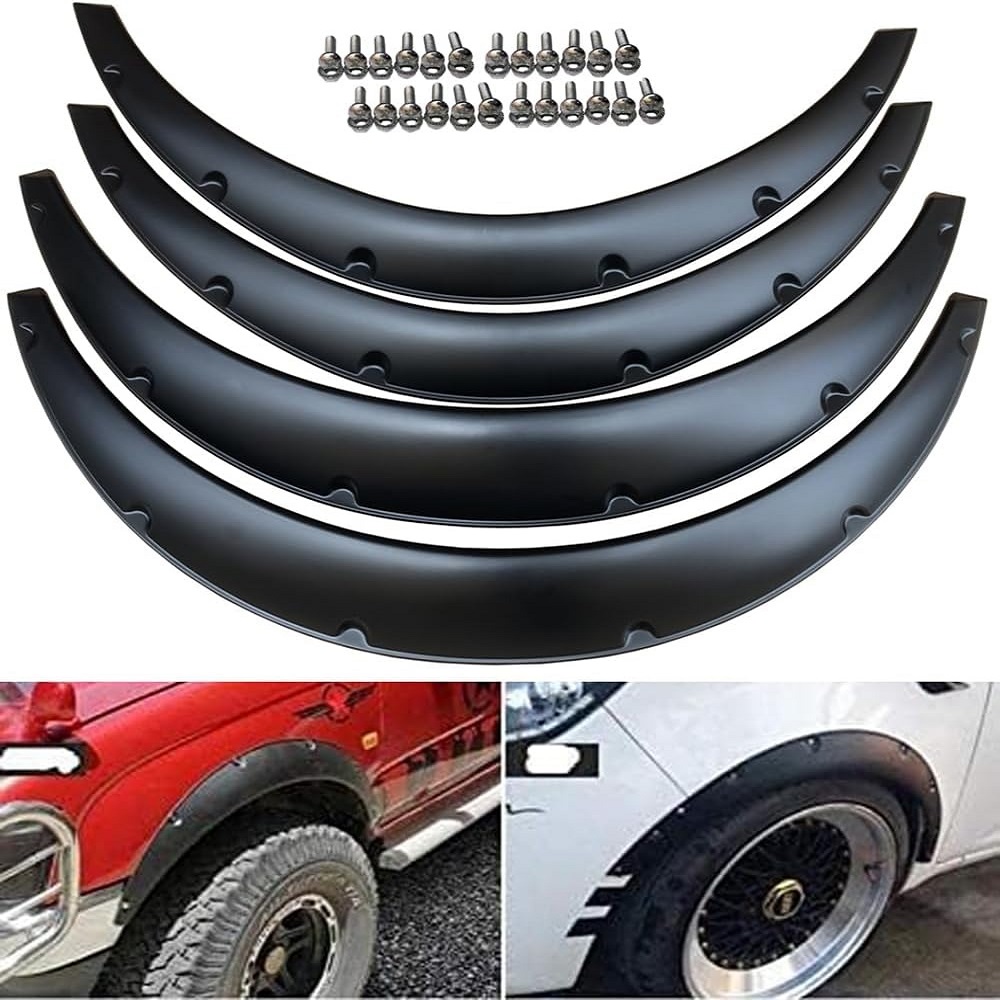
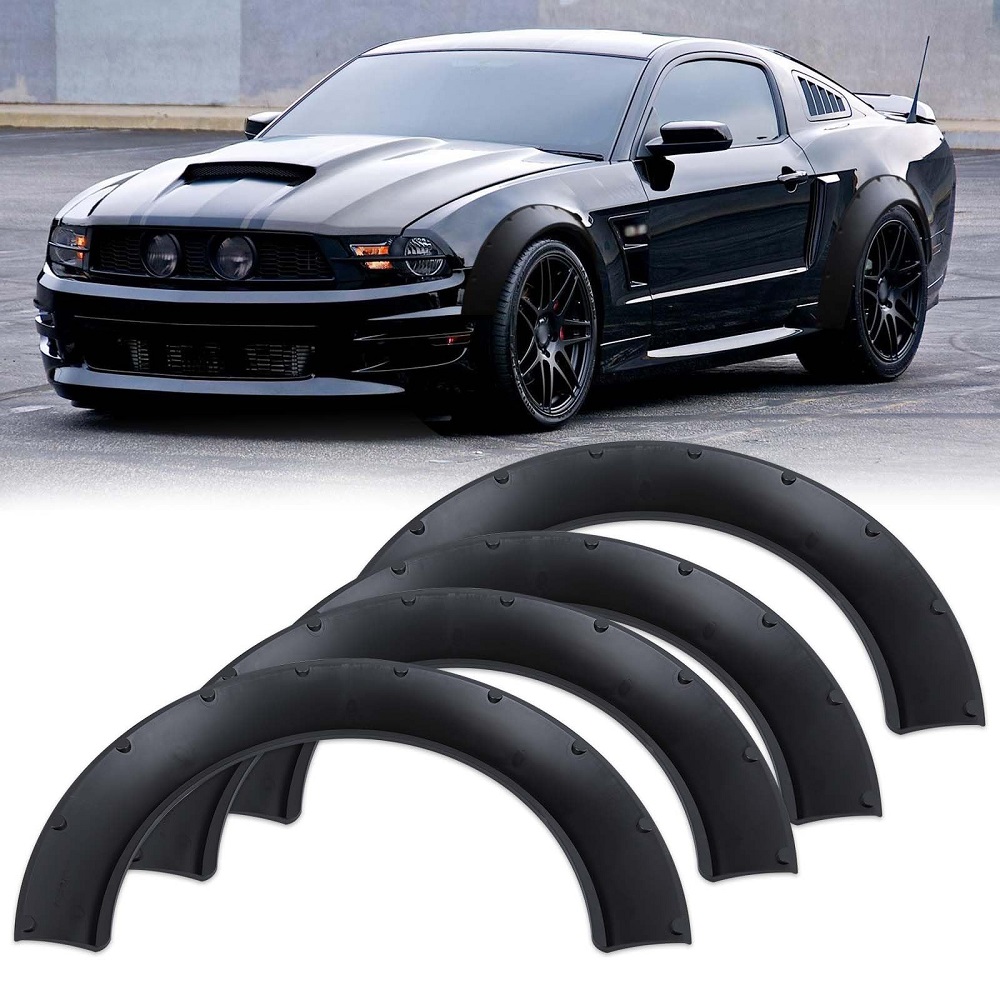
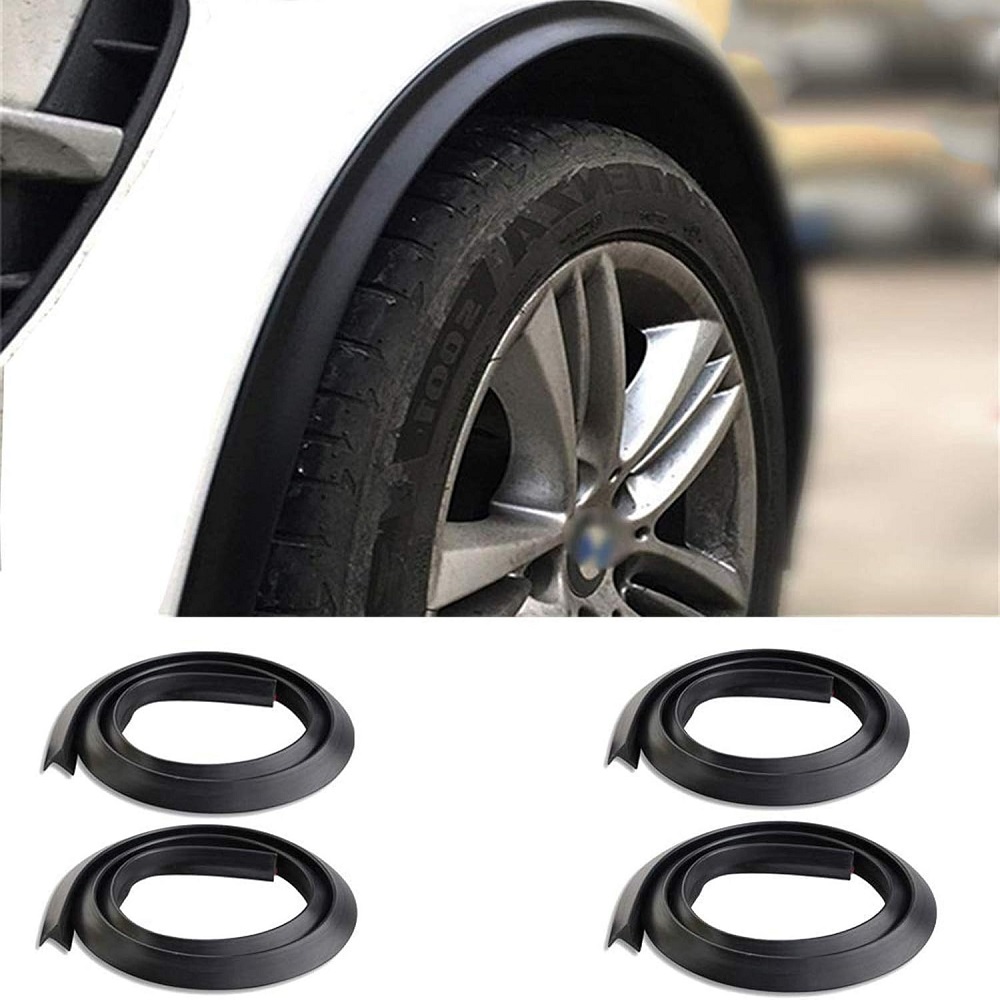
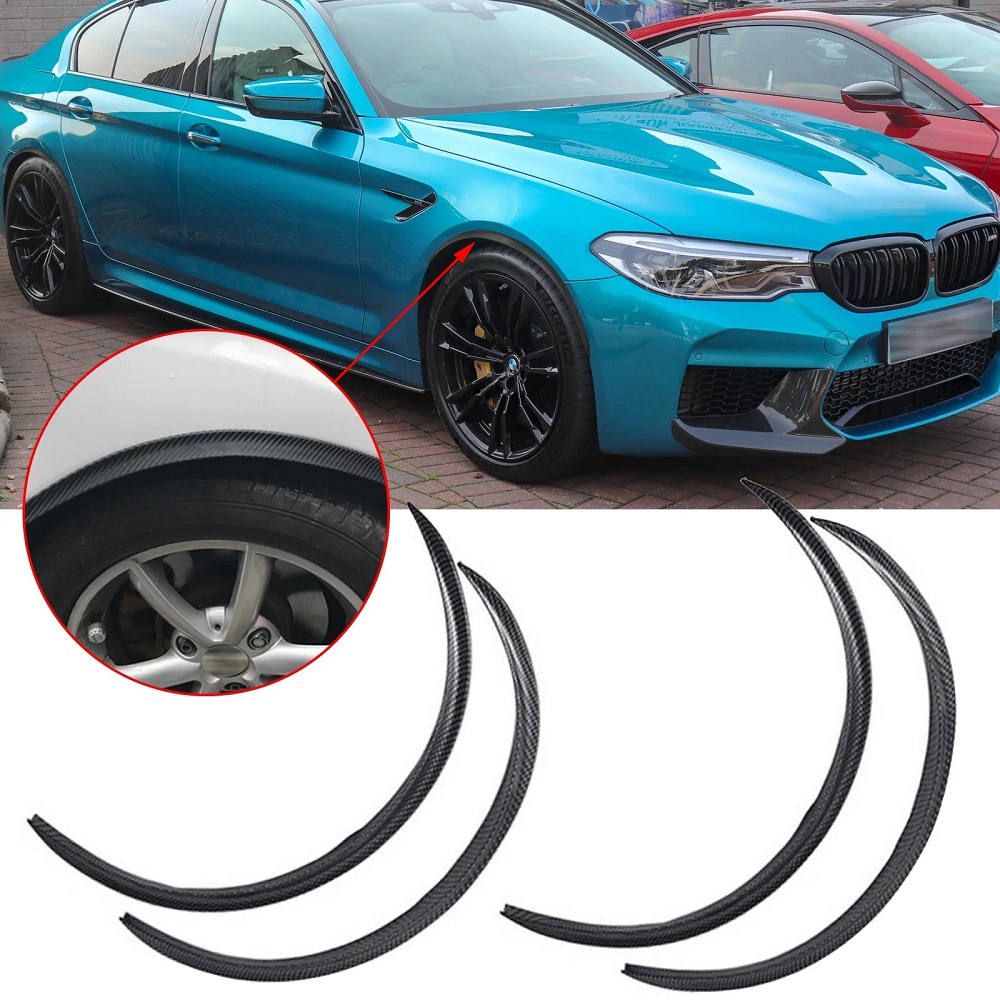
Additional design options include wide-body fenders for sports cars and single-piece fenders for compact vehicles. Fenders can be made of metal, plastic, or composite materials, depending on design and budget. Understanding fender types is useful when choosing replacements.
Signs You Need a Fender Replacement
Car fenders can wear down or get damaged over time. Identifying issues early helps maintain vehicle performance.
Typical Damage Indicators
- Visible Dents or Cracks: Dents and cracks are clear signs of fender damage. They affect the fender’s ability to protect your vehicle.
- Rust or Corrosion: Rust can spread if left untreated. It weakens the fender and compromises durability.
- Loose or Misaligned Fender: A loose fender may result from broken fasteners or minor collisions.
- Reduced Aesthetic Appeal: Scratches, paint chipping, or major dents can make your car look worn.
- Rattling Noises: A damaged fender may produce rattling sounds while driving.
Effects of Fender Damage on Vehicle Performance
- Compromised Protection: Damaged fenders can’t fully protect against dirt, rocks, and debris.
- Increased Risk to Other Parts: Exposed components, like the engine or trunk, may experience further damage from road hazards.
- Decreased Safety: A loose fender can pose risks to pedestrians or other drivers.
- Reduced Structural Integrity: Corrosion or severe damage can weaken the car’s exterior structure.
- Poor Aesthetic Appeal: Visible damage lowers resale value and impacts the overall appearance of your vehicle.
Monitoring your car fender regularly can prevent costly repairs and enhance your safety on the road.
Tools Required for Fender Replacement
Replacing a car fender requires the right tools and adequate preparation. Having the proper equipment ensures a smoother process and reduces the chances of mistakes.
Essential Tools and Materials
To replace a car fender, you will need the following essential items:
- Socket Wrench Set: For removing bolts that secure the fender to the car frame.
- Screwdrivers: Both flathead and Phillips screwdrivers for loosening smaller screws.
- Ratchet Set: To handle tight spaces and ensure bolts are removed efficiently.
- Trim Removal Tool: For safely taking off plastic trims without causing damage.
- Pliers: Useful for disconnecting clips and removing stubborn parts.
- Replacement Fender: Ensure it matches your make, model, and year.
- Rags and Cleaning Solution: To clean surrounding areas before attaching the new fender.
- Spray Paint and Primer (if required): For painting an unpainted replacement fender to match your vehicle.
Having these tools and materials ready will make the job easier and faster.
Recommended Safety Equipment
Safety should always come first during car repair tasks. Use the following safety items:
- Gloves: Protect your hands from sharp edges and debris.
- Safety Glasses: Prevent dirt and metal shards from entering your eyes.
- Protective Clothing: Wear long sleeves to avoid scratches and bruises.
- Jack and Jack Stands: Lift your car safely if needed to access the fender properly.
Using these tools and safety equipment ensures your car fender replacement is secure and efficient. Proper preparation minimizes risks and enhances the quality of the results.
Step-by-Step Guide to Replacing a Car Fender
Replacing a car fender can feel overwhelming, but it becomes manageable with a clear process. Follow these steps to ensure a correct and safe replacement.
Preparing Your Vehicle for Fender Replacement
- Park Safely: Place your car on a flat surface and engage the parking brake.
- Gather Tools: Have all necessary tools and safety gear ready (refer to the tool checklist above).
- Disconnect the Battery: Remove the negative terminal of the battery to avoid electrical hazards.
- Lift the Car (if Needed): Use a jack and jack stands to raise the car for easier access.
- Remove Nearby Parts: Detach parts like headlights, bumper, or trim panels that block the fender area.
- Clean Surrounding Areas: Wipe off dirt and grime near the fender to ensure visibility and smooth replacements.
Proper preparation guarantees a safer and more efficient fender replacement process.
Removing the Damaged Fender
- Locate Attachment Points: Identify where bolts, screws, and clips secure the fender.
- Remove Fasteners: Use a socket wrench, screwdriver, and pliers to take out bolts and screws.
- Detach Clips Carefully: Use a trim removal tool to safely remove plastic clips without breaking them.
- Support the Fender: Hold the damaged fender while removing the final bolts to avoid it dropping.
- Inspect the Area: Check surrounding components for rust or damage before installing the new fender.
Taking care during removal prevents damage to other parts and smoothens installation.
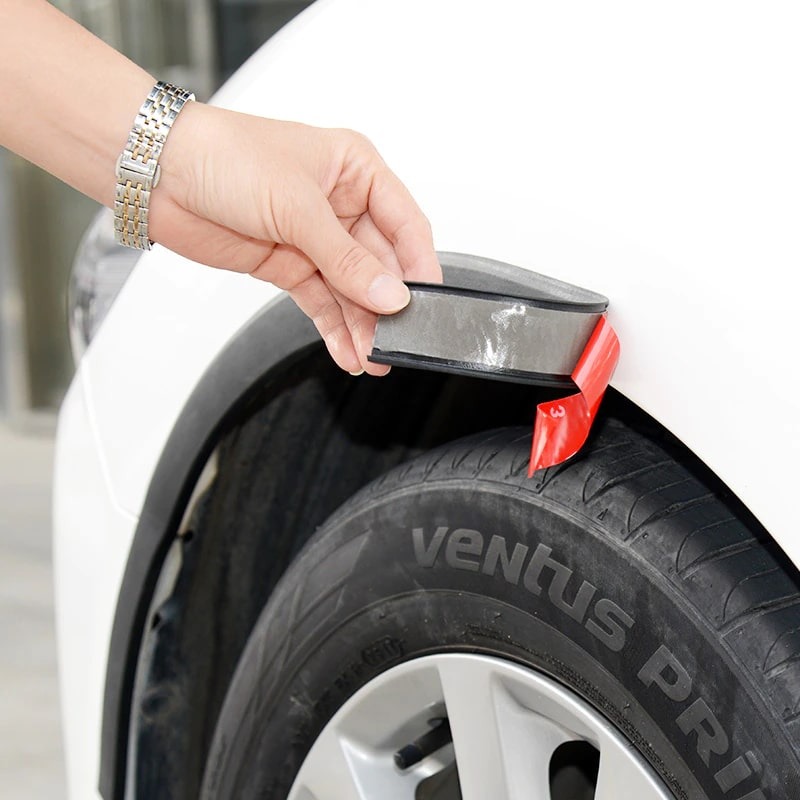
Installing the New Fender
- Test Fit the Fender: Ensure the replacement fender aligns perfectly with the mounting points.
- Attach Bolts and Screws: Secure the fender using the previous bolts or screws, tightening them firmly.
- Reinstall Clips: Safely reattach clips where necessary.
- Reconnect Nearby Parts: Put back any removed parts, like headlights or bumpers, in their correct position.
- Paint (if Needed): Apply primer and paint to match the new fender to your car’s color.
- Reconnect the Battery: Once installation is complete, reconnect the car battery.
Following these steps ensures the fender is firmly and accurately in place. Proper installation also restores vehicle safety and appearance.
Tips for Choosing the Right Replacement Fender
Replacing a damaged car fender involves selecting the right part for your vehicle. Carefully evaluating your options ensures proper fit and long-term durability. When choosing a replacement, consider two main factors: type and material.
OEM vs. Aftermarket Fenders
- OEM Fenders: These are original parts made by your car’s manufacturer. They guarantee a perfect fit and excellent quality.
- OEM fenders align with your vehicle’s exact make, model, and year.
- They maintain the original design and enhance resale value.
- However, they are usually more expensive than aftermarket alternatives.
- Aftermarket Fenders: These are third-party parts designed to fit multiple car models.
- Aftermarket fenders are cheaper than OEM fenders, making them budget-friendly.
- They offer diverse styles, including custom designs for aesthetics.
- Fit accuracy may vary, and some may require professional installation.
Choose OEM fenders for superior quality or aftermarket options for affordability and customization.
Materials and Durability Considerations
- Steel Fenders: Known for strength and resistance to impact.
- Ideal for long-term durability but heavier than other materials.
- May be prone to rust if not regularly maintained.
- Aluminum Fenders: Lightweight and resistant to corrosion.
- Perfect for enhancing fuel efficiency and preventing rust.
- Aluminum may bend or dent more easily than steel.
- Plastic Fenders: Popular for their cost-effectiveness and flexibility.
- Suitable for modern designs and lighter cars.
- Less durable under heavy impact compared to metal.
- Fiberglass or Composite Fenders: Known for lightweight and custom design flexibility.
- Resistant to rust and corrosion but less durable against severe impacts.
Selecting the right fender material depends on your driving conditions and budget. Make sure to prioritize durability and compatibility with your car’s design.
Understanding these options will help you pick the best replacement fender for your vehicle.
Cost and Time Estimates
Replacing a car fender involves both time and money. Understanding these factors helps plan effectively.
Factors Affecting Fender Replacement Costs
- Type of Fender: OEM fenders are costlier than aftermarket ones due to brand authenticity and fit.
- Material: Steel fenders often cost more than plastic or fiberglass ones due to durability.
- Labor Charges: Professional installation adds to the total cost. DIY replacement eliminates labor expenses.
- Damaged Components: Additional repairs like repainting or addressing rust increase replacement costs.
- Location: Regional labor rates and material availability can influence overall expenses.
- Vehicle Model: Luxury cars and rare models often require specialized, expensive parts.
Taking these factors into account helps you estimate a budget for the replacement.
Estimated Time for DIY and Professional Replacement
- DIY Replacement: On average, it takes 3 to 6 hours for a skilled DIYer.
- Time varies based on expertise and the need for additional tasks like repainting.
- Professional Replacement: Most professionals complete the job in 2 to 4 hours.
- They have experience and tools to execute the process quickly.
- Complex Cases: Extra time is required if nearby parts or rust need attention.
Plan for these durations to allocate time appropriately. Professional help may expedite the process at an added cost.
How to Maintain and Protect Your Car Fender
Maintaining your car fender ensures its longevity and keeps your vehicle looking good. Regular care also prevents damage that can compromise safety and performance.
Cleaning and Maintenance Tips
- Wash Regularly: Clean the fender during car washes to remove dirt, salt, and debris.
- Use Gentle Cleaners: Avoid abrasive chemicals that can damage paint or cause scratches.
- Check for Rust: Inspect the fender for corrosion. Treat rust spots immediately to prevent spreading.
- Apply Wax: Use car wax for added protection against moisture and dirt.
- Perform Visual Inspections: Look for cracks, dents, or misalignment during routine maintenance.
- Fix Minor Damage: Repair dents or scratches early to avoid bigger repair costs later.
Consistent cleaning and inspections can keep your car fender in top shape.
Protective Measures to Prevent Future Damage
- Install Mud Flaps: Mud flaps protect fenders from stones, dirt, and debris while driving.
- Avoid Harsh Driving Conditions: Be cautious on roads with debris or during heavy rain.
- Park in Covered Areas: Prevent exposure to harsh sunlight or weather that can cause fading or rust.
- Add Fender Guards: Use fender liners or guards for extra protection against impacts and rust.
- Drive Carefully: Avoid sharp turns or close parking that might dent or scratch the fender.
- Address Repairs Promptly: Fix loose parts immediately to prevent vibration or rattling.
Taking preventive measures protects the fender’s integrity and reduces long-term maintenance costs.
The Cost of Fender Replacement
Understanding Pricing Factors
Replacing a car fender can vary widely in cost depending on several factors. The type of fender, whether OEM or aftermarket, plays a significant role in pricing. OEM parts typically come with a higher price tag but guarantee a perfect fit and durability. Aftermarket options may provide more affordable alternatives, but quality can vary. Additionally, the cost of labor, if you choose to have a professional perform the replacement, should be considered in your budget.
Budgeting for the Project
Establish a budget before starting the fender replacement process. Calculate the total cost of parts, including the new fender, hardware, and any customization materials you wish to use. If you’re planning to hire a mechanic, obtain quotes for labor costs to add to your budget. Being prepared financially will help you avoid surprises and ensure a smooth replacement experience. Setting a realistic budget will ease the decision-making process as you evaluate options.
Evaluating Resale Value
When considering fender replacement, think about the effect it may have on your vehicle’s resale value. Investing in quality parts and ensuring proper installation can enhance the car’s overall appeal to potential buyers. A well-maintained vehicle is likely to attract better offers, making it a worthwhile consideration. When upgrading or replacing parts, always consider how it aligns with your long-term plan for the vehicle and its value.
Conclusion: Enjoying Your Newly Replaced Fender
A Rewarding Process
In conclusion, replacing a car fender is a rewarding process that enhances your vehicle’s aesthetic and protective qualities. By following essential tips and understanding the necessary steps, you can navigate the replacement process smoothly. From selecting the right parts to ensuring proper maintenance, each step contributes to preserving your vehicle’s integrity.
Celebrate Your Accomplishments
Once your new fender is installed, take a moment to celebrate your accomplishment. Whether you completed the work yourself or enlisted the help of professionals, the effort you invested deserves recognition. The satisfaction of having a newly fitted fender ensures your vehicle looks its best. Embrace this new chapter in your car’s appearance as you continue to enjoy the journey ahead.
Engage with the Community
Finally, sharing your experience with others can foster connections within the automotive community. Join local automotive groups, online forums, or social media platforms where you can showcase your work and learn from fellow enthusiasts. Engaging with others allows you to exchange valuable tips and tricks, building camaraderie among car lovers. Embracing this community not only enhances your knowledge but strengthens your passion for automotive care and improvement.
Leave a Reply