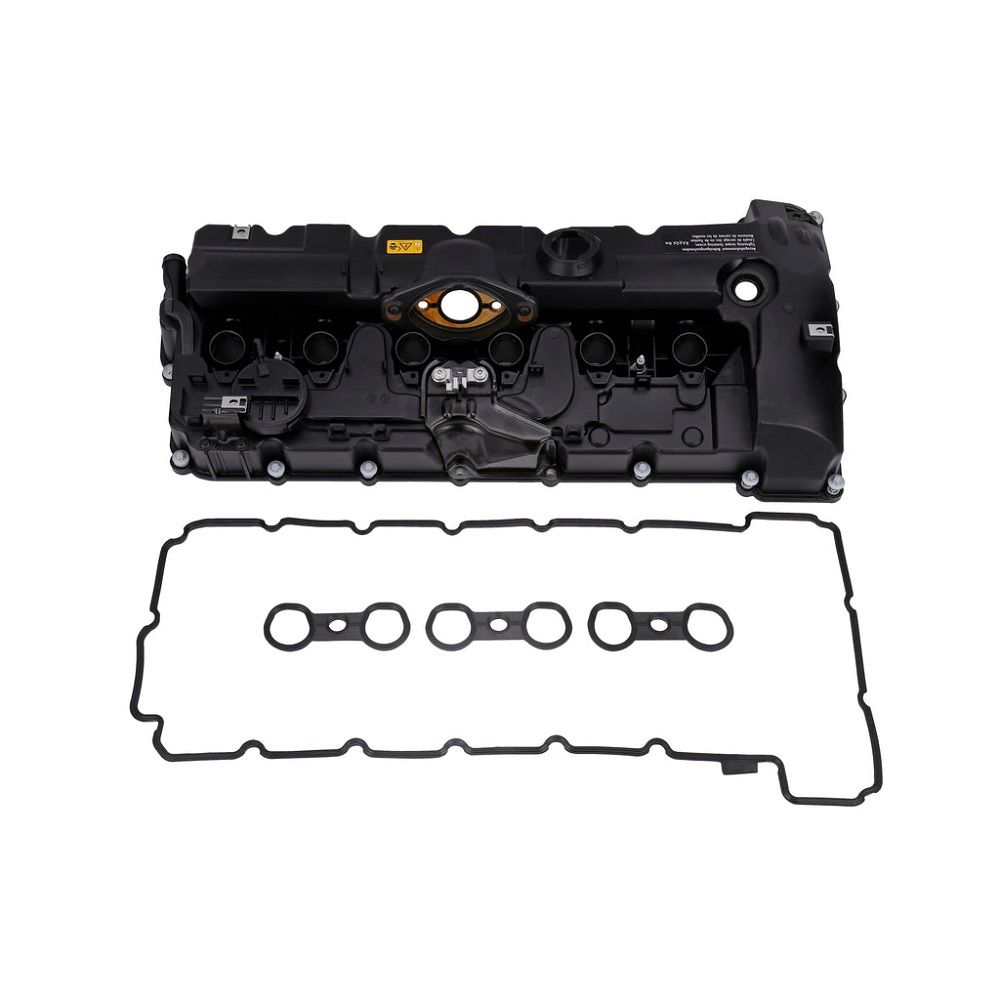
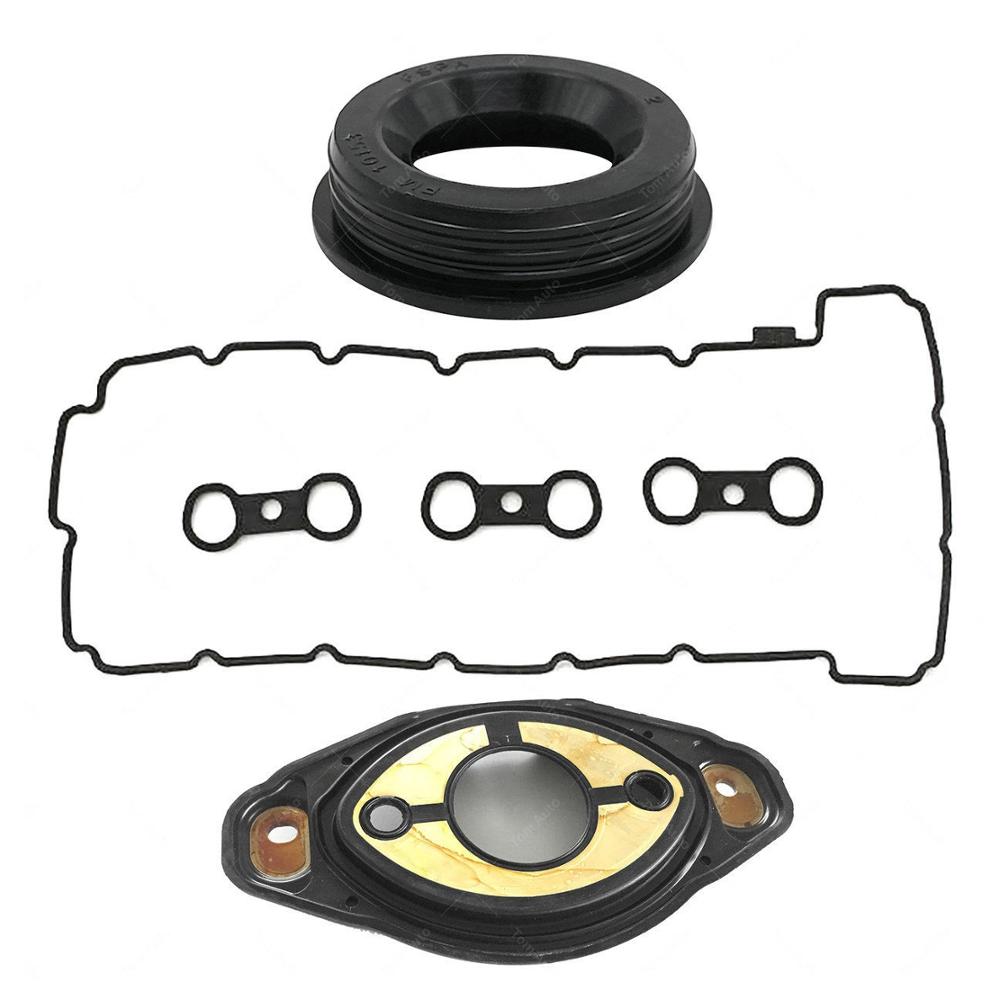
What is a Valve Cover Gasket?
The engine valve cover gasket is an essential component of your engine. It acts as a seal between the valve cover and the cylinder head, preventing oil leaks and protecting the engine.
Purpose and Function of the Valve Cover Gasket
The valve cover gasket ensures the engine operates without leaking oil. It seals the gap between the valve cover and the engine parts. By doing so, it keeps oil inside the engine and prevents dirt and debris from entering. Additionally, it helps maintain proper lubrication, which is vital for the engine’s performance and longevity.
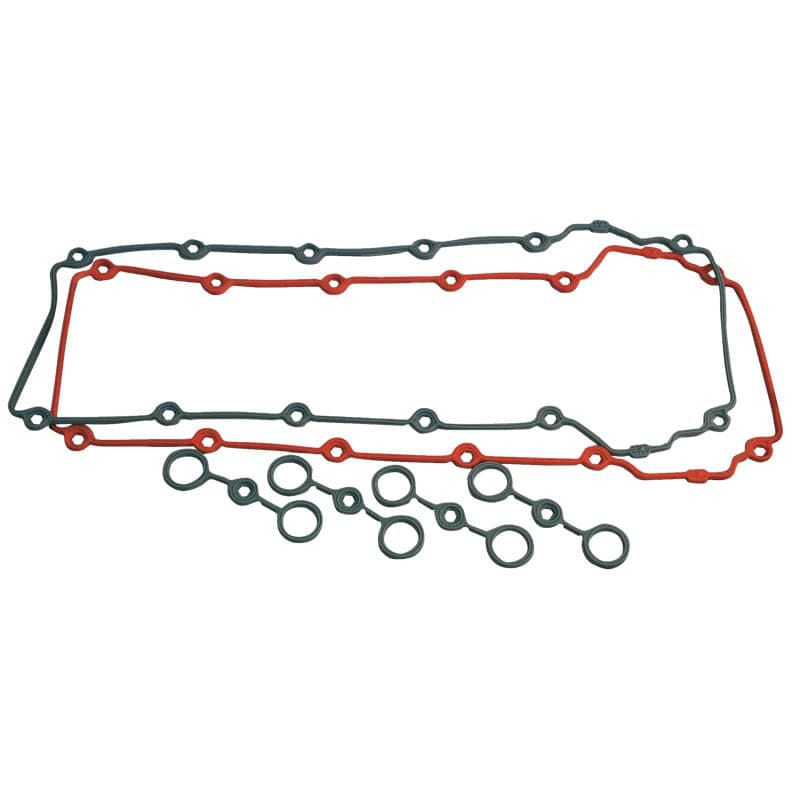
Common Materials Used in Valve Cover Gaskets
Valve cover gaskets are usually made from durable materials. Common options include silicone, rubber, cork, and composite materials. Silicone and rubber are favored for their flexibility and resistance to heat. Cork is valued for its affordability but may wear faster. Composite gaskets often blend strength with resistance to wear and tear. The choice of material depends on your engine type and needs.
Signs of a Faulty Valve Cover Gasket
A faulty engine valve cover gasket can create noticeable signs. Proper identification helps to address the issue quickly.
Oil Leaks Around the Engine
Oil leaks are the most common sign of a damaged valve cover gasket. You may notice oil pooling on top of the engine or dripping onto the ground. This occurs because the gasket is no longer sealing properly, allowing oil to escape. Left unchecked, this can lead to a mess and possible damage to other engine components.
Burning Oil Smell
A distinct burning oil smell is another indicator. This happens when leaking oil drips onto hot engine parts, such as the exhaust manifold. The smell is often strong and noticeable when the engine is running or after driving. Over time, this can cause carbon buildup and potentially more severe engine problems.
Decreased Engine Performance
A faulty valve cover gasket can reduce engine performance. Oil leaks may cause insufficient lubrication, leading to engine overheating or internal part damage. You might experience rough idling, reduced acceleration, or even engine misfires. Addressing the faulty gasket promptly helps prevent further complications.
These signs of a defective engine valve cover gasket should not be ignored. Early action can save you from costly engine repairs.
Causes of Valve Cover Gasket Failure
A valve cover gasket can fail due to several reasons. Understanding these causes can help prevent future issues.
Heat and Pressure Wear
Constant exposure to engine heat and pressure can degrade the gasket material. High temperatures cause the gasket to expand and contract repeatedly, leading to wear over time. Excessive engine pressure may also lead to cracks or deformation in the gasket. These conditions reduce its ability to seal properly, resulting in oil leaks.
Improper Installation
Incorrect installation of the valve cover gasket can result in premature failure. If the gasket is misaligned, unevenly tightened, or damaged during installation, it won’t seal the engine effectively. This can allow oil to seep out and dirt to enter the engine. Professional installation or following a proper guide can prevent such problems.
Age and Material Deterioration
Over time, gaskets naturally degrade due to material weakening. Rubber and silicone gaskets may lose elasticity, while cork ones may crumble. Prolonged exposure to oil, heat, and corrosive substances accelerates this deterioration. Routine inspections and timely replacement based on wear can avoid gasket-related engine issues.
Preparing for Valve Cover Gasket Replacement
Replacing an engine valve cover gasket requires proper preparation. Gather all tools and take necessary safety precautions.
Tools and Materials Needed
Before starting, ensure you have the following tools and materials:
- New Valve Cover Gasket: Select one that matches your engine model and specifications.
- Socket and Wrench Set: Use these for loosening and tightening bolts.
- Screwdrivers: Both flathead and Phillips screwdrivers may be required.
- Gasket Scraper or Plastic Razor Blade: Use this to remove the old gasket material without damaging surfaces.
- Engine Degreaser and Cleaning Cloths: Clean off oil and debris from around the gasket area.
- Torque Wrench: Ensure bolts are tightened to the manufacturer’s recommended settings.
- Protective Gloves: Keep your hands safe from oil, dirt, and hot surfaces.
Having these items ready will make the process smooth and efficient.
Safety Precautions Before Starting
Safety is key when working on your vehicle. Follow these precautions to stay safe:
- Turn Off the Engine: Let the engine cool down completely before starting any work.
- Disconnect the Battery: Remove the negative terminal to avoid accidental electrical issues.
- Work in a Well-Lit Space: Proper lighting will help you see what you’re doing.
- Use Protective Gear: Wear gloves and safety glasses to avoid injuries.
- Keep Tools Organized: Place tools within easy reach to avoid distractions during the replacement.
Adhering to these steps ensures a safer and more effective replacement process.
Step-by-Step Guide to Replacing a Valve Cover Gasket
Replacing the engine valve cover gasket requires careful steps to ensure success. Follow these instructions for a smooth process.
Removing the Old Gasket
- Access the Valve Cover: Remove any components blocking the valve cover, such as hoses or cables.
- Loosen Bolts: Use a socket and wrench set to remove the bolts securing the valve cover.
- Detach the Valve Cover: Gently lift the valve cover off the engine to avoid damage.
- Remove Old Gasket: Use a gasket scraper or plastic razor blade to carefully peel off the old gasket. Be cautious not to scratch the metal surfaces.
Cleaning the Valve Cover and Mating Surface
- Clean Off Gasket Residue: Remove all traces of the old gasket using the scraper.
- Degrease the Area: Apply engine degreaser to clean oil and residue around the valve cover and mating surface.
- Wipe Clean: Use a clean cloth to dry and remove debris from the surfaces.
- Inspect for Damage: Check for cracks or wear on the valve cover and mating surface.
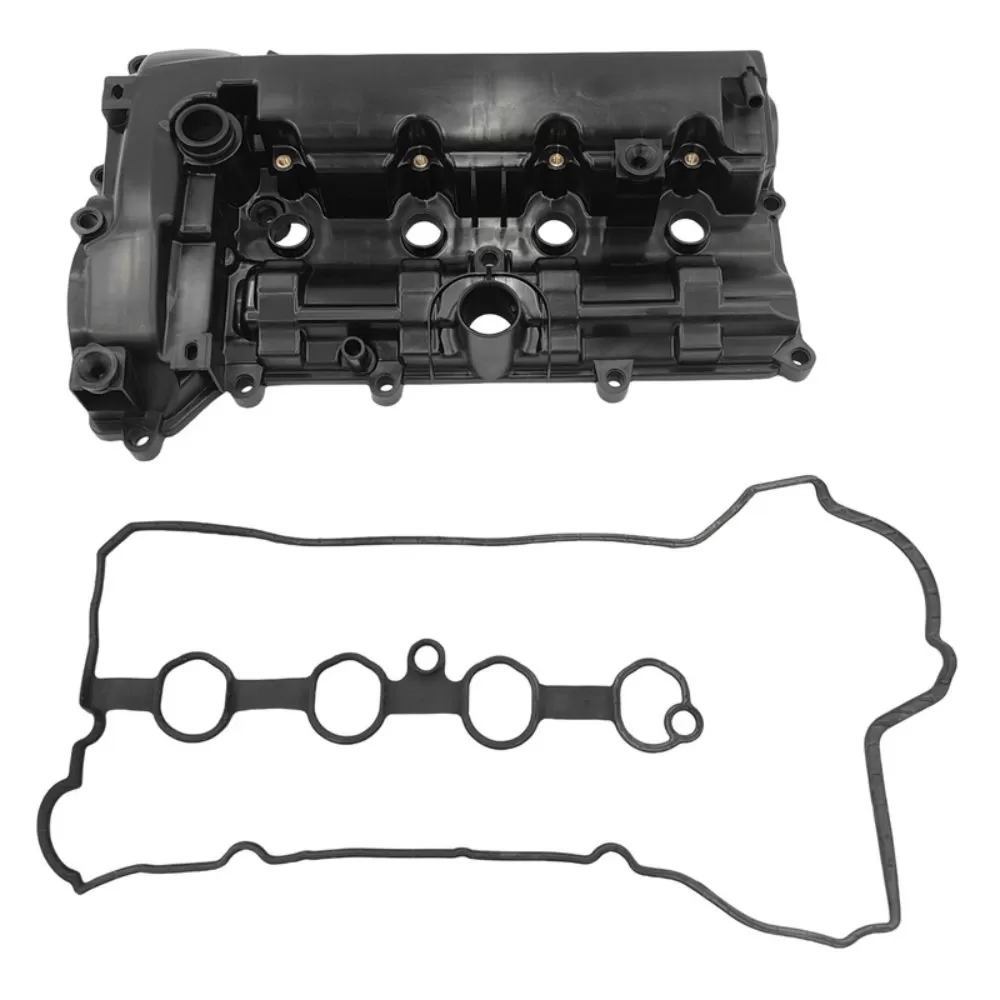
Installing the New Gasket
- Fit the Gasket: Place the new valve cover gasket onto the valve cover, ensuring alignment with bolt holes.
- Use Gasket Sealant (If Needed): Apply a thin layer of sealant if recommended for your gasket type.
- Press Gasket into Place: Ensure the gasket sits securely without folds or gaps.
Reassembling and Tightening the Valve Cover
- Reinstall the Valve Cover: Carefully place the valve cover back onto the engine.
- Tighten Bolts: Use a torque wrench to tighten bolts evenly to the manufacturer’s specifications.
- Reconnect Components: Reattach any hoses or cables you removed earlier.
- Check for Leaks: Start the engine and inspect for any signs of oil leaks.
By following these steps, you can effectively replace your engine valve cover gasket, ensuring long-lasting results.
Cost of Valve Cover Gasket Replacement
Replacing an engine valve cover gasket can vary in cost. The cost depends on whether you choose to do it yourself (DIY) or hire a professional. Let’s break down each option to give you a better understanding.
DIY Replacement Costs
Replacing a valve cover gasket yourself can save money. However, it requires tools and time.
- Parts Cost: A new engine valve cover gasket typically costs $20 to $50. The price varies based on your vehicle’s make and model.
- Tool Investment: If you don’t have the needed tools, expect to spend around $50 to $100. Essential tools include a torque wrench, socket set, gasket scraper, and cleaning supplies.
- Time Commitment: DIY valve cover gasket replacement often takes 2 to 4 hours. Experience with engine repairs can reduce this time.
Overall, the total DIY cost ranges from $70 to $150, including tools and the gasket. However, mistakes during installation can lead to additional expenses.
Professional Replacement Costs
Hiring a professional mechanic ensures proper installation but costs more.
- Labor Costs: Mechanics typically charge $50 to $150 per hour. The labor time for gasket replacement is usually 2 to 3 hours.
- Parts Cost: Mechanics may mark up the price of the gasket, ranging from $30 to $80.
In total, professional valve cover gasket replacement generally costs between $150 and $400. Luxury or specialty vehicles can increase this range.
Things to Consider
- Warranty: Professional repairs often come with a warranty, offering peace of mind.
- Skill Level: Attempting a DIY repair without experience can cause further engine issues.
- Vehicle Age: Older vehicles may have additional repairs needed, increasing costs.
Evaluate your budget and confidence in repair skills before deciding. Properly replacing the gasket helps maintain your vehicle’s performance and reduces long-term engine problems.
Tips to Extend the Life of Your Valve Cover Gasket
Proper care extends the life of your engine valve cover gasket. Following these tips helps prevent failure.
Regular Engine Maintenance
- Change Oil on Time: Replace oil as recommended by the manufacturer to reduce gasket wear.
- Inspect the Gasket Area: Look for cracks, leaks, or oil buildup during regular service.
- Avoid Engine Overheating: Ensure your cooling system works efficiently to prevent heat damage.
- Use Quality Engine Oil: Choose oil with additives that protect engine seals and gaskets.
- Clean Surrounding Areas: Keep dirt and debris away from the gasket area to avoid contamination.
Checking for Oil Leaks Periodically
- Inspect Under the Hood: Look for oil pooling around the engine valve cover regularly.
- Monitor Oil Levels: Check for frequent drops in oil levels, which may indicate a leak.
- Detect Burning Smells: Pay attention to unusual smells, which can signal leaking oil reaching hot surfaces.
- Act Quickly on Leaks: Address leaks immediately to prevent further engine damage.
By sticking to these simple steps, you can prolong the durability of your engine valve cover gasket and keep your vehicle running smoothly.
Frequently Asked Questions About Valve Cover Gaskets
Can I Drive with a Leaking Valve Cover Gasket?
Driving with a leaking engine valve cover gasket is not recommended. The gasket prevents oil leaks and keeps the engine safe. A leak can lead to oil dripping onto hot parts, causing a burning smell or fire risk. Continuous leaks may also reduce oil levels, risking engine overheating or severe damage. If you notice leaks, fix the issue promptly to protect the engine and your safety.
How Long Does a Valve Cover Gasket Last?
Typically, an engine valve cover gasket lasts around 50,000 to 100,000 miles. However, its lifespan depends on factors like material quality, engine heat, and maintenance habits. Regularly inspecting and maintaining your engine can extend gasket life. Replace the gasket immediately when signs of wear, leaks, or damage appear to avoid engine problems.
Troubleshooting After Replacement
Recognizing New Symptoms
After replacing the valve cover gasket, it’s important to monitor the engine for new symptoms or behaviors. If you notice any abnormal engine noises, unusual vibrations, or performance issues, these could indicate a problem with the installation. Pay close attention to the engine’s idle and overall performance. If the engine begins to overheat or produces excessive smoke, it’s essential to stop driving the vehicle immediately and investigate the cause.
Addressing Potential Issues
If oil leaks persist after a replacement, it may indicate improper installation or a defective gasket. In some cases, the gasket may not have been seated correctly, or the bolts may not have been tightened to the correct torque specifications. Additionally, re-check for any damaged threads in the bolt holes that might prevent a secure fit. If trouble persists, removing the valve cover and starting over from cleaning the surface may be necessary to ensure a secure seal is achieved.
Understanding Related Components
Timing Cover Gasket
While focusing on the valve cover gasket, it’s beneficial to be aware of related components that could also require your attention. The timing cover gasket, located behind the valve cover, seals the area where the timing chain and gears are housed. If you are performing maintenance on the valve cover gasket, inspect the timing cover gasket for signs of wear as well. If it shows any signs of leaking, consider replacing it simultaneously for convenience and to prevent future issues.
Camshaft Seals and Other Gaskets
Other seals and gaskets around the engine, such as camshaft seals or intake manifold gaskets, may also be showing signs of wear as your vehicle ages. Addressing these components during your valve cover gasket replacement can prevent costly repairs in the future. While you have the valve cover off, inspecting these areas is prudent. If you identify any leaks or deterioration in these gaskets, consider replacing them while the engine is disassembled.
Conclusion: Empowering Yourself with Knowledge
Understanding the importance of the engine valve cover gasket and knowing when and how to replace it is crucial for any vehicle owner. Taking the time to learn about the signs of a failing gasket, familiarizing yourself with the replacement process, and ensuring high-quality components will empower you to maintain your vehicle effectively. With the right tools, thorough cleanup, and attention to detail, you can confidently tackle this maintenance task and enhance your engine’s longevity.
Being proactive about your vehicle’s maintenance not only protects your investment but can also save you from more significant repairs down the line. Remember, knowledgeable vehicle ownership means staying aware of all components, including related seals and gaskets that affect engine performance. By mastering these skills, you can ride with confidence, knowing you are on top of your vehicle care and ready to confront any challenges that arise on the road.
Leave a Reply