Tools and Materials Needed for Installation
Car stereo installation requires certain tools and materials. Being prepared ensures a smoother process.
Essential Tools
- Screwdrivers: Both flathead and Phillips are necessary to remove and install screws.
- Wire strippers and crimpers: These tools help handle wiring tasks effectively.
- Panel removal tool: This is useful for safely prying off panels without damaging them.
- Socket wrench set: Needed for removing bolts that secure the stereo or dash panels.
- Multimeter: Use this to check electrical connectivity and voltage levels.
Required Materials
- Wiring harness adapter: Simplifies connecting your stereo to your car’s system.
- Dash kit: Ensures the new stereo fits well into your dashboard.
- Electrical tape: Helps secure wires and protects connections.
- Butt connectors or soldering kit: These materials create solid and stable electrical connections.
- User manual: Provided with the stereo, it contains valuable installation information.
Optional Items
- Zip ties: Keeps wires organized and secure.
- Heat shrink tubing: Protects spliced wires from moisture and ensures durability.
- Backup camera kit: If your stereo supports it, consider adding a backup camera.
Proper preparation with the necessary tools and materials ensures a seamless car stereo installation process.
Preparing Your Vehicle for Installation
Before installing a new car stereo, prepare your vehicle properly. This ensures a smooth installation process and reduces potential issues.
Disconnecting the Battery
Always disconnect the battery before starting the installation. This prevents electrical shock and protects your car’s system.
- Open your car’s hood and locate the battery.
- Use a wrench to loosen the negative terminal’s bolt.
- Remove the negative cable and secure it away from the battery.
This step avoids accidental short circuits or damage to the vehicle’s electronics.
Removing the Old Stereo
Removing the old stereo is the next step in preparation. Do this carefully to avoid damage.
- Remove the dashboard panels using a panel removal tool.
- Find the screws or bolts holding the stereo in place and unscrew them.
- Gently slide the old stereo out of the dashboard.
- Disconnect the wiring harness and antenna cable from the back of the stereo.
Keep all removed screws and hardware in a safe place. Inspect the wiring and components for any signs of damage or wear. This ensures the new stereo setup will integrate seamlessly.
Choosing the Right Stereo for Your Car
Selecting the perfect stereo for your car is a crucial step. It ensures compatibility and meets your desired features and sound quality.
Consider Your Car’s Compatibility
- Dashboard Size and Fit: Measure your dashboard’s space. Ensure the stereo size matches perfectly.
- Wiring System Compatibility: Verify the stereo is compatible with your car’s wiring system. Check with the user manual.
- Factory Integration: Some vehicles have additional features, like steering wheel controls. Choose a stereo that supports these.
Define Your Needs and Preferences
- Features: Decide on features, such as touchscreen, Bluetooth, or GPS navigation.
- Audio Quality: Check specifications like wattage, equalizer options, and sound modes.
- Budget: Establish a budget and weigh options within your range.
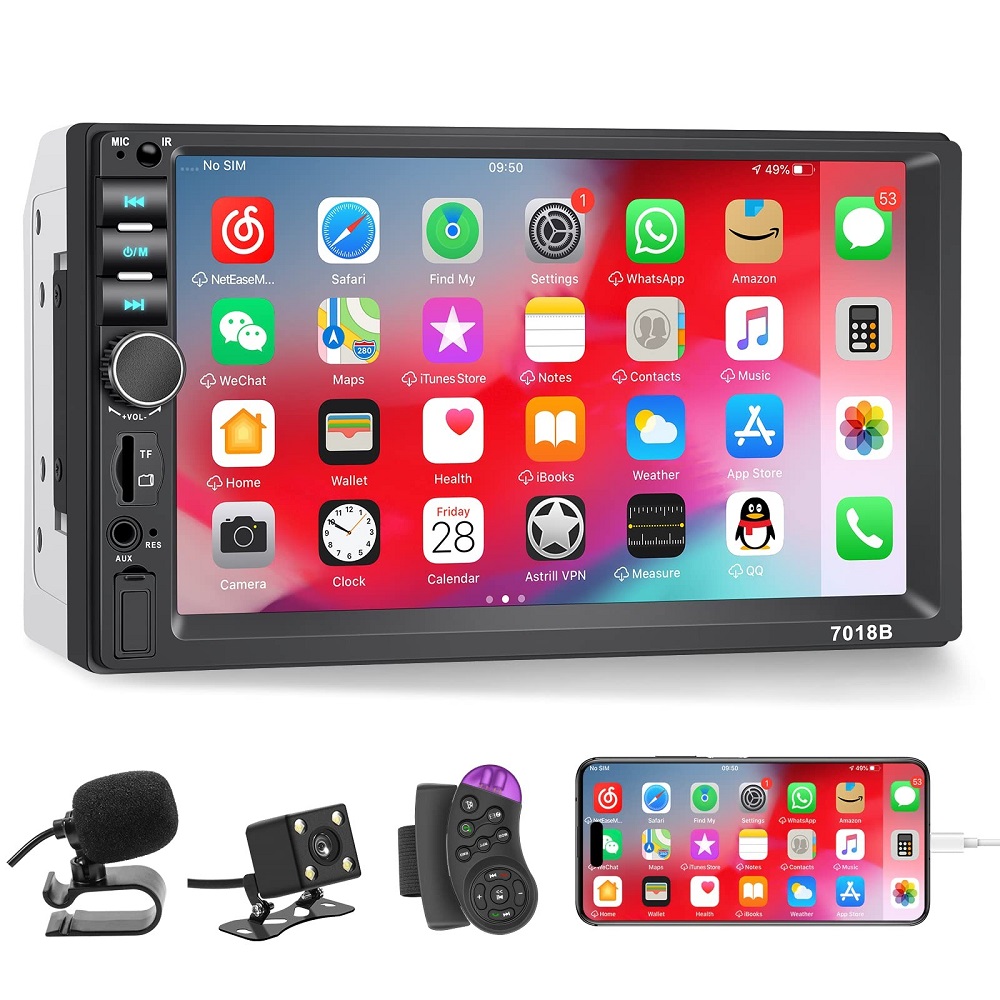
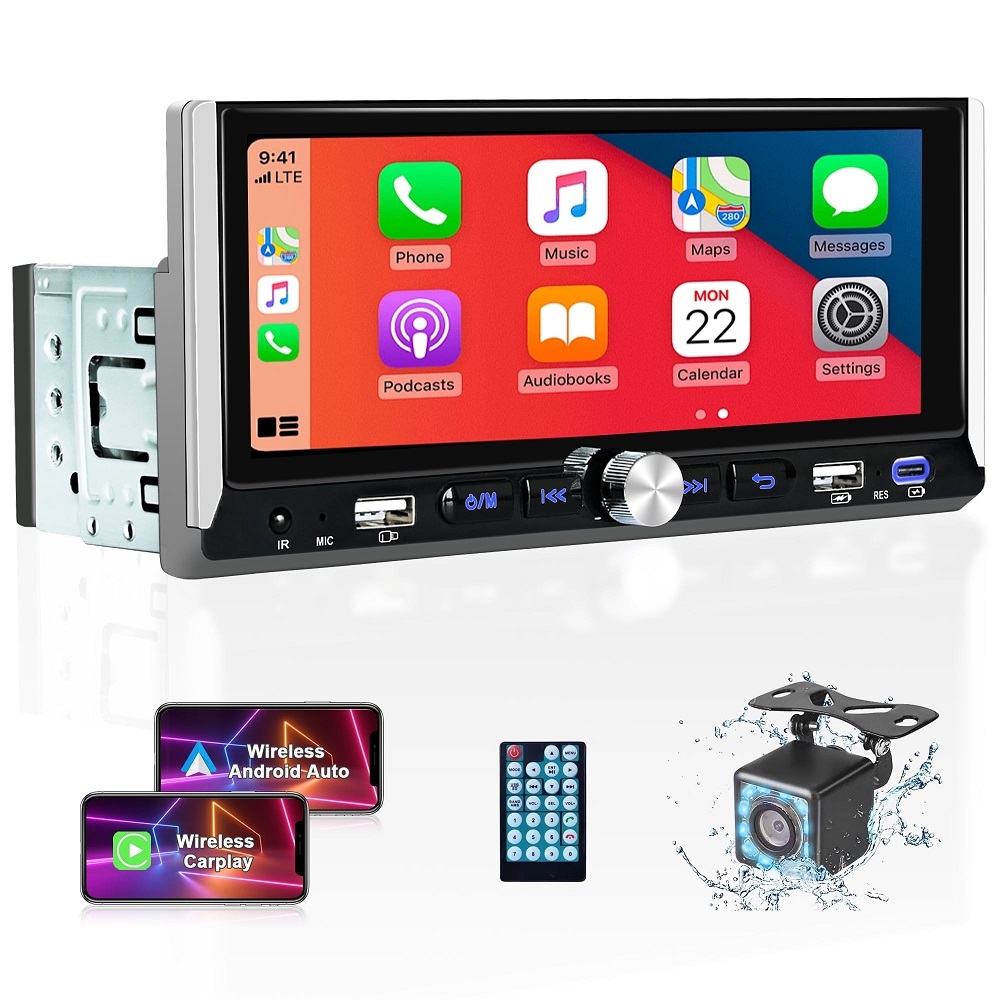
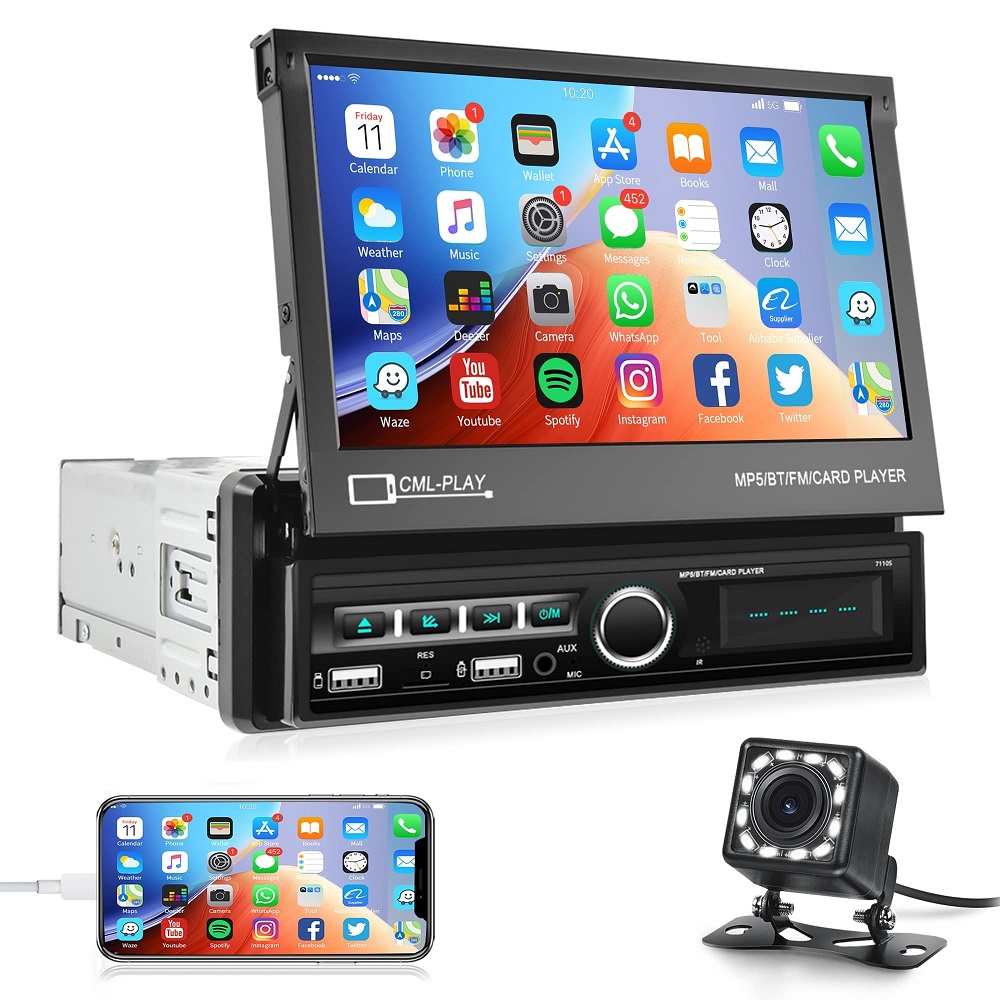
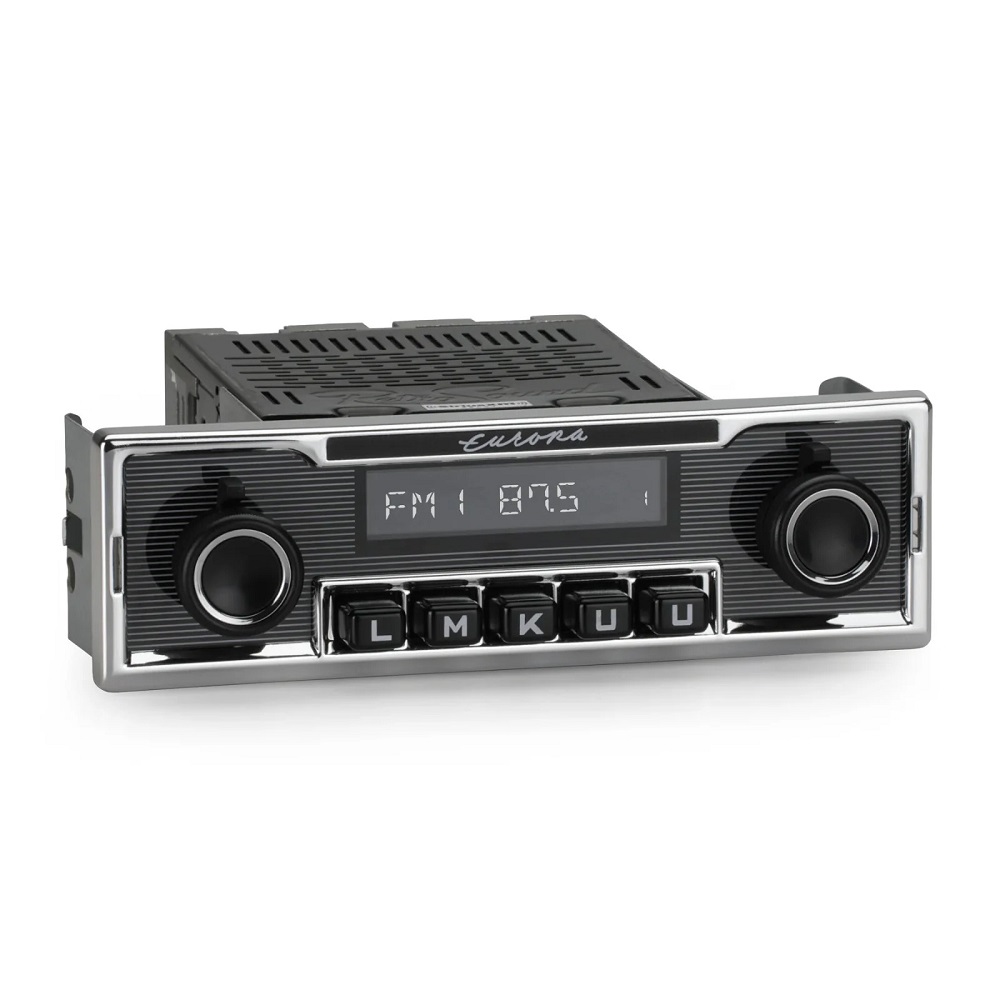
Explore Different Stereo Types
- Single-DIN: Small, compact size. Basic features but fits most dashboards.
- Double-DIN: Larger, with advanced features. Ideal for touchscreen displays and additional functionalities.
- OEM Systems: Original equipment. Provides excellent compatibility but might lack modern features.
Research and Compare Brands
- Reputable Brands: Stick to trusted names like Pioneer, Sony, or Kenwood.
- Customer Reviews: Look for reviews to gauge real-world performance and reliability.
- Warranty and Support: Check the warranty period and customer support availability.
Verify Before Purchase
- Connections: Ensure wiring connections and formats match your car’s system.
- Add-ons: Consider extra compatibility for backup cameras or external amplifiers.
- Testing: Try the stereo in-store to confirm its ease of use and sound quality.
Choosing the right car stereo ensures a satisfying experience and smoother installation process.
Wiring Basics for Car Stereo Installation
Understanding your car’s wiring system is essential for a successful installation process. Proper wiring ensures optimal stereo performance and safety during use.
Understanding Wire Connections and Colors
Car stereos use specific wire colors to identify purposes. Knowing these simplifies the wiring process:
- Power Wires: Red wires supply the ignition power; yellow provides constant battery power.
- Ground Wire: Black wire connects to the car chassis to prevent electrical hazards.
- Speaker Wires: Typically come in pairs with designated colors for positive and negative connections. Refer to the stereo manual for precise color codes.
- Accessory Wires: Include blue wires for antennas and amps, and sometimes orange wires for illumination.
Uncover loose wires from the harness and match their functions. Double-check connections against the user’s manual to ensure accuracy.
Using Wiring Harnesses
A wiring harness is crucial for connecting the stereo to your vehicle’s electrical system. It provides a neat and reliable connection.
- Why Use a Wiring Harness: It simplifies installation by ensuring wires align with your car’s system.
- Key Steps to Connect:
- Plug the harness into the stereo and match wires to the system.
- Use butt connectors, soldering, or heat shrink tubing for stable connections.
- Secure with electrical tape for insulation.
- Check Compatibility: Verify the wiring harness compatibility with your vehicle and stereo model.
Using reliable wiring methods and harnesses reduces potential errors and ensures long-term performance. Always consult the user manual and consider vehicle-specific requirements when handling wiring basics.
Installing the New Stereo
After preparing your vehicle and choosing the right stereo, it’s time to install it. This step involves properly mounting the stereo unit and connecting the wires. Proceed carefully to avoid damaging the stereo or your car’s electrical system.
Mounting the Stereo
Properly mounting the stereo ensures it fits securely and operates smoothly.
- Prepare the Dash Kit: Use a compatible dash kit for a snug fit. It helps secure the stereo.
- Insert the Stereo: Slide the stereo unit into the mounting kit. Align it correctly for a proper fit.
- Secure with Screws: Use the screws provided to fasten the stereo in place tightly.
- Adjust Positioning: Ensure the stereo is flush with the dashboard. Adjust as needed for a perfect fit.
- Reattach Panels: Once the stereo is firmly mounted, reattach the dashboard panels using the panel removal tool. Ensure all clips and screws are securely fastened.
Connecting the Wires
Proper wiring ensures the stereo operates safely and efficiently.
- Match Wire Colors: Identify the wires from both the stereo and car harness. Match colors carefully.
- Use a Wiring Harness Adapter: A wiring harness adapter simplifies connections and ensures compatibility.
- Secure Connections:
- Use crimp connectors or a soldering kit for solid connections.
- Cover each connection with electrical tape or heat shrink tubing for insulation and durability.
- Connect the Antenna Cable: Locate the antenna cable and plug it into the stereo.
- Ensure Grounding: Connect the black wire to a metal part of the car frame to avoid electrical issues.
- Test Connections: Use a multimeter to confirm proper electric flow before finalizing the setup.
Once all connections are complete, double-check the wiring for any loose or exposed wires. Follow the user manual for guidance and ensure everything is secure before proceeding to test the stereo. Proper mounting and wiring guarantee a hassle-free car stereo installation.
Testing the Stereo After Installation
Testing the stereo after installation ensures everything works correctly. This step confirms wiring accuracy and stereo functionality.
Power On the Stereo
Ensure the stereo powers on and displays its interface.
- Reconnect the car’s battery.
- Turn the car’s ignition key to the accessory position.
- Observe if the stereo turns on and the display works correctly.
If it doesn’t power on, recheck wiring connections.
Check Speaker Functionality
Verify sound quality from all speakers.
- Play different audio formats at varying volumes.
- Check whether each speaker emits clear sound.
- Test balance, fade, and equalizer settings for optimal performance.
Ensure there’s no distortion or uneven audio.
Test Features and Add-ons
Ensure additional features work seamlessly.
- Check Bluetooth pairing with your phone.
- Test GPS navigation or touchscreen functions.
- Verify auxiliary or USB inputs and their output quality.
- Test steering wheel controls or backup camera compatibility.
Check the user manual for any troubleshooting tips.
Confirm Proper Connections
Ensure all cables and wires are secure.
- Use the multimeter to verify voltage on power and ground wires.
- Confirm antenna connection for radio functionality.
Adjust any loose connections for reliable performance.
Testing ensures the stereo performs well and matches your expectations. Fix issues promptly to avoid future complications.

Troubleshooting Common Installation Issues
Even with proper preparation and careful installation, issues may arise. Knowing how to troubleshoot common car stereo installation problems will help you resolve them quickly.
Stereo Does Not Power On
If the stereo does not turn on:
- Check the Battery Connection: Ensure the car battery is properly connected, and the negative cable is secure.
- Inspect Wiring Connections: Verify all power wires are securely attached and properly matched.
- Check the Fuse: Look for a blown fuse in the car’s fuse box or within the stereo.
- Test with a Multimeter: Use a multimeter to check for voltage in the power wires.
Poor Sound Quality
If you experience distorted or poor sound quality:
- Verify Speaker Wiring: Check all speaker wires for loose connections or mismatched polarity.
- Inspect for Damage: Ensure no wires are pinched, exposed, or damaged during installation.
- Adjust Settings: Fine-tune balance, fade, and equalizer settings on the stereo.
- Check the Speakers: Test each speaker for damage or faulty wiring.
Radio Signal Issues
If the radio doesn’t receive signals:
- Inspect the Antenna Connection: Make sure the antenna cable is securely connected to the stereo.
- Check the Antenna: Look for visual damage or ensure it is fully extended.
- Use a Signal Booster: Consider a signal booster for areas with poor reception.
Interference and Noise
Noise or static during operation can be annoying:
- Ground Wire Connection: Ensure the ground wire is securely connected to a metal part of the car.
- Check Cable Routing: Keep power and speaker wires away from ignition or other electronic components.
- Add a Noise Filter: Install a noise suppression filter to reduce interference.
Stereo Unit Not Fitting Properly
If the stereo is not fitting well:
- Verify Dash Kit Size: Ensure the dash kit matches your car and stereo dimensions.
- Recheck Installation: Align and secure the stereo properly within the kit and dashboard.
- Adjust Mounting Brackets: Make necessary adjustments to the brackets for a snug fit.
Touchscreen or Bluetooth Not Working
For issues with advanced features:
- Confirm Compatibility: Verify your stereo and devices are compatible with these features.
- Update Software: Install the latest firmware updates for the stereo.
- Re-pair Devices: Disconnect and reconnect Bluetooth devices.
Steps to Avoid Future Issues
- Double-Check Before Finalizing: Inspect all connections before restoring power.
- Follow the Manual: Refer to your car stereo’s user manual for specific guidance.
- Use Quality Products: Invest in high-quality tools and materials for a durable installation.
By following these troubleshooting tips, you can address common car stereo installation problems effectively and ensure your system operates smoothly.
Tips for Maintaining Your Car Stereo System
Proper maintenance keeps your car stereo system performing well and extends its lifespan.
Keep It Clean
- Wipe the stereo unit regularly using a soft, dry cloth.
- Avoid using chemicals that might damage the faceplate or screen.
- Clean the area around speakers to prevent dust buildup.
Protect From Extreme Temperatures
- Avoid exposing your car to extreme heat or cold for prolonged periods.
- Use sunshades in hot weather to protect the stereo.
- Ensure interior temperature is moderate when operating the system.
Handle Connections Carefully
- Check wiring connections periodically for wear or looseness.
- Avoid pulling wires aggressively during inspections.
- Use electrical tape to secure exposed wires and prevent short circuits.
Update Firmware
- Regularly check for software updates from the stereo manufacturer.
- Install updates to improve functionality and fix bugs.
- Ensure compatibility with latest devices, especially for Bluetooth systems.
Avoid Overloading the Speakers
- Keep volume levels reasonable to avoid straining the speakers.
- Adjust bass and treble settings moderately to prevent distortion.
- Test sound regularly to ensure balanced audio performance.
Protect Against Moisture
- Keep windows closed during rain to prevent water contact.
- Avoid spills on or near the stereo unit.
- Use water-resistant covers if parking near humid areas.
Troubleshoot Early Signs of Issues
- Address static, fading audio, or display malfunctions immediately.
- Refer to the user manual for steps to solve minor problems.
- Seek professional repair for persistent technical issues.
Invest in Quality Accessories
- Use high-quality cables to enhance stereo performance.
- Opt for reliable backup cameras or amplifiers when adding features.
- Replace worn-out components with original parts.
Regular care prevents problems and ensures your car stereo installation stays functional. Follow these tips to enjoy uninterrupted entertainment and longer device life.
Leave a Reply