Introduction
Unexpected Roadside Emergencies
One common issue that all motorcycle riders may encounter is a flat tire. Flat tires can occur due to various reasons, such as punctures, debris on the road, or even a slow leak. When this happens, being prepared is vital. A motorcycle tire repair kit can save the day by allowing riders to handle tire emergencies on the spot.
Purpose of This Guide
This guide will explore the components of a motorcycle tire repair kit, how to use it effectively, and the importance of being prepared for roadside emergencies. We will discuss common tire types and the tools you will need in your kit. By the end of this article, readers will be well-prepared to tackle any tire issues that arise while on the road.
Understanding Motorcycle Tires
Types of Motorcycle Tires
Motorcycle tires come in various types, each designed for specific riding conditions. The most common types include street tires, touring tires, and off-road tires. Street tires are designed for pavement, offering a good balance between grip and longevity. Touring tires are optimized for long-distance riding, providing comfort and durability. Off-road tires have aggressive tread patterns for better traction on dirt and gravel. Understanding the differences can help you make informed decisions about repairs and replacements.
Checking Tire Pressure
Maintaining proper tire pressure is essential for safe riding. Overinflated or underinflated tires can lead to poor handling and increased risk of a flat. Using a reliable tire pressure gauge, check the pressure regularly, especially before long trips. Most motorcycles have a recommended psi range printed on the side of the tire or in your owner’s manual. Keeping tires at the correct pressure will enhance performance and prolong tire life.
Tread Depth
Checking the tread depth is equally important. The tread helps provide grip on the road, ensuring safety during cornering and braking. The minimum tread depth for motorcycle tires is usually 1/16th of an inch. If the tread is worn down past this point, it’s time to replace the tires. Many riders use a penny or quarter test to check this. Insert a coin into the tread; if you can see the entire coin, the tread is too low.

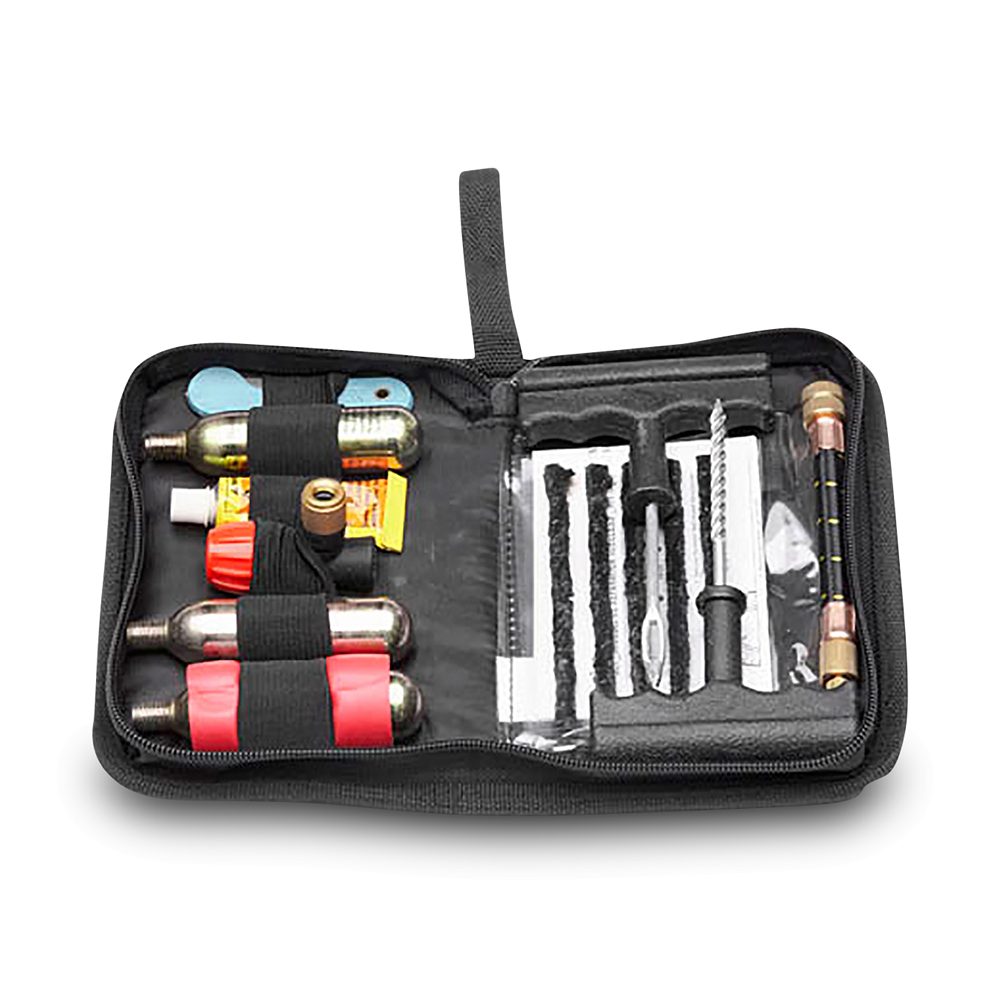
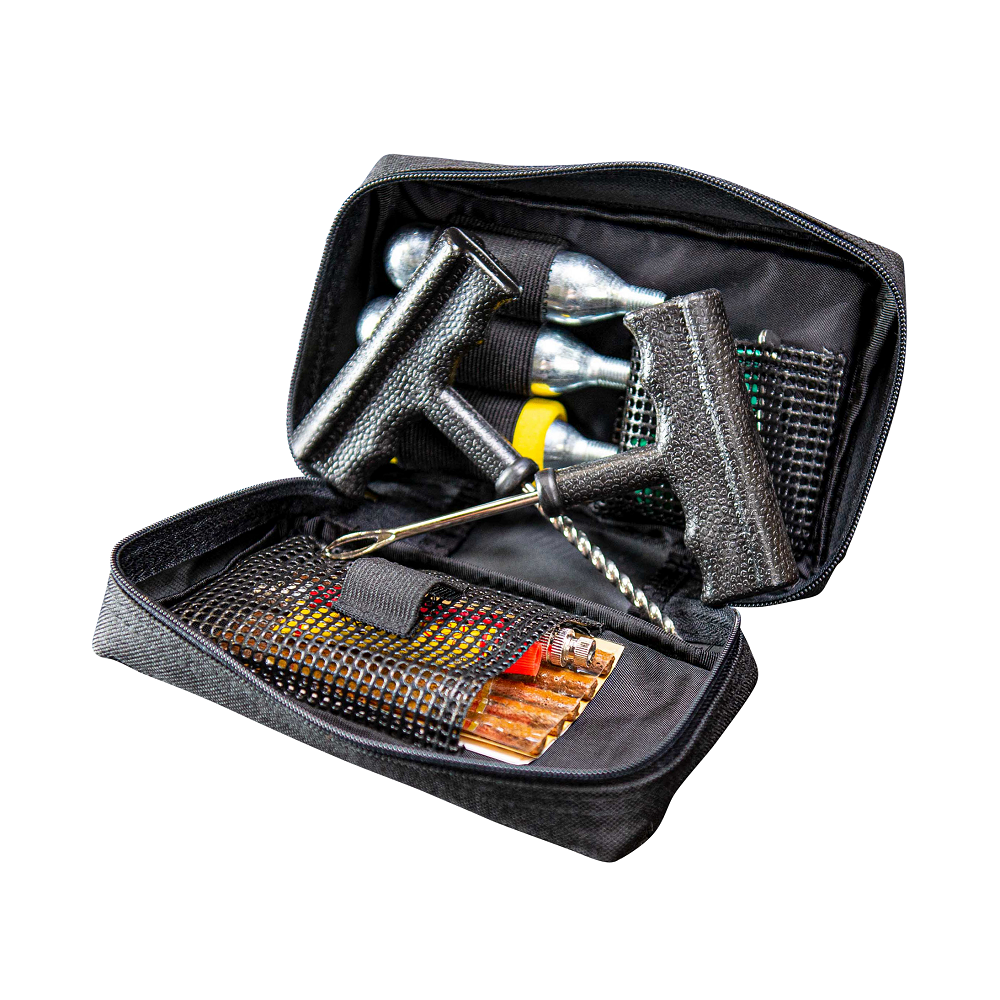
Essential Components of a Tire Repair Kit
Tire Sealant
An effective motorcycle tire repair kit often includes a can of tire sealant. This product works by sealing small punctures in the tire when applied. It’s a temporary fix, but it can help you reach a service station or a safer location for a more permanent repair.
Tire Irons
Tire irons are essential tools included in most repair kits. They are used to help remove the tire from the rim and reattach it after repairs are made. These tools come in different sizes and shapes; choose those that are suited for your specific motorcycle. Knowing how to use tire irons correctly can speed up the repair process significantly.
Air Pump
An air pump is another crucial component of a motorcycle tire repair kit. After applying tire sealant or fixing a puncture, you will need to inflate the tire back to the correct pressure. Portable air pumps come in various types, including hand pumps and electric pumps. Choose a model that is lightweight and easy to carry. Ensuring your tire has enough air pressure for your ride is important for safety.
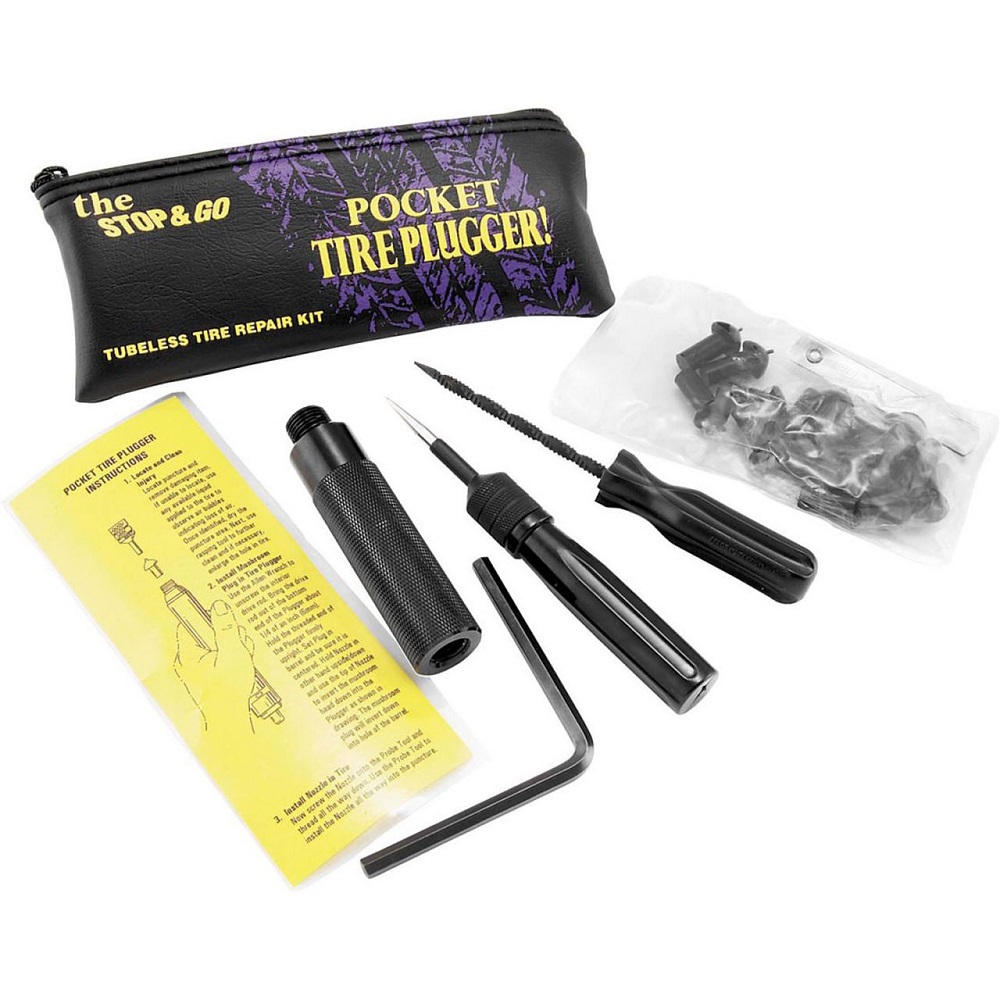
Additional Tools to Consider
Puncture Repair Kit
In addition to sealant, a puncture repair kit can come in handy. These kits typically include rubber plugs, insertion tools, and a reaming tool. This setup allows you to fix punctures that are larger than those managed by sealant. Familiarizing yourself with using a puncture repair kit can prepare you for more serious roadside emergencies.
Valve Stem Tool
A valve stem tool can assist in checking and replacing the valve stem on your motorcycle tire. If you’re experiencing air loss but can’t identify a puncture, the valve stem might be the culprit. Having a valve stem tool available allows you to check and replace it easily. This small addition to your repair kit can prevent unnecessary hassle on the road.
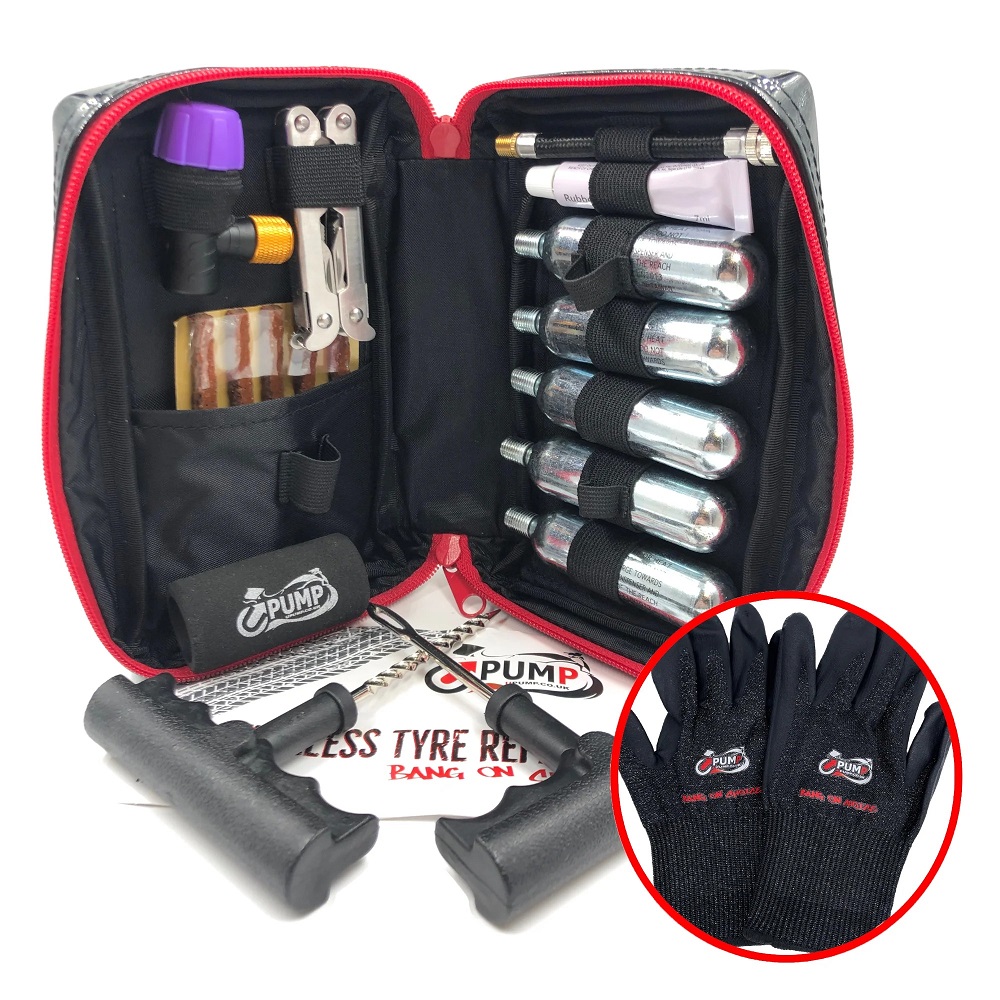
Gloves and Cleaning Supplies
When performing a tire repair, wearing gloves is highly recommended. Tire repairs can be messy, so having disposable gloves on hand can keep your hands clean. Additionally, packing cleaning supplies such as rags or paper towels can help clean up any spills or dirt. Being prepared to deal with the messy aspects of tire repairs can save you time and frustration.
Handling Roadside Emergencies
Assessing the Situation
When faced with a flat tire, the first step is to assess the situation. Determine if it’s safe to pull over to a nearby area where you can perform the repair. Ensure you are out of harm’s way and away from traffic. Once in a safe spot, carefully inspect the tire and determine the cause of the problem. This assessment will help you decide which tools or solutions from your repair kit will be the most effective.
Using the Tire Sealant
If the issue is a small puncture, begin by applying the tire sealant. Shake the canister well before attaching it to the valve stem. Follow the instructions on the product label. Usually, you will need to inflate the tire slightly before sealing it to allow the sealant to spread evenly. Once applied, ride for a few miles to let the product distribute throughout the tire. This temporary fix will help restore air pressure and assist in getting you to a repair shop.
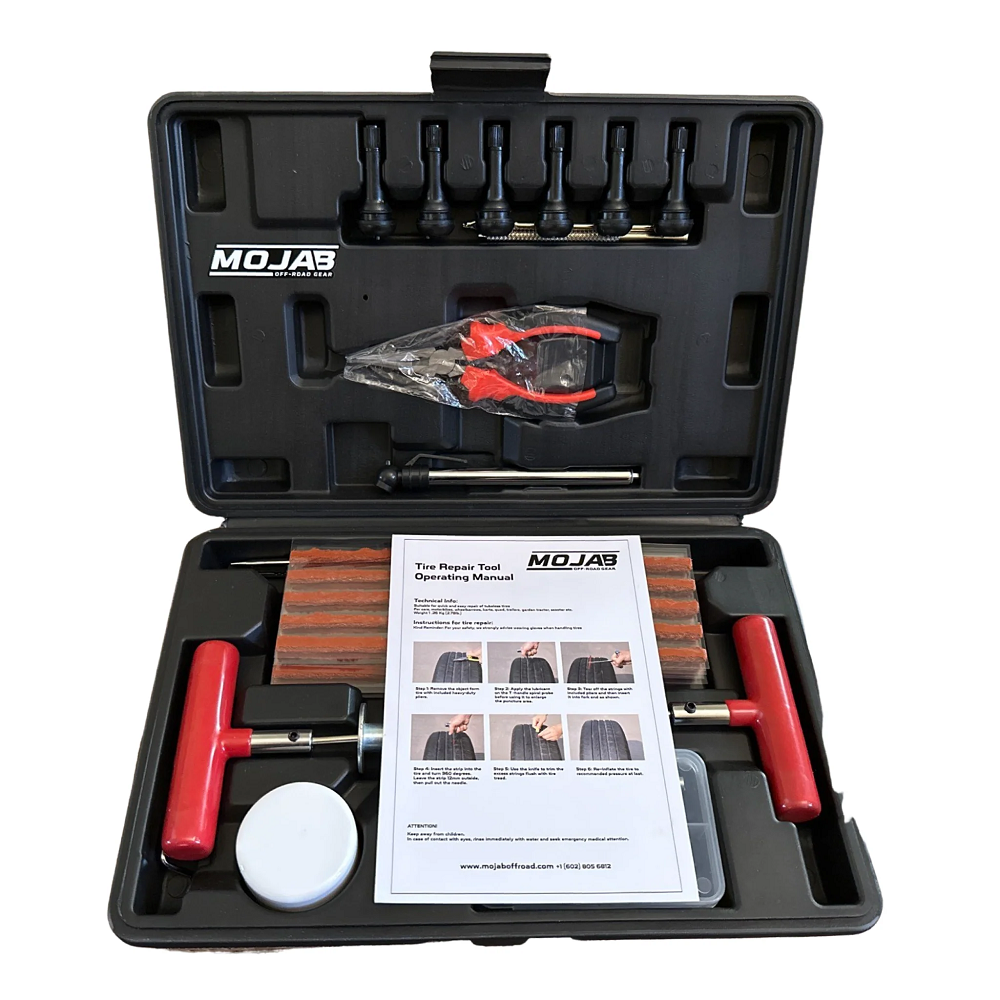
Repairing with Tire Irons
If the damage is more extensive, such as a larger puncture, you may need to remove the tire using tire irons. Start by loosening any wheel nuts or bolts, then carefully work around the tire to lift it from the rim. It’s essential to handle this step with care, as damaging the rim can lead to bigger problems. Once the tire is off, you can inspect it for punctures that need repairing. Using a puncture repair kit, follow the instructions to effectively seal the damage.
After the Repair
Inflation and Testing
Once you have completed the necessary repairs, it’s important to inflate your tire back to the recommended pressure. Use your portable air pump to add air until it reaches the correct psi. After inflating, inspect the tire for any signs of air leakage. Squeeze the tire gently or listen closely; if you hear hissing or feel air escaping, you may need to reassess the repair. Ensuring proper inflation before getting back on the road is vital for safety.
Continue Your Journey Safely
Once the tire has been repaired and inflated correctly, you can continue your journey. However, it’s advisable to ride cautiously for a while. Monitor the tire’s performance, especially if the repair was a temporary fix. Plan to visit a professional mechanic as soon as possible to have a permanent repair made. Riding on a repaired tire requires care, as it may not perform the same as a new tire.
Document the Repair
Keeping track of your repairs is a good practice. Consider writing down details of the incident, such as the nature of the tire damage, the repairs made, and any recommendations from a mechanic afterward. This documentation can profoundly aid in understanding the longevity of repairs and provide information for future tire maintenance. Tracking your repairs encourages better care for your motorcycle and contributes to proactive maintenance strategies.
Preparing for Future Roadside Emergencies
Building a Comprehensive Repair Kit
Taking the time to build a complete motorcycle repair kit is essential for preparation. In addition to the basic components mentioned earlier, consider adding tools like a wrench, duct tape, and extra tire tubes for more significant issues. Having these tools can empower you to handle various roadside emergencies effectively. Choose a durable and compact storage option, ensuring that your kit is accessible whenever needed.
Regular Maintenance as Prevention
Preventative maintenance is key in avoiding road emergencies. Regularly check your tires for wear and tear, including tread depth and any visible punctures or damage. Make a habit of monitoring tire pressure before each ride. Keeping tires well-maintained reduces the risk of blowouts or flats during your journey. Taking these steps may save you from potential roadside troubles in the long run.
Joining a Riding Group
Consider joining a local motorcycle riding group or club. Many clubs offer safety courses and workshops that cover roadside repairs and maintenance. Not only can you learn valuable skills from experienced riders, but you can also have the support of a community that shares your passion for motorcycling. Having friends to ride with can make the experience more enjoyable, and group rides often include additional safety measures for emergencies.
Conclusion
Emphasizing the Importance of Safety
In conclusion, a motorcycle tire repair kit is essential for every rider. Being prepared for roadside emergencies is crucial for maintaining safety and peace of mind while traveling. A well-stocked repair kit can make a significant difference when faced with unexpected tire issues, allowing riders to handle challenges with confidence.
Embracing Adventure and Preparedness
Motorcycling is about embracing adventure and the freedom of the open road. With the right preparation and knowledge, you can fully enjoy the experience without unnecessary stress. A proper motorcycle tire repair kit empowers you to tackle any issue that arises, ensuring smooth rides and memorable journeys.
Staying Informed and Ready
As you prepare for your next motorcycle adventure, keep in mind the importance of ongoing education and practice, including roadside tire repair tips for motorcycle riders. Familiarize yourself with your repair kit and learn how to use each component effectively. Taking these proactive measures will enhance your overall riding experience, allowing you to feel secure and confident as you take on the open road. Embrace the journey ahead, knowing that you are ready to handle anything that comes your way, and enjoy every moment of your thrilling motorcycle adventures!
Leave a Reply