When it comes to customizing your motorcycle, few modifications can have as significant an impact as upgrading the exhaust system. A shorty muffler is a popular choice among riders looking for improved sound, lighter weight, and enhanced aesthetics. However, the installation process requires attention to detail to ensure success. This article provides a thorough guide to installing a shorty muffler on your motorcycle, offering tips and tricks for a smooth upgrade. Whether you are a seasoned rider or new to motorcycle customization, this guide will be beneficial.
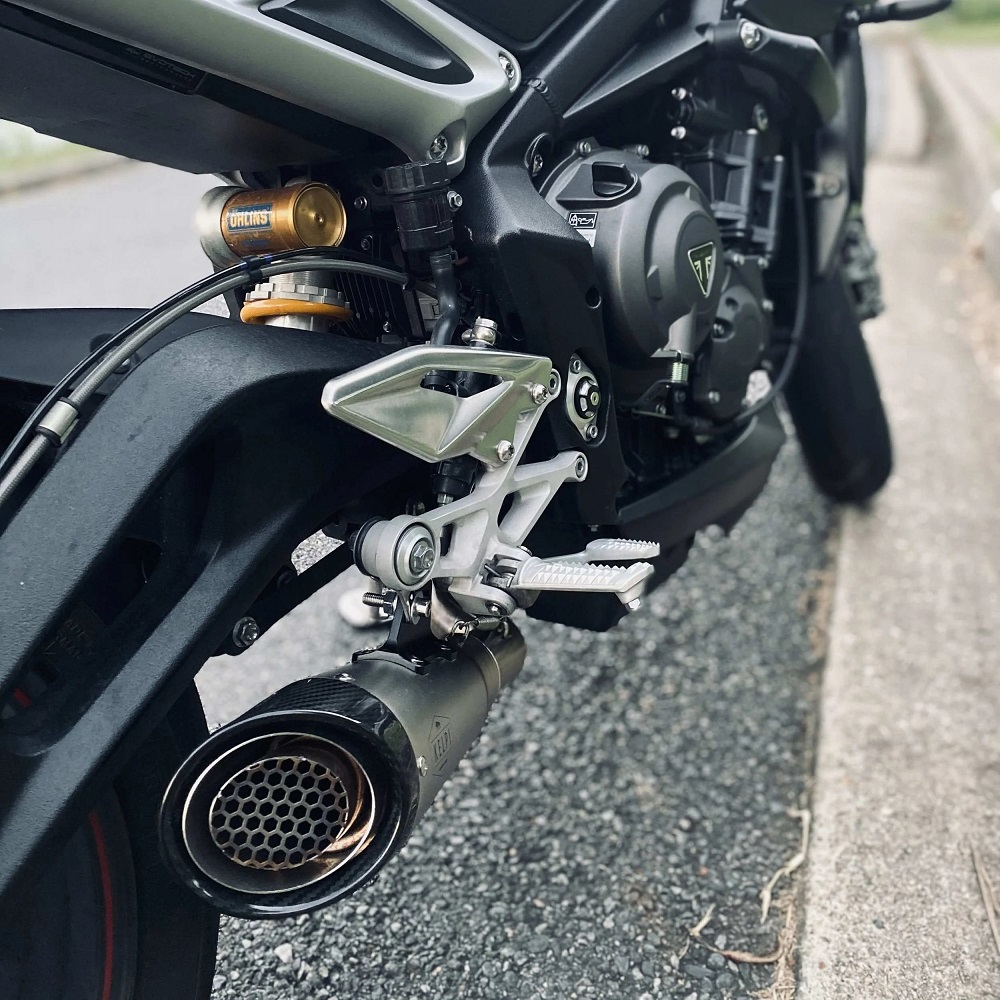
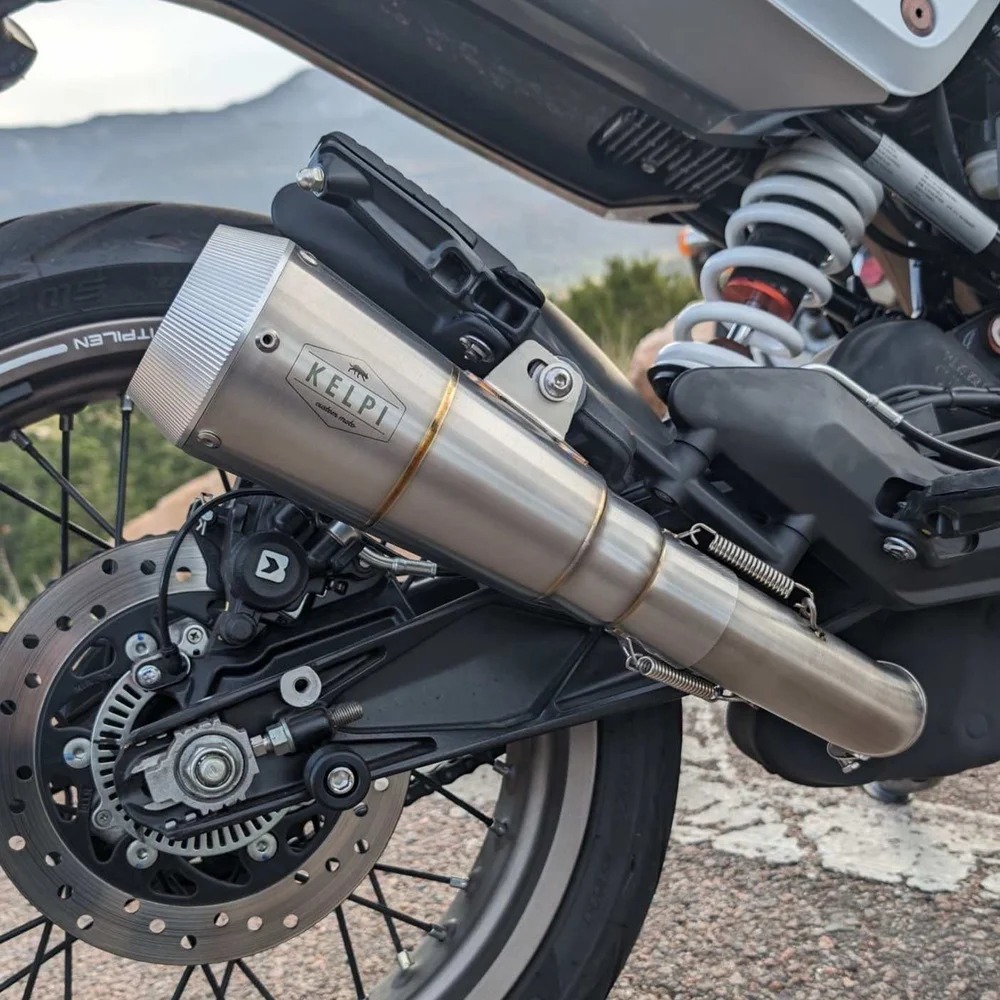
Understanding the Benefits of a Shorty Muffler
Improved Exhaust Flow
One of the main advantages of installing a shorty muffler is increased exhaust flow. This modification allows the engine to breathe better, which can lead to improved performance. As the engine expels exhaust gases more efficiently, it can achieve better acceleration and responsiveness. Riders often notice a more liberated throttle response after installation, enhancing the overall riding experience.
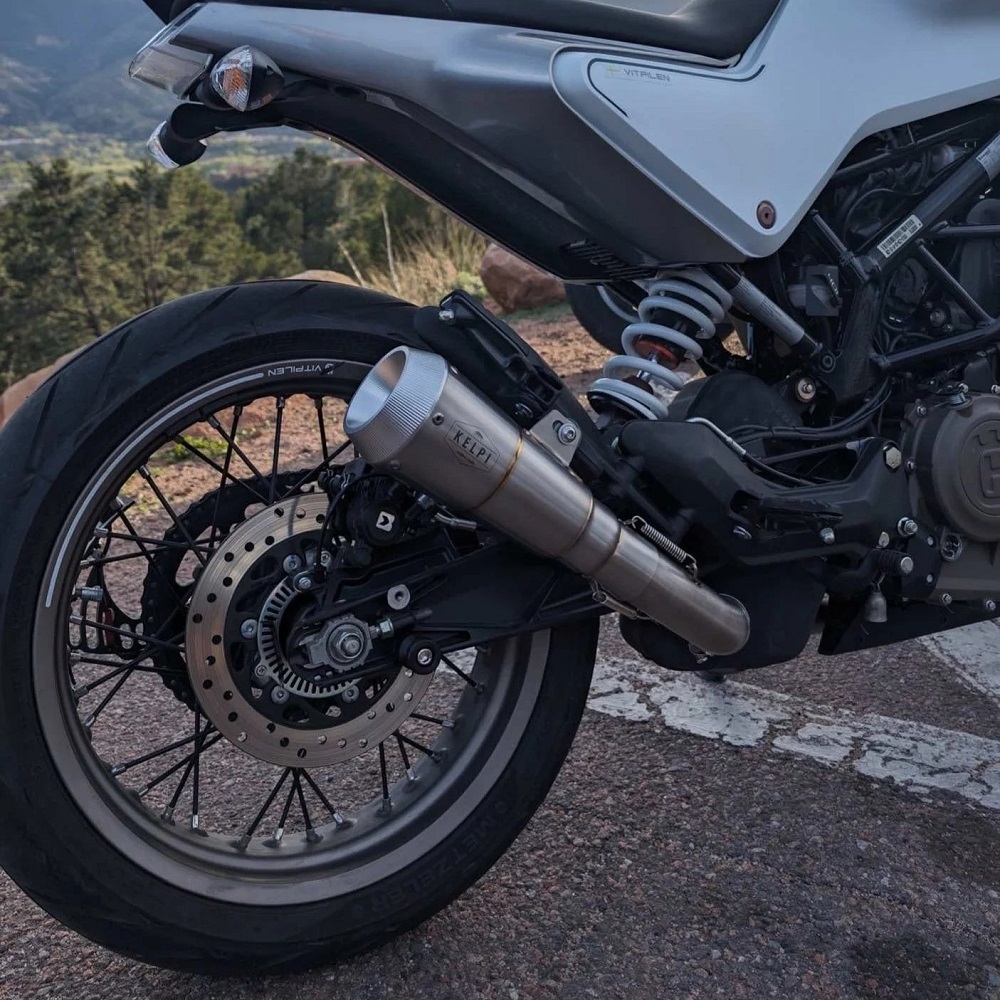
Sound Enhancement
Another significant benefit of a shorty muffler is the unique sound it produces. Riders often seek out this modification to achieve a deeper, more aggressive exhaust note. The distinctive sound can enhance the motorcycle’s presence on the road, leading to a more enjoyable riding experience. For many riders, the auditory feedback from a well-tuned exhaust system greatly adds to the overall joy of riding.
Weight Reduction
Shorty mufflers are typically lighter than traditional full-length mufflers. This reduction in weight can improve the motorcycle’s handling characteristics, making it feel more agile and responsive. A lighter bike can also mean better fuel efficiency, as the engine does not have to work as hard to move the bike. This combination of benefits makes the shorty muffler a popular choice among performance-minded riders.
Selecting the Right Shorty Muffler
Compatibility Check
Before purchasing a shorty muffler, it’s crucial to ensure compatibility with your motorcycle model. Different motorcycles have specific exhaust systems, and not all shorty mufflers will fit every bike. Check the manufacturer’s specifications to find a muffler that matches your bike’s design. This step is essential for a proper installation and optimal performance.
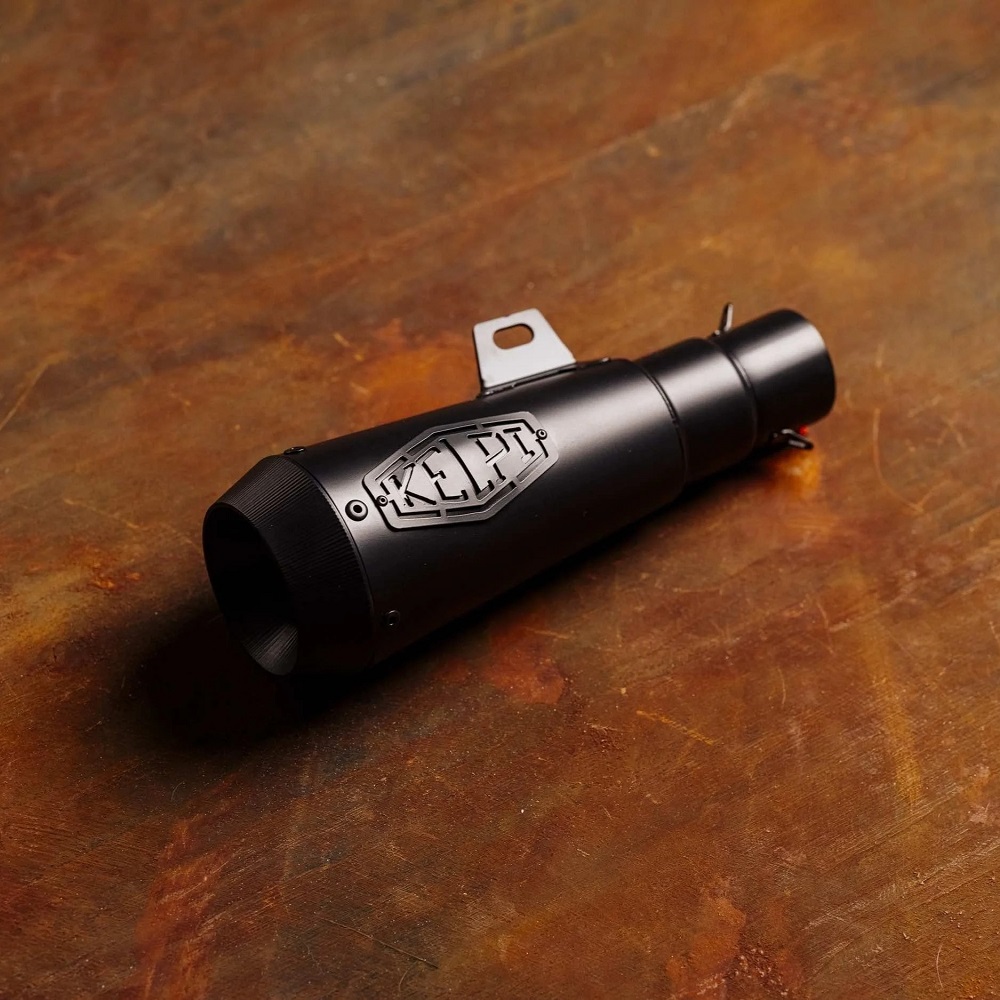
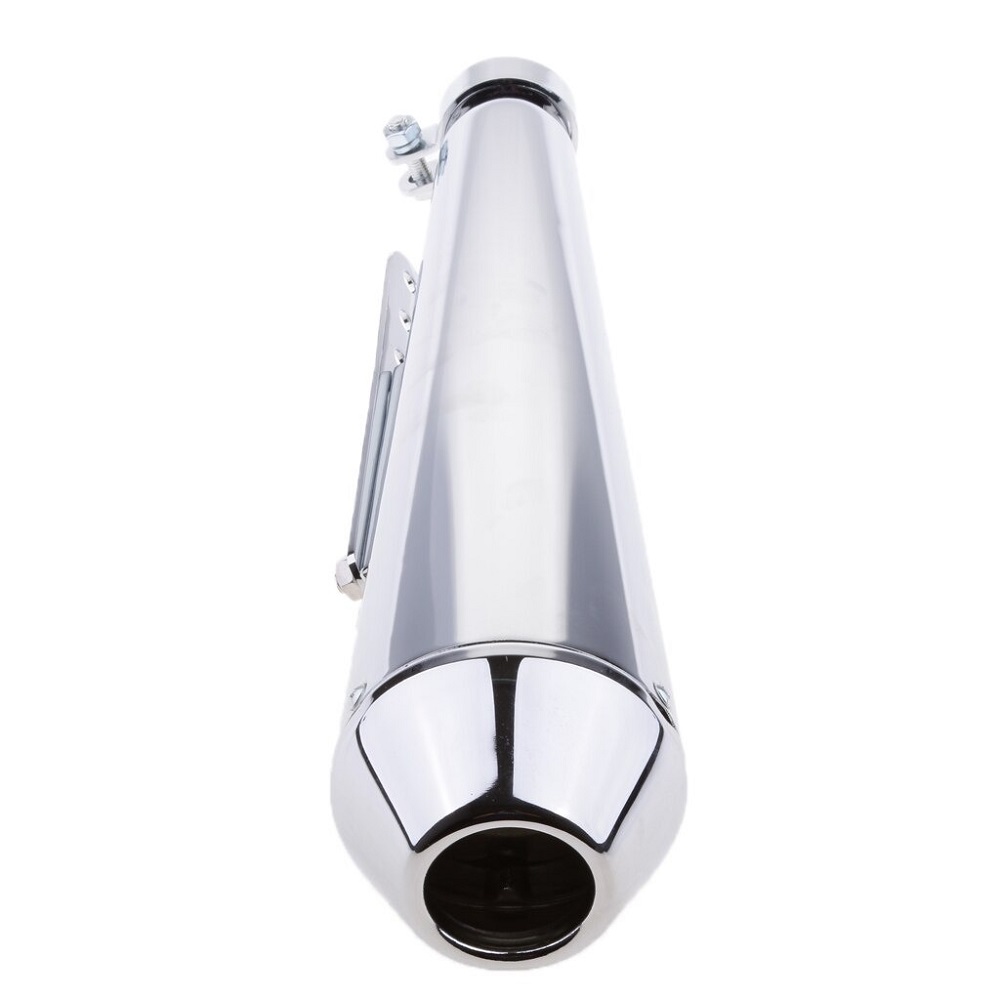
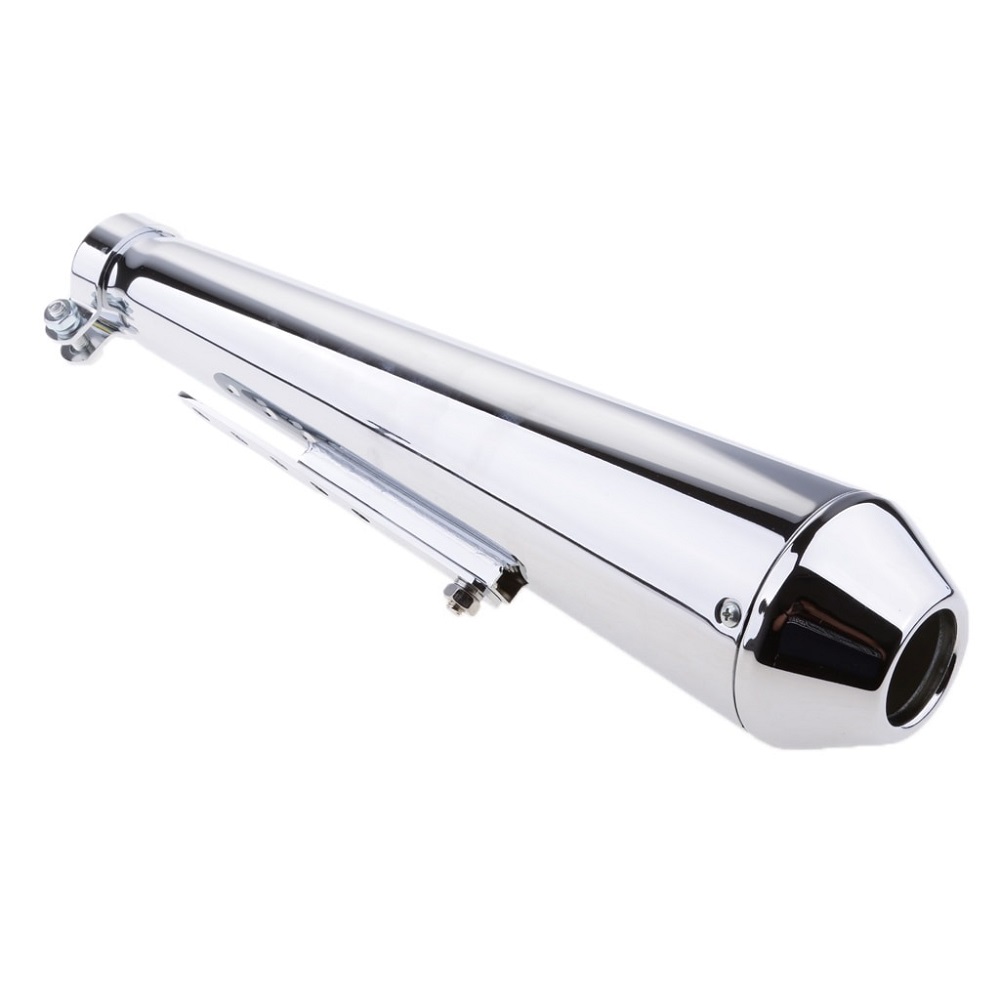
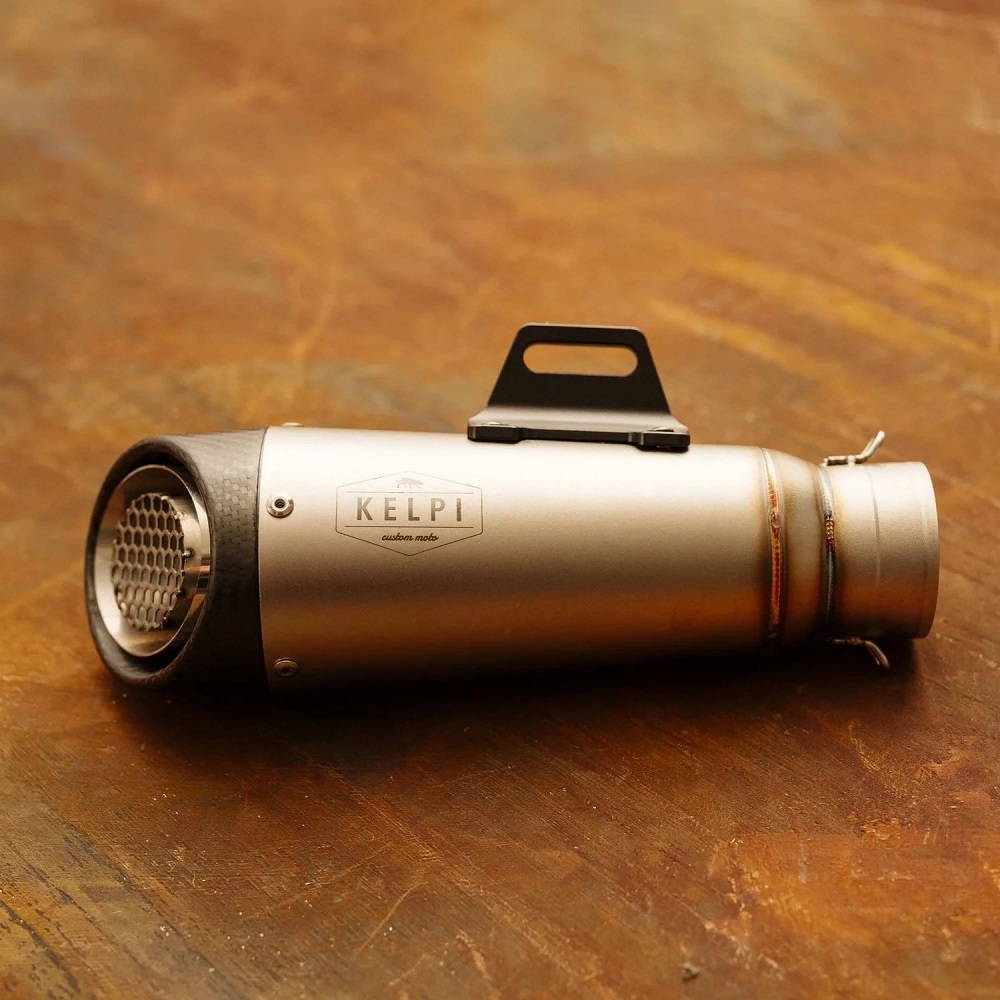
Material Choices
Shorty mufflers come in various materials, including stainless steel, aluminum, and carbon fiber. Each material has its benefits and drawbacks. Stainless steel is durable and resistant to corrosion, making it a popular choice. Aluminum is lightweight, while carbon fiber provides a high-end, stylish look but can be more fragile. Consider your priorities, such as longevity versus appearance, when making a choice.
Design Preference
Shorty mufflers come in multiple designs, affecting both aesthetics and performance. Some riders prefer a straight-cut style for a more aggressive look, while others may opt for a beveled edge for a subtler appearance. Additionally, check for available finishes, such as polished or matte. The right design can complement your motorcycle’s overall look while also serving its functional purpose.
Required Tools and Materials
Essential Tools
Before starting the installation process, it’s important to gather the necessary tools. Usually, you’ll need basic hand tools, including wrenches, sockets, and screwdrivers. A torque wrench is crucial for ensuring bolts are tightened to the manufacturer’s specifications. It’s also wise to have a rubber mallet or hammer on hand to assist with fitting the muffler securely.
Additional Supplies
In addition to tools, you may require some additional supplies for the installation. High-temperature exhaust sealant can help create a better seal between connections. New mounting hardware might be necessary if the existing hardware is worn or damaged. Always consider obtaining clamps and gaskets suited for high temperatures to prevent leaks and ensure a secure fit.
Safety Gear
Safety should never be overlooked when working on your motorcycle. Ensure you wear appropriate safety gear, including gloves and safety glasses, while performing the installation. This gear will protect your hands and eyes from debris and sharp objects. Additionally, working in a well-ventilated area is important, especially when dealing with exhaust components.
Preparing for Installation
Gathering Information
Before you begin the installation process, take the time to read the instructions provided by the muffler manufacturer. Familiarize yourself with the steps and recommendations provided. Understanding the process in advance will make the installation smoother and reduce the likelihood of mistakes. Preparation is key to a successful upgrade.
Bike Preparation
Before removing the old muffler, prepare your bike. Place it on a stable, level surface and engage the kickstand. If necessary, use a motorcycle lift to elevate the bike for easier access. This additional height can make the installation process much more comfortable. Additionally, make sure the exhaust system is cool to the touch to avoid burns.
Removal of the Old Muffler
To start, locate the mounting points where the old muffler attaches to the exhaust system. Use the appropriate tools to disconnect it carefully. Pay attention to how the muffler is attached to ensure you can replicate the process during installation. It may be necessary to gently wiggle the old muffler to free it from the exhaust pipe.
Installing the Shorty Muffler
Positioning the New Muffler
Once the old muffler is removed, take the new shorty muffler and position it against the mounting point. It’s important to fit it properly to assess how it aligns with the existing exhaust system. Some adjustments may be required, especially in terms of angling and positioning, to ensure a perfect fit. Take your time during this step to ensure precision.
Fitting and Securing
After the muffler is positioned correctly, it’s time to secure it. Use the mounting hardware provided with the muffler or your existing hardware. Make sure to thread the bolts carefully, avoiding cross-threading, which can cause damage. A torque wrench can be instrumental in applying the appropriate tightness to the connections as outlined in the manufacturer’s guidelines.
Sealing Connections
To prevent leaks, apply high-temperature exhaust sealant around the connection points between the muffler and exhaust pipe. This step is crucial for maintaining performance and avoiding the annoying hissing or popping sounds that occur when there are air leaks. Allow the sealant to cure according to the manufacturer’s instructions before starting the motorcycle.
Testing the Installation
Inspect for Leaks
After the installation is complete, it is essential to inspect the connections for any potential leaks. Start the motorcycle and listen carefully for any unusual noises or signs of air escaping. Check around the seals to ensure everything is tight and secure. If you observe any leaks, it may be necessary to tighten the bolts further or reapply the sealant.
Performance Evaluation
Take your motorcycle for a short test ride to evaluate the performance of the new shorty muffler. Pay attention to how the bike sounds and responds to throttle inputs. The engine should feel more responsive, and the unique sound produced by the muffler should enhance your riding experience significantly. If any issues arise during the test ride, consider rechecking the installation.
Final Adjustments
After testing, you may need to make final adjustments to the muffler. Ensure that it is not vibrating excessively or making contact with any other components. If vibrations are present, reposition the muffler to eliminate the contact point. Taking these extra steps will ensure a comfortable and enjoyable ride.
Maintenance of the Shorty Muffler
Regular Inspections
To ensure the longevity of your new shorty muffler, perform regular inspections. Check for any signs of rust, wear, or damage to both the muffler and the surrounding exhaust system. Regularly inspect the mounting hardware for signs of loosening and retighten as necessary. Keeping an eye on these details will help ensure the muffler continues to perform as intended.
Cleaning Guidelines
Cleaning the shorty muffler is essential for maintaining its look and performance. Dirt, grime, and debris can accumulate over time, negatively impacting both aesthetics and function. Use a mild soap and water solution and a soft cloth to wipe down the exterior of the muffler. Avoid using abrasive materials that could scratch the surface.
Performance Maintenance
Performance maintenance includes checking the integrity of the exhaust sealant regularly. If you notice exhaust leaks or odd sounds, it might hint that the sealant has degraded. Reapply sealant as needed to ensure the connections remain secure. This practice will maintain performance while preventing any future issues.
FAQ:
- What are the benefits of installing a shorty muffler?
- Installing a shorty muffler can improve the aesthetic appeal of your motorcycle, provide a more aggressive exhaust note, and potentially increase horsepower by reducing back pressure in the exhaust system.
- How do I install a shorty muffler on my motorcycle?
- To install a shorty muffler, start by removing the stock muffler. Use appropriate tools to detach it from the exhaust pipes. Fit the new shorty muffler onto the pipe, ensuring a secure connection, and tighten the clamps. It’s advisable to follow manufacturer instructions for specific steps.
- Do I need any special tools for the installation?
- Basic tools such as a socket set, wrenches, and screwdrivers are typically needed for installing a shorty muffler. Additionally, you may require a torque wrench for properly tightening bolts and clamps, depending on the muffler design.
- Will installing a shorty muffler void my motorcycle warranty?
- Modifications like changing the muffler can potentially void the warranty on certain parts of your motorcycle. It’s crucial to check your owner’s manual and warranty guidelines before making any modifications to ensure compliance.
- How does a shorty muffler affect my motorcycle’s sound?
- A shorty muffler generally produces a louder and more aggressive sound compared to stock mufflers. However, the exact sound will depend on the specific design and material of the muffler, so it’s advisable to listen to sound clips or reviews before purchasing.
Conclusion
A Rewarding Upgrade
Installing a shorty muffler on your motorcycle can be an incredibly rewarding upgrade. The benefits of improved sound, lighter weight, and aesthetic appeal make it a popular choice for many riders. By following the detailed steps and tips outlined in this article, you can ensure a smooth installation process that leads to a superior riding experience.
Embrace the Change
Embrace the changes that come with installing a shorty muffler. The enhanced performance and unique sound will enhance your riding experience. The joy of customization lies in making your motorcycle reflect your style while enhancing performance.
Enjoy the Ride
In conclusion, upgrading to a shorty muffler motorcycle is more than just a modification; it’s an opportunity to connect more deeply with your motorcycle by enjoying the benefits of shorty mufflers for motorcycles. With proper preparation, attention to detail, and maintenance, you can enjoy a smoother ride that sounds and performs better. So gear up, ride safe, and enjoy every moment on the road with your newly installed shorty muffler motorcycle.
Leave a Reply