Introduction to Motorcycle Tires
Understanding Motorcycle Tire Sizes
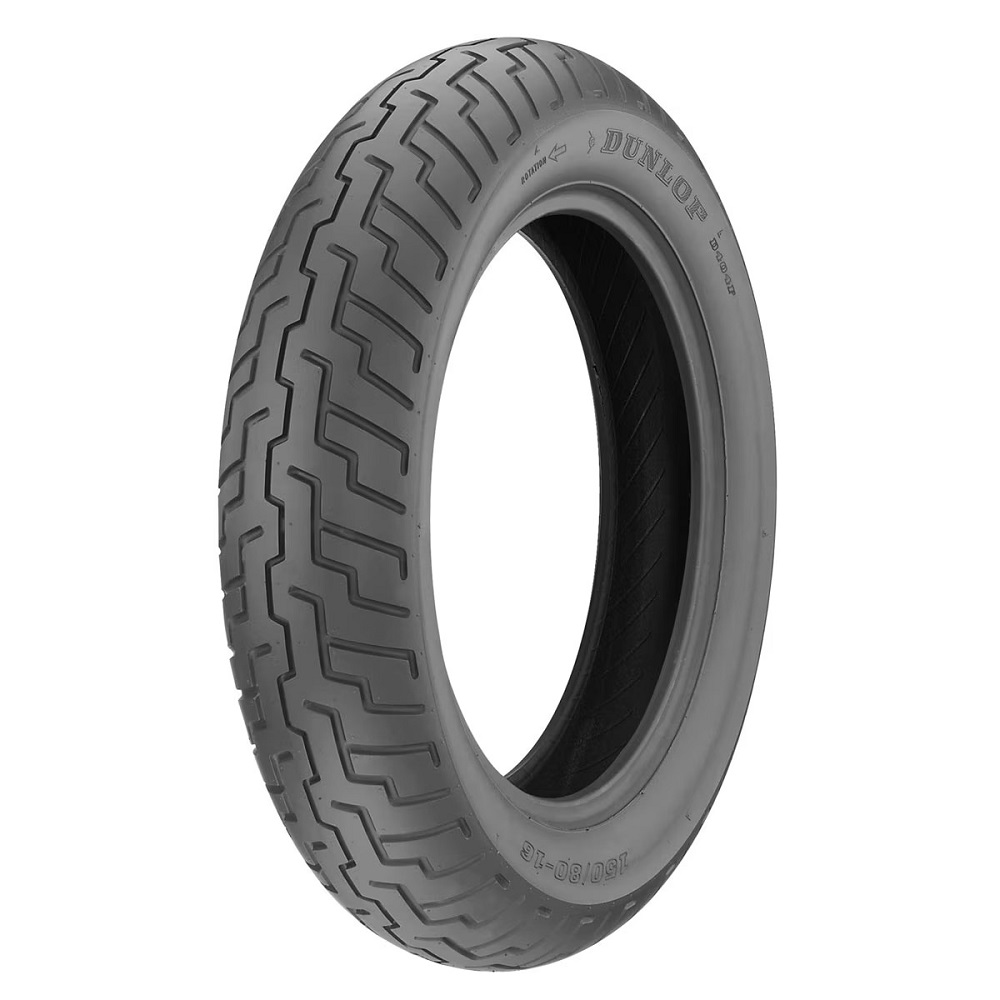
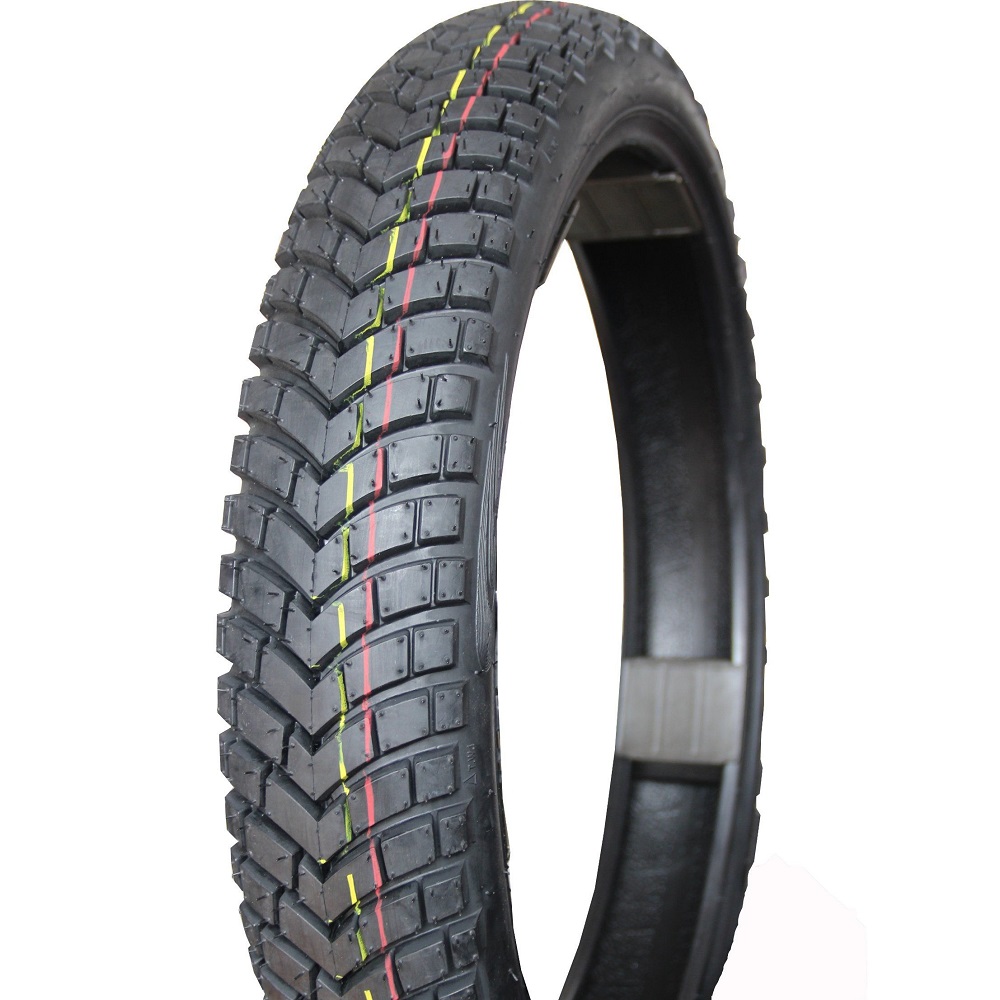
Motorcycle tires come in various sizes, each designed for specific riding styles and conditions. One common size is 110/90 x 19. This designation indicates the tire’s width, aspect ratio, and diameter. The first number, 110 mm, represents the width of the tire. The second number, 90, indicates the tire’s aspect ratio, which is the height of the sidewall expressed as a percentage of the tire’s width. The final number, 19, represents the diameter of the rim in inches. Understanding tire sizes helps ensure you select the right tire for your bike.
Importance of Choosing the Right Tire
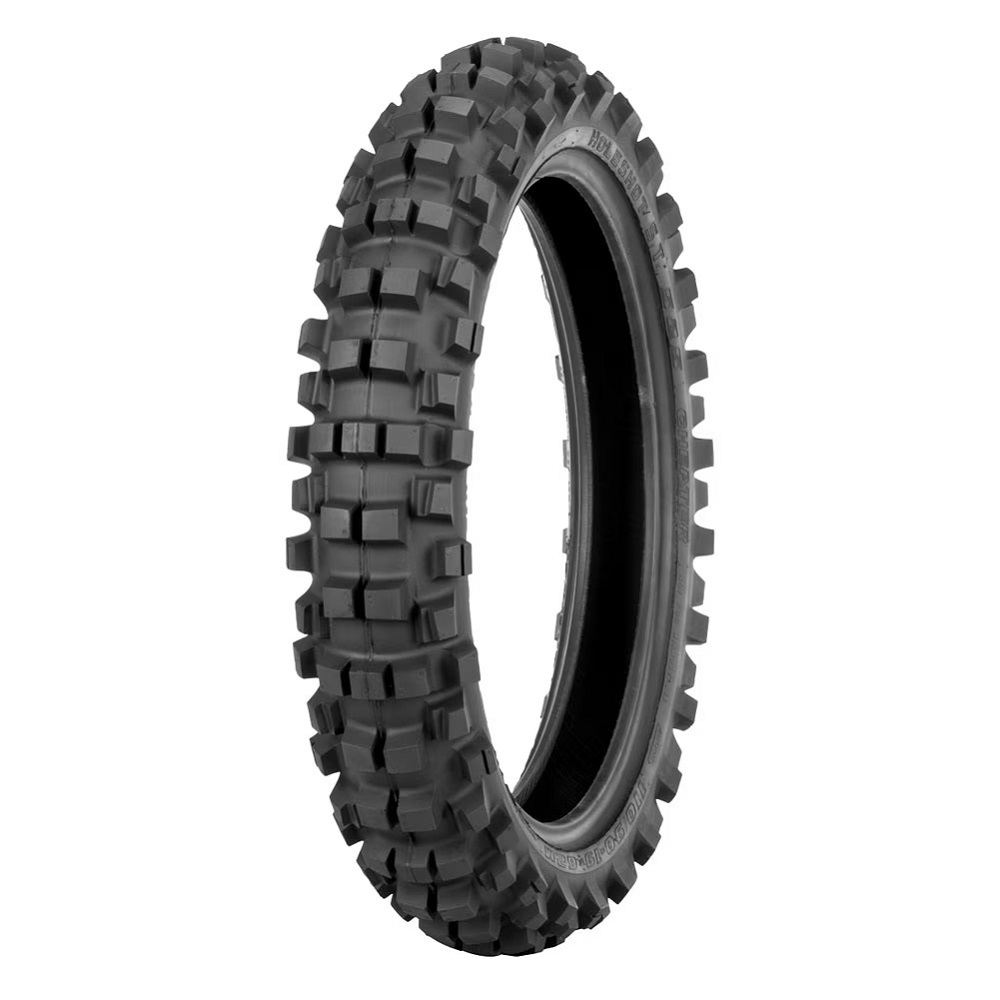
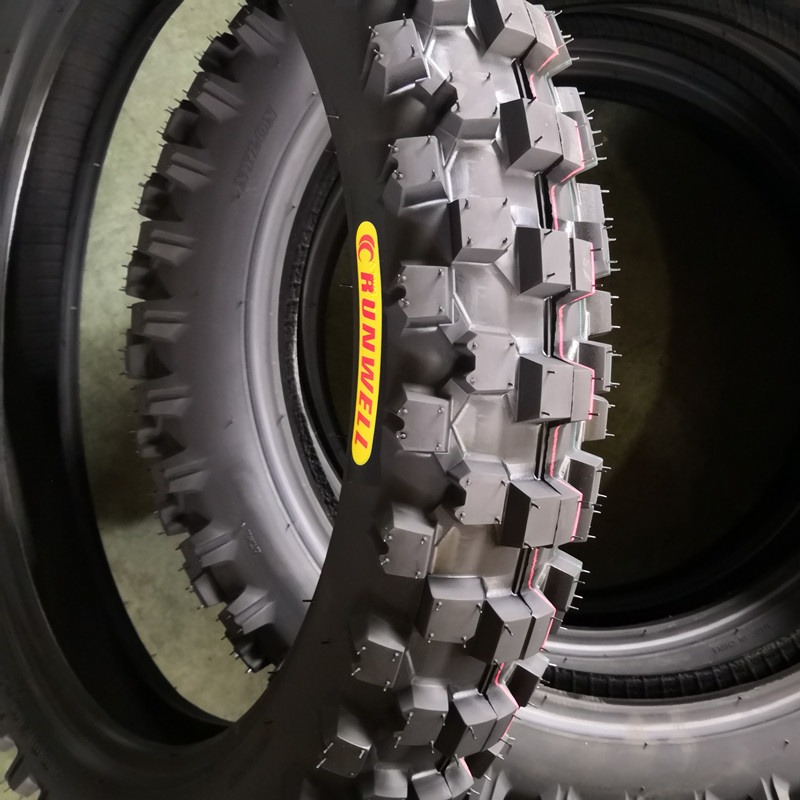
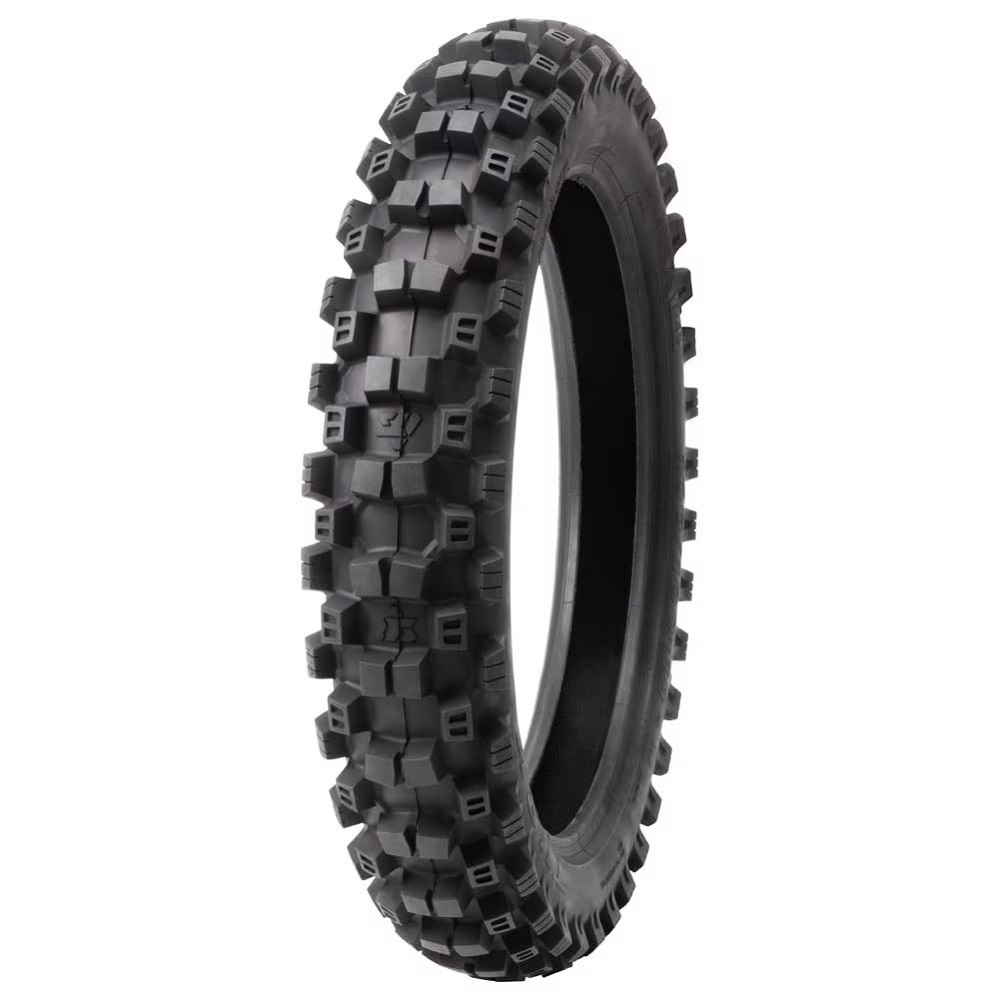
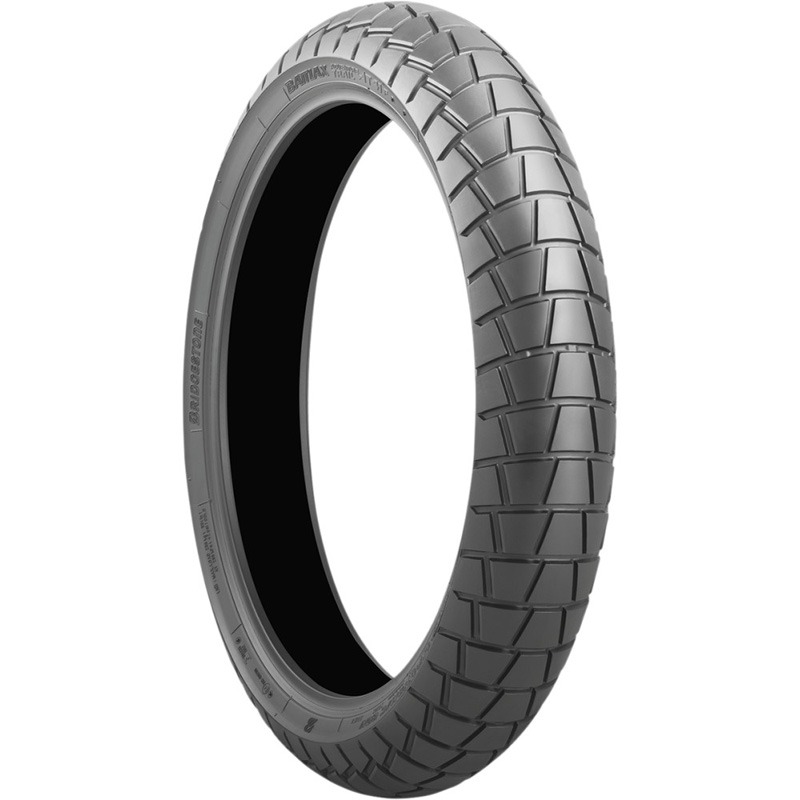
Choosing the correct motorcycle tire is crucial for performance and safety. Each tire is engineered for specific terrains and riding styles. For instance, tires designed for off-road use have a different tread pattern compared to those intended for street or sport riding. Incorrect tire selection can impact handling, braking, and overall ride quality. Therefore, understanding sizes, styles, and specifications is essential.
Purpose of This Guide
This guide aims to provide detailed information about the installation of a 110/90 x 19 motorcycle tire. It will outline necessary tools, the installation process, and tips for ensuring optimal performance. By following this guide, both novice and experienced riders can successfully install their motorcycle tires, enhancing safety and performance.
Tools Required for Installation
Basic Tools Needed
Before beginning the installation, gather the necessary tools for the job. Most importantly, you will need a tire lever set, which helps separate the tire from the rim. A valve core tool is also useful for removing and installing valve cores. A proper set of wrenches or socket tools will facilitate the removal of the wheel. Finally, having a torque wrench ensures that all bolts are tightened to the manufacturer’s specifications.
Safety Equipment
Safety should always be a priority when working on motorcycles. Protective gloves can prevent cuts and scrapes during the installation process. Safety glasses are essential to protect your eyes from debris, especially when breaking the bead of the tire. If you are working with lubricants or tire sealants, consider using a respirator mask to avoid inhaling fumes. Proper safety equipment will help you work efficiently and safely.
Tire Changing Stand
Using a tire-changing stand can simplify the installation process. This stand securely holds the wheel in place while you work. It also elevates the wheel to a comfortable height, reducing strain on your back. If you do not have a dedicated tire changing stand, a motorcycle lift can also work effectively. Keeping the workspace organized and comfortable improves the overall installation experience.
Removing the Old Tire
Prepare the Motorcycle
Before replacing a tire, ensure that your motorcycle is stable and secure. Place the bike on a flat surface and use a center stand or paddock stand for added stability. This stability will make the installation process easier and safer. Make sure to consult the owner’s manual for specific instructions regarding tire removal for your motorcycle model.
Loosening the Wheel Bolts
Next, loosen the wheel bolts that hold the tire in place. Use the appropriate socket wrench and ensure you turn the bolts counterclockwise. It may be necessary to apply penetrating oil if the bolts are rusted or difficult to remove. Loosening the bolts will make it easier to take off the wheel and swap out the tires.
Detaching the Wheel
Once the bolts are loosened, carefully detach the wheel from the motorcycle. Depending on your bike, this may involve removing the axle or a quick-release mechanism. Ensure that you support the wheel adequately as you remove it to prevent damage. Place the wheel on a clean, flat surface where you can easily access it for changing the tire.
Removing the Old Tire
Breaking the Bead
To remove the tire from the rim, you must break the bead. The bead is the rubber edge of the tire that sits against the rim. Use tire levers or a bead breaker tool to carefully pry the tire away from the rim. Work your way around the wheel, applying even pressure to ensure you do not damage the rim. Breaking the bead takes patience and careful handling, so take your time during this step.
Removing the Tire
After breaking the bead, use tire levers to remove the tire from the rim. Insert one lever under the bead and pull it outwards. Once you have a portion of the tire off, insert a second lever to help lift the tire further. Continue working your way around the wheel until the tire is completely detached. Repeat this process for the other side of the tire. Proper technique ensures that you can remove the tire without harming the rim.
Inspecting the Rim
Before proceeding to install the new tire, inspect the rim for any damage or debris. Check for dents, scratches, or any sharp edges that could damage the new tire. Cleaning the rim with soap and water can help remove debris or dirt that may have accumulated. Proper upkeep can significantly enhance the lifespan of your new tire and improve overall performance.
Installing the New Tire
Preparing the New Tire
Now it’s time to prepare your new 110/90 x 19 tire for installation. Inspect the tire for any visible damage or defects before putting it on the rim. Make sure the tire is free from dirt or debris, which can affect its performance. If necessary, use tire mounting lubricant to help ease the installation process. Lubrication can assist in properly seating the tire bead against the rim.
Positioning the Tire
Lay the new tire flat on the ground with the intended tread facing up. Place the rim over the tire so that the bead is positioned correctly. This ensures that you are installing the tire in the correct orientation. When you mount the tire, make sure to align any directional markings on the tire properly with the intended direction of travel on your motorcycle.
Mounting the Tire
Begin by inserting the tire bead into the rim, starting at one side. Use your hands to push the tire bead over the rim edge. Once the bead is in place on one side, insert a tire lever to help guide it onto the rim. Work your way around the wheel, using tire levers as needed to finish installing the tire. Ensure that the tire is seated evenly on the rim to prevent issues later.
Inflating the Tire
Proper Inflation Techniques
After successfully mounting the tire, it’s time to inflate it to the recommended pressure. Begin by attaching an air compressor or pump to the valve stem. Make sure the valve core is properly installed to prevent air leaks. Inflate the tire carefully, watching the pressure gauge to ensure you do not exceed the recommended PSI. Most motorcycle tires have a specific range indicated on the sidewall.
Checking for Leaks
It’s vital to check for any air leaks after inflating the tire. One effective method is to spray a soapy water solution around the tire’s bead and valve stem. If bubbles form, there may be a leak that needs addressing. You must ensure that the tire is sealed properly for safety while riding. If you detect leaks, you may need to remove the tire and reseat it again.
Final Adjustments
When you mount the tire, make sure to align any directional markings on the tire properly with the intended direction of travel on your motorcycle. Additionally, check the balance of the tire if applicable to your installation process. Proper balance reduces vibrations and enhances the riding experience.
Reinstalling the Wheel
Aligning with the Axle
To reinstall the wheel, position it back in the appropriate mounting location on the motorcycle. Align the axle holes of the wheel with those of the motorcycle frame. Carefully insert the axle to secure the wheel in place. It may help to gently rotate the wheel back and forth to ensure proper alignment. Proper alignment ensures smooth operation once you are back on the road.
Tightening the Bolts
After the wheel is securely in place, it’s time to tighten the bolts. Use a torque wrench to tighten the bolts to the manufacturer’s specified torque settings. This ensures that the wheel is securely fastened without overtightening. Following the correct torque specifications guarantees that the wheel will operate safely during rides.
Final Checks
Before taking your motorcycle back on the road, perform a final check of the installation. Ensure that the tire is properly seated and that there are no apparent issues. Take a moment to inspect the rest of the motorcycle, including brakes and other tires, to ensure everything is in working order. Performing these checks helps confirm that your bike is ready for the road.
FAQ:
- How do I choose the right replacement for a 110/90 x 19 motorcycle tire?
- When looking for a replacement, ensure that the tire maintains the same size specifications (110/90 x 19). Additionally, consider the tire type (such as sport, cruiser, or off-road), tread pattern, and brand based on your riding style and conditions.
- What tools do I need for installing a 110/90 x 19 motorcycle tire?
- You will need basic tools including tire levers, a bead breaker, an air compressor or pump, rim protectors, and a torque wrench. Some may also use tire mounting lube for easier installation and removal.
- What is the proper installation procedure for a 110/90 x 19 motorcycle tire?
- The installation procedure generally includes removing the wheel from the motorcycle, breaking the bead on the old tire, removing the old tire, cleaning the rim, installing the new tire by placing it on the rim, ensuring the correct rotation direction, and then inflating to the recommended pressure.
- How do I check tire pressure for a 110/90 x 19 motorcycle tire?
- Tire pressure can be checked using a tire pressure gauge. Check the pressure when the tires are cold for the most accurate reading. Refer to the motorcycle owner’s manual or the tire sidewall for the recommended pressure range.
- How often should I replace a 110/90 x 19 motorcycle tire?
- The lifespan of a tire depends on several factors, including riding style, terrain, and maintenance. Generally, tires should be replaced when tread depth is below 1/32 of an inch, if there are visible signs of damage (like cracks or bulges), or if performance becomes compromised. Regular inspection every few months is advisable.
Conclusion: Enjoy Your Ride
The Importance of Regular Maintenance
In conclusion, installing a 110/90 x 19 motorcycle tire requires attention to detail and proper techniques. By following the steps outlined in this guide, you can successfully change your tire, ensuring a safe and enjoyable ride. Regular maintenance of your motorcycle, including tire care, is essential for long-term performance and safety. Making tire swaps a routine ensures smoother journeys ahead.
Empower Yourself with Knowledge
Having the knowledge to change your motorcycle tire empowers you as a rider. It enhances your confidence in handling basic maintenance tasks and provides a sense of accomplishment. Knowing how to address potential issues on the road allows for a more enjoyable riding experience. Embracing this knowledge can inspire you to explore further aspects of motorcycle maintenance.
Embrace Your Adventures
Now that you have successfully installed your new tire, one of the best 110/90 x 19 motorcycle tire, get ready to hit the road. Embrace the freedom and joy that comes with riding. Whether you’re taking a short ride around the town or a long journey through the countryside, your motorcycle will be ready for the adventure. Enjoy every moment while riding, knowing you have taken the steps to ensure both safety and performance!
Leave a Reply