Introduction to Motorcycle Fuel Tanks
The Role of Motorcycle Fuel Tanks
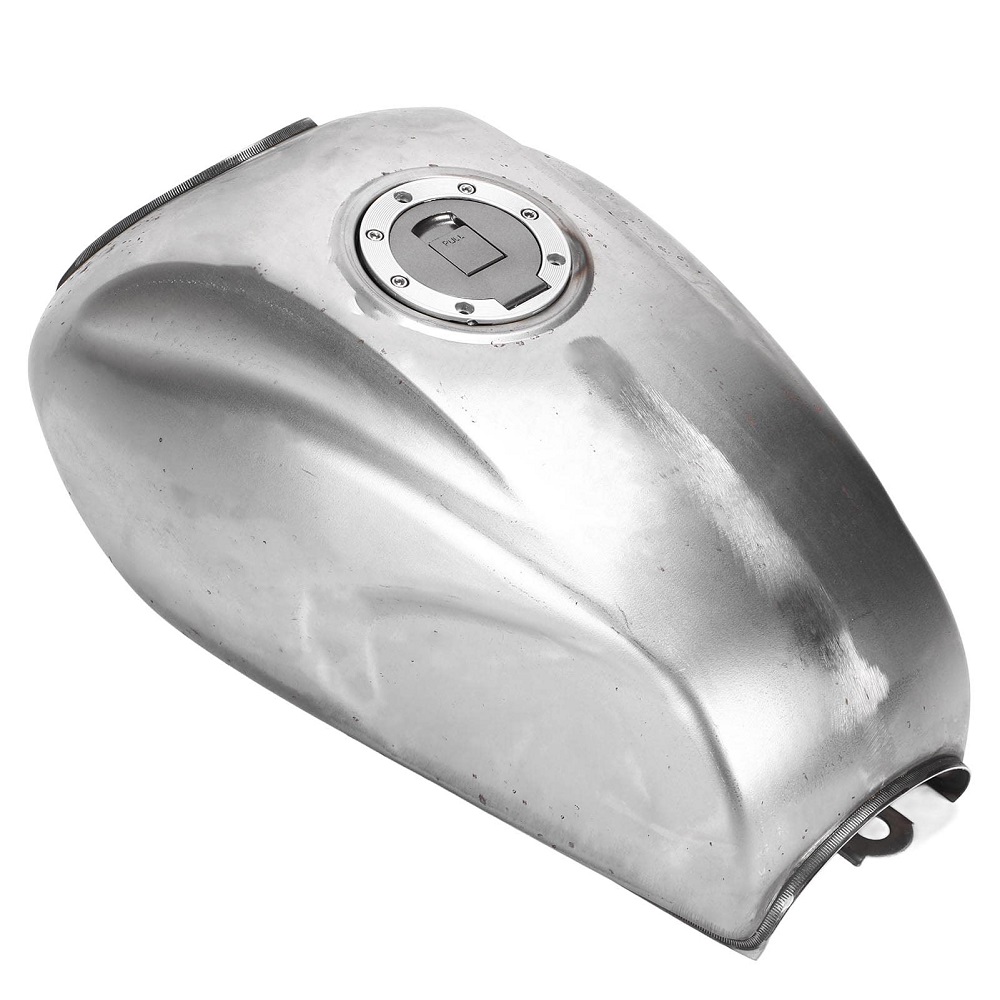
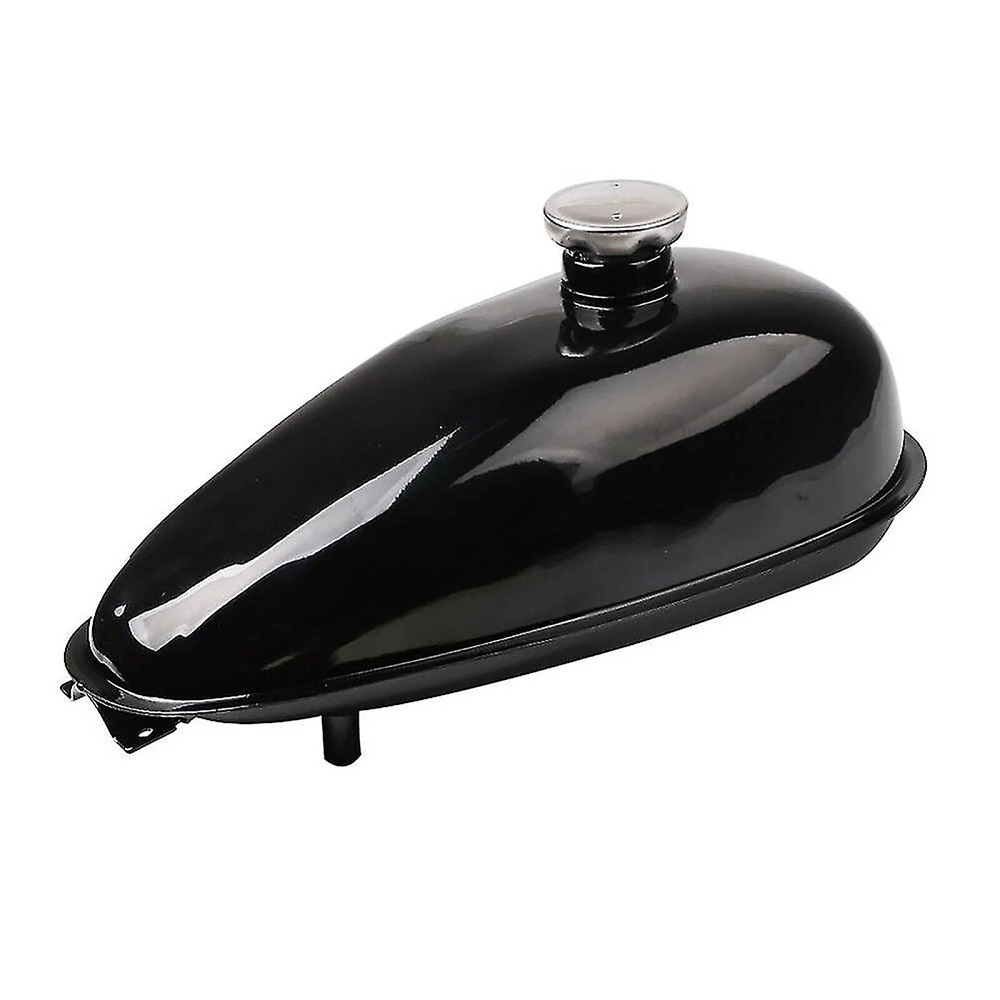
The fuel tank is one of the most critical components of a motorcycle. It stores fuel for the engine while ensuring optimal performance. Understanding the function of the fuel tank helps riders appreciate its importance in the overall mechanics of the motorcycle. A clean and well-maintained motorcycle fuel tank allows for proper fuel delivery, contributing to engine efficiency. This not only enhances performance but also ensures a smoother ride.
Importance of Maintenance
Maintaining your motorcycle fuel tank is essential for several reasons. Over time, fuel tanks can accumulate dirt, rust, and debris, which can impede proper fuel flow. If these issues are not addressed, they can lead to significant engine problems. Regular maintenance ensures the longevity of both the tank and the engine. Adopting a routine cleaning schedule helps prevent costly repairs and guarantees your bike runs smoothly on the road.
Understanding Fuel Quality
The quality of fuel used also affects the condition of your fuel tank. Impurities in low-quality fuel can lead to sediment buildup and corrosion inside the tank. It is essential to use high-quality fuel to prevent these problems. Researching reputable fuel brands and octane ratings can help you make informed decisions. Choosing the best fuel contributes to the overall health of your motorcycle and enhances performance.
Cleaning the Fuel Tank
Gathering Necessary Supplies
Before you start cleaning your motorcycle fuel tank, gather all necessary supplies. You will need tools such as a socket wrench set, a fuel line wrench, and gloves. Having fuel-safe cleaning agents on hand is important as well. Optional items such as a flashlight and rag can help you inspect the tank better and wipe down surfaces. Proper preparation will streamline the cleaning process, allowing you to work efficiently.
Emptying the Fuel Tank
The first step in cleaning your fuel tank is to safely empty it. Before you start, ensure that the motorcycle is parked on a level surface and that the engine is cool. Using a siphon pump, carefully remove the fuel from the tank. Pour the fuel into an approved gasoline storage container for safe disposal later. This step is critical to avoid spills and potential hazards during cleaning. Properly emptying the tank allows for an effective and thorough cleansing.
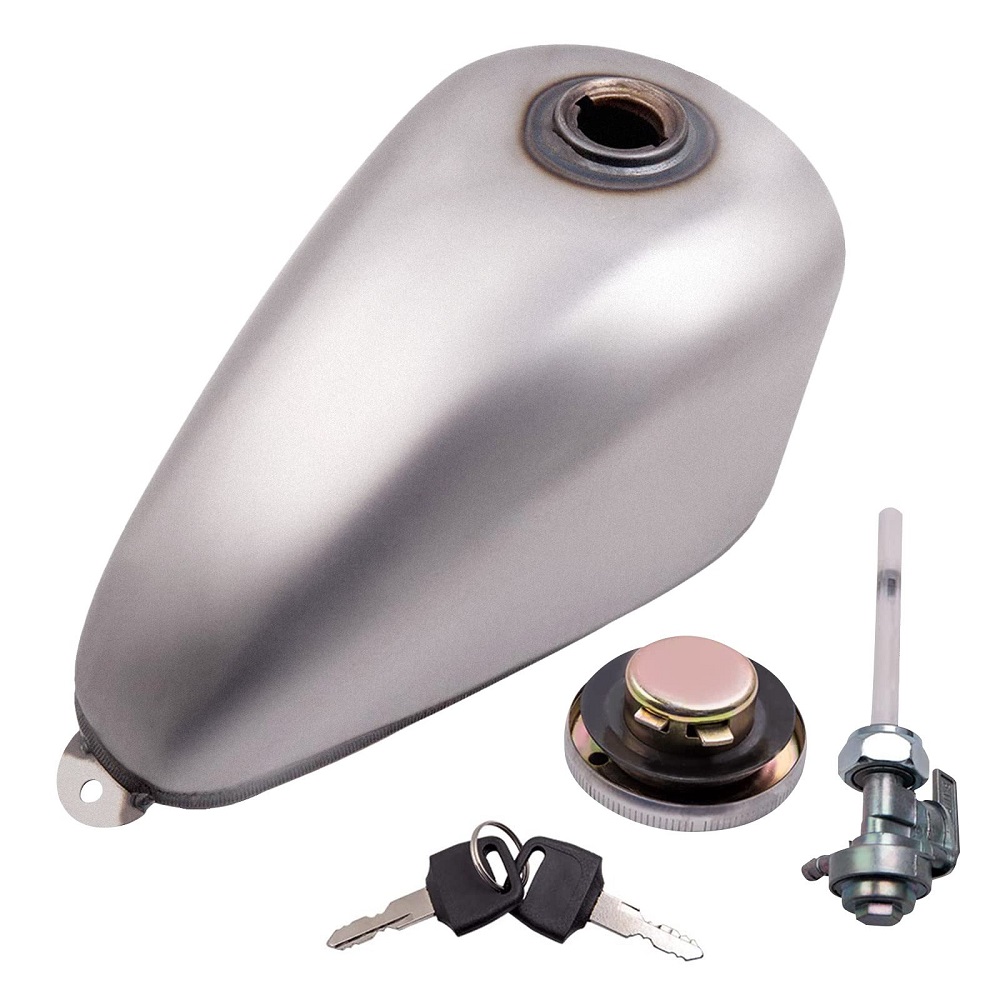
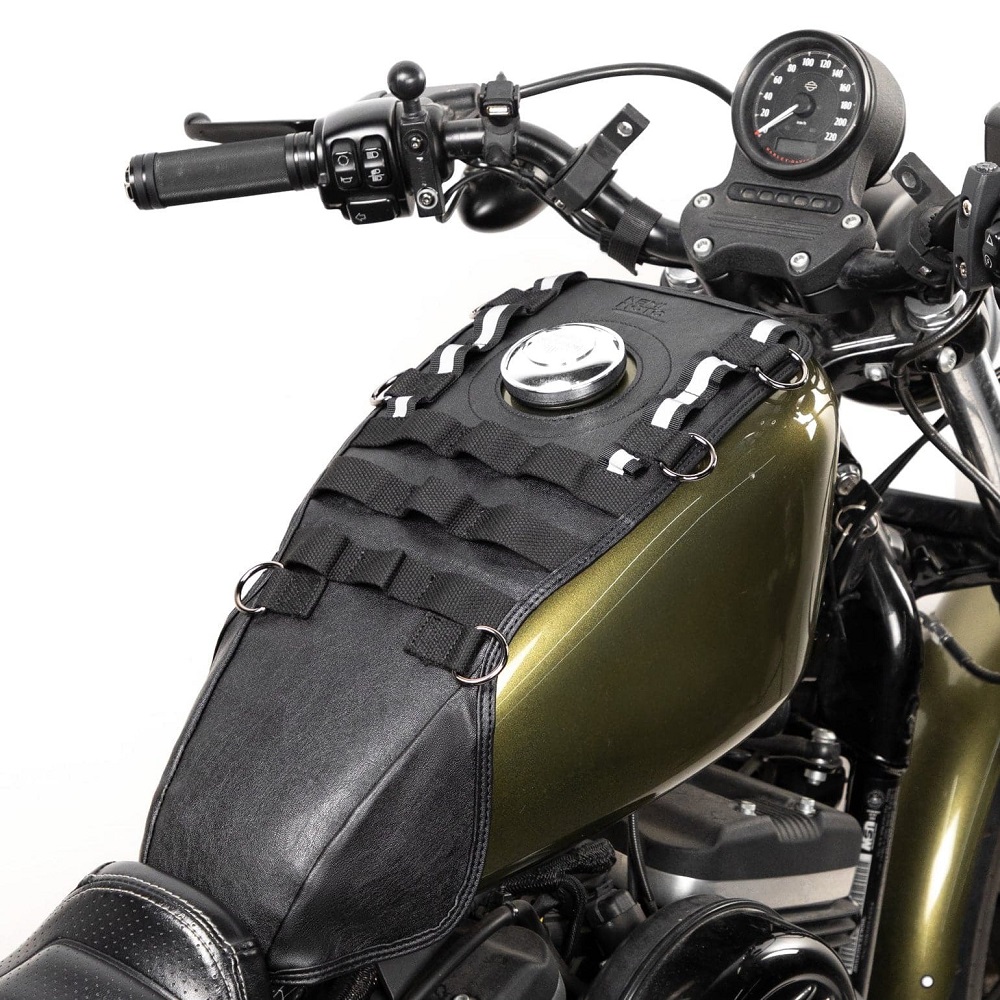
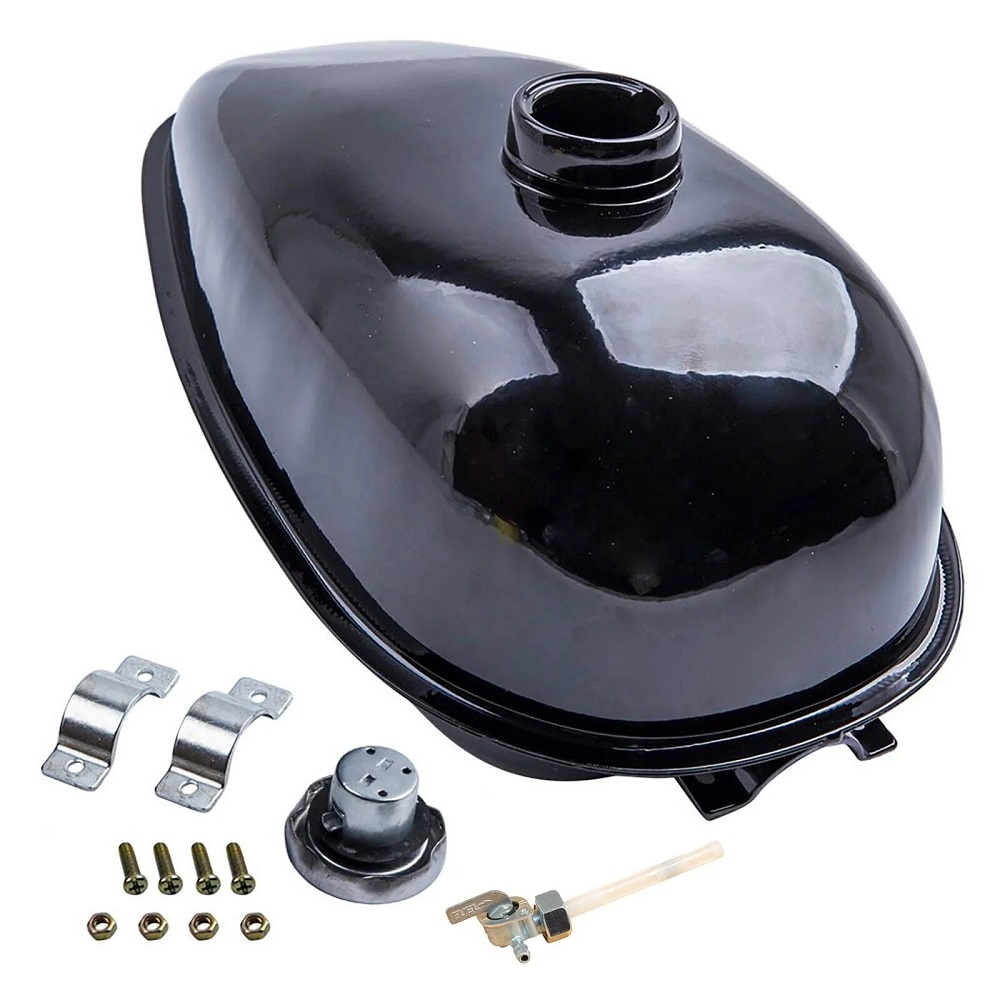
Removing the Fuel Tank
After emptying the tank, you may need to detach it from the motorcycle. This process usually involves removing bolts or screws that secure the tank in place. Refer to the motorcycle’s manual for specific instructions regarding your model. Disconnect the fuel lines and any electrical connections with care to prevent damage. Once disconnected, you can carefully lift the fuel tank away from the motorcycle frame. Taking your time during removal ensures everything remains intact.
Inspecting the Fuel Tank
Checking for Damage
Once the fuel tank is removed, inspect it for any signs of damage. Look for cracks, dents, or corrosion that may indicate problems. The presence of rust inside the tank can be particularly concerning, as it can contaminate the fuel. Addressing these issues quickly is vital to prevent further damage to your motorcycle. If repairs are necessary, consult a professional to assess the situation and determine the best course of action.
Assessing the Interior
Using a flashlight, examine the interior of the fuel tank closely. Look for any buildup of sediment, rust, or other debris. A clean tank should be free of contaminants to promote proper fuel flow. If you notice significant buildup, it will need to be addressed. Taking the time to thoroughly inspect the tank can help identify potential issues before they cause larger problems.
Understanding Fuel Lines
While inspecting the fuel tank, check the fuel lines connected to it as well. Look for cracks or leaks in the lines, and ensure they are securely attached. Damaged lines can lead to fuel leaks, which pose safety hazards. Replacing worn or damaged fuel lines can help maintain the efficiency of your motorcycle. Proper maintenance of fuel lines is equally important to the overall function of the fuel system.
Cleaning Methods for the Fuel Tank
Using a Cleaning Solution
If your fuel tank is dirty, consider using a specialized fuel tank cleaner. These cleaning solutions are designed to dissolve grime and rust without damaging the tank material. Follow the instructions on the cleaner for the best results. Typically, you’ll need to add the solution to the tank and let it sit for a specified period. This will help loosen impurities, making them easier to remove during cleaning.
Scrubbing the Interior
For tougher stains or buildup, you may need to scrub the interior of the tank. Use a soft brush or cloth that won’t scratch the inside surface. Gently scrub the tank’s interior to remove stubborn dirt and rust. Be cautious not to use abrasive materials that can damage the tank. This careful scrubbing ensures that you effectively clean the tank without causing any harm.
Rinsing Thoroughly
After cleaning, it’s essential to rinse the tank thoroughly. Fill it with clean water to remove any remaining cleaning solution or debris. Shake the tank gently to help dislodge any particles. Pour out the water and repeat the rinsing process as necessary. Ensure that no residues remain in the tank before reinstalling it. Thorough rinsing promotes a safe environment for fuel, preventing contamination.
Reinstalling the Fuel Tank
Preparing for Reinstallation
Once the tank has been cleaned and dried, it’s time to prepare for reinstallation. Before reattaching the fuel tank, ensure all connections are clean and free of debris. Check the rubber grommets or seals for wear and replace them if necessary. Properly cleaning these areas prevents leaks once the tank is in place again. Taking the time to prepare ensures a secure fit during reinstallation.
Attaching the Fuel Tank
Position the fuel tank back onto the motorcycle frame carefully. Ensure that it aligns properly with all mounting points. Secure the tank using the bolts or screws that were removed during the disassembly process. Be careful not to overtighten, as this can cause damage. Reconnect any fuel lines or electrical connections that were detached. This careful handling ensures the integrity of the fuel system.
Checking for Leaks
After reinstallation, it’s essential to check for leaks. Before filling the tank with fuel, turn on the motorcycle and inspect all connections and hoses carefully. Look for any signs of leaking fuel. If you notice any leaks, it may indicate a problem with the connections or seals. Addressing any issues before road use is crucial for safety.
Best Practices for Fuel Maintenance
Regular Inspections
Regularly inspecting your motorcycle’s fuel tank and system can help catch potential issues early. Make it a routine to check for any damage, rust, or debris at intervals. This proactive approach can prevent significant problems down the line. Keeping the fuel system in good working condition contributes to the overall performance of your motorcycle.
Using Quality Fuel
Fuel quality plays a significant role in the health of your motorcycle. Always use high-quality fuel from reputable sources to prevent contamination. Low-quality fuel can introduce debris and impurities into your fuel system. Opting for premium fuel can also reduce the buildup of carbon deposits. Making informed choices about fuel helps maintain your motorcycle’s performance.
Fuel Stabilization
If you plan to store your motorcycle for an extended period, consider using a fuel stabilizer. This stabilizer helps keep fuel fresh and prevents it from degrading. It combats the formation of gum and varnish inside the fuel tank. When using a stabilizer, be sure to follow the product instructions for optimal results. Properly maintaining fuel during storage ensures that your motorcycle is ready to go when you are.
FAQ:
- What are the signs that my motorcycle fuel tank needs cleaning?
- Signs that your fuel tank may need cleaning include a rough-running engine, fuel contamination (e.g., rust or debris visible in the fuel), or difficulty starting the motorcycle. Additionally, if you notice the fuel gauge fluctuating unexpectedly or if the fuel smells off, these can also indicate the need for maintenance.
- What is the best way to clean a motorcycle fuel tank?
- To clean a motorcycle fuel tank, start by draining all the fuel and removing the tank from the bike. Rinse the inside with a mix of fuel and a suitable cleaner, such as a designated tank cleaning solution or vinegar, then shake it to dislodge any debris. Ensure to thoroughly rinse and dry the tank before reinstalling it.
- How can I prevent rust and corrosion in my motorcycle fuel tank?
- To prevent rust and corrosion, keep the fuel tank topped up to minimize condensation and moisture inside. Using fuel stabilizers when storing the bike for long periods can also help prevent corrosion. Additionally, consider using a tank liner if the tank is prone to rust.
- Is it safe to use chemicals to clean my fuel tank?
- Yes, but caution is essential. Always use chemicals specifically designed for cleaning fuel tanks, and avoid using harsh solvents that could damage the tank lining or cause harmful reactions. Ensure you work in a well-ventilated area and take appropriate safety precautions, including wearing gloves and goggles.
- What maintenance tips should I follow for my motorcycle fuel tank?
- Regularly check for leaks, dents, and damage. Keep the fuel tank capped tightly to prevent dirt and debris from entering. Inspect fuel lines and connections for any signs of wear or corrosion. Additionally, consider periodic inspections of fuel filters and lines to maintain optimal fuel flow.
Keeping Your Motorcycle Fuel Tank in Top Condition
Emphasizing Safety and Performance
In conclusion, maintaining and cleaning your motorcycle fuel tank is vital for both safety and performance. Regular inspections and proper cleaning enhance the longevity of the tank, contributing to the overall health of your motorcycle. This attention to detail allows you to ride with confidence, knowing that your fuel system is in excellent shape.
Finding the Right Products
Choosing quality products for both cleaning and maintenance is essential. By selecting the right cleaners, fuels, and stabilizers, you can ensure the condition of your fuel tank remains optimal. Investing in quality products pays off in terms of performance and durability. The right choices enhance your riding experience and ensure your motorcycle remains in top condition.
Enjoying Every Ride
Ultimately, the goal of maintaining your motorcycle fuel tank is to ensure an enjoyable riding experience. Freedom on the open road is exhilarating, and having confidence in your gear is crucial. Take the time to care for your motorcycle and its components, using motorcycle fuel tank maintenance tips to keep everything in top shape. By prioritizing maintenance, you can enjoy countless adventures, knowing that you are well-prepared for every ride. Embrace the thrill of motorcycling with a well-maintained fuel tank and a sense of adventure!
Leave a Reply