Introduction to Motorcycle Helmet Graphics
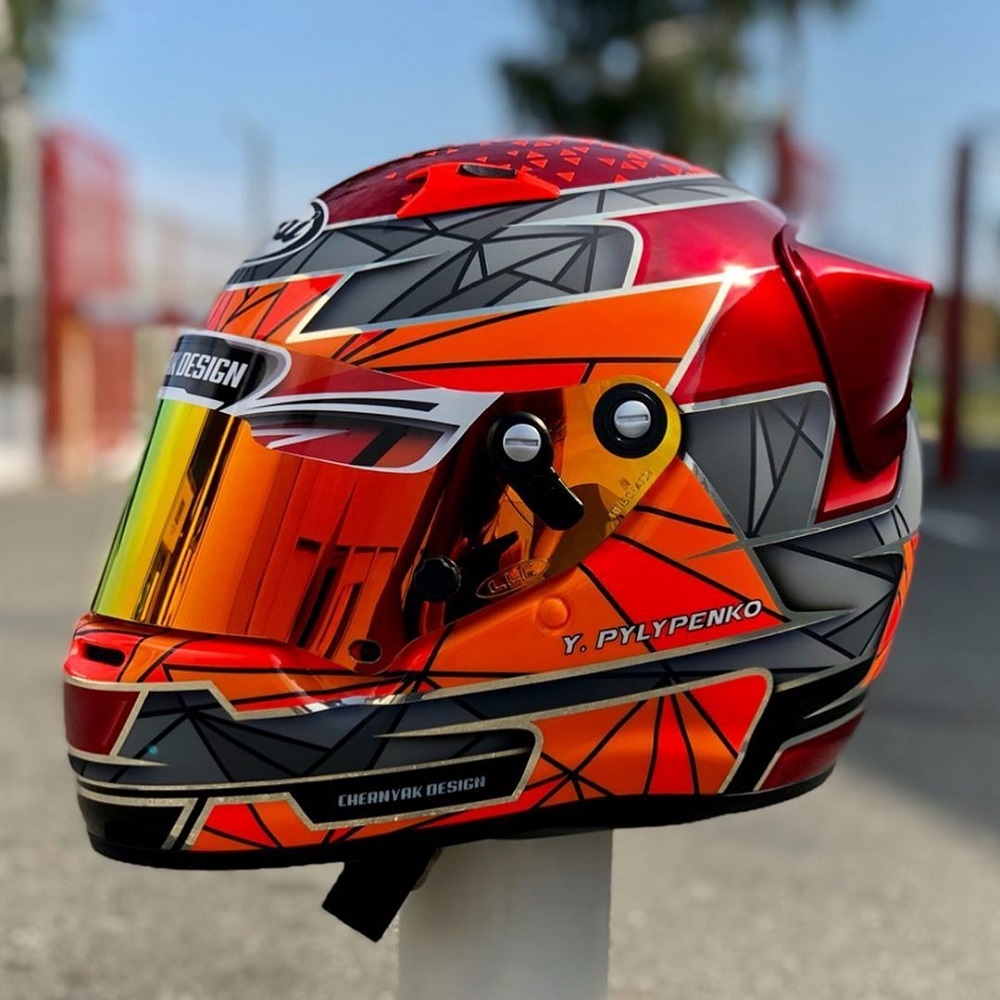
A motorcycle helmet is a crucial piece of safety gear for any rider. However, it can also be an expression of your personality and style. One of the most exciting ways to personalize your helmet is through the use of motorcycle helmet graphics kit. These kits offer a unique opportunity to transform an ordinary helmet into an eye-catching piece of art. With various designs, colors, and themes available, you can easily elevate your style on the road.
Motorcycle helmet graphics kit not only enhance aesthetics but may also increase visibility on the road. Bright and bold designs can make you more noticeable to other drivers, contributing to safety. In this article, we will explore various aspects of motorcycle helmet graphics kit, from benefits to types, and offer tips on installation.
The Significance of Personalization
Expressing Individuality
One of the primary reasons riders choose graphics kits is the opportunity to express individuality. Each rider has a unique personality, and customizing a helmet can reflect that. Whether you prefer bold patterns, minimalist designs, or intricate artwork, there is something for everyone.
Personalization allows riders to transform a standard helmet into a representation of who they are. This expression can also enhance pride in ownership. By customizing your helmet, you contribute to a sense of identity within the motorcycle community.
Boosting Visibility
In addition to aesthetics, graphics kits can enhance visibility on the road. A brightly colored or uniquely patterned helmet stands out more than a plain, monochromatic one. Increased visibility is critical for safety, especially in urban environments where traffic can be congested.
Choosing reflective or fluorescent materials in your graphics kit can significantly enhance your helmet’s visibility at night. Enhancing visibility during day and night rides helps reduce the risk of accidents, making you a more noticeable presence on the road.
Building Community
A personalized helmet can foster connections within the motorcycle community. Riders often share their customization choices, inspiring others and creating a sense of camaraderie. This shared interest in creativity and craftsmanship can lead to friendships among riders.
Attending motorcycle events or riding clubs often involves showcasing custom helmets. Riders appreciate the stories behind each design and the creativity involved. Sharing your helmet’s design and inspiration can spark conversations and reinforce communal bonds among motorcyclists.
Types of Motorcycle Helmet Graphics Kits
1. Vinyl Graphics Kits
Vinyl graphics kits are among the most popular options for customizing motorcycle helmets. Made from durable vinyl, these kits are resistant to water and UV rays, ensuring longevity even under harsh conditions. Additionally, the application process for vinyl graphics is relatively straightforward, making them accessible for most riders.
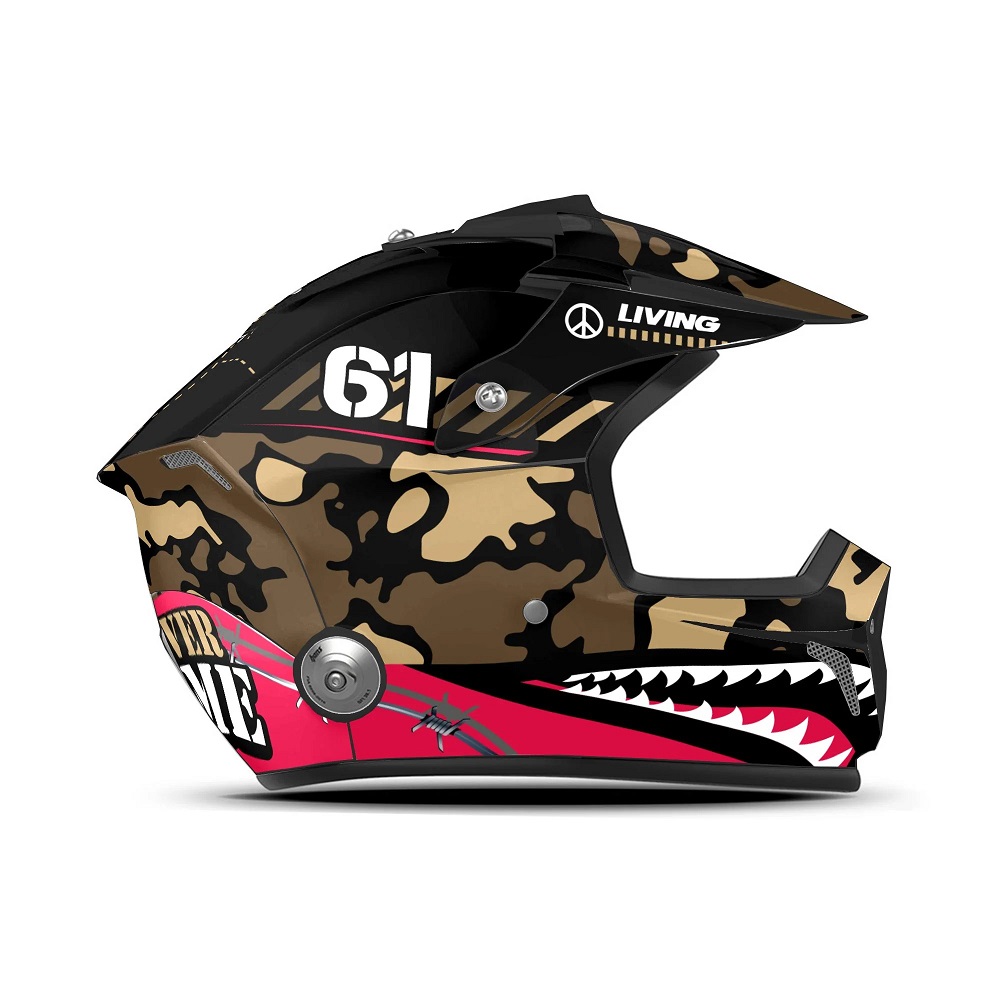
Available in various designs and themes, vinyl graphics allow for extensive personalization. Many brands offer pre-designed kits, catering to different styles—from sporty to eccentric. Riders can also opt for custom vinyl graphics that feature personal designs or logos, further enhancing individuality.
2. Paint Kits
For a more permanent transformation, paint kits are an exciting option. Many riders choose to spray-paint their helmets, creating a unique and artistic design. While this approach requires more skill and patience, the results can be stunning and one-of-a-kind.
When considering paint kits, look for high-quality paint specifically designed for plastic surfaces. Proper preparation and application are crucial for achieving a professional-looking finish. You may also want to apply a clear coat to protect your artwork from scratches and fading.
3. Decals and Stickers
Decals and stickers offer a fun and easy way to personalize a helmet. Available in various shapes, sizes, and themes, these stickers can be applied quickly without extensive preparation. Riders can mix and match decals to create a unique look that reflects their personality.
The advantage of using decals is the simplicity of application. You can easily remove or reposition them, allowing for frequent changes to your helmet’s appearance. Remember to choose high-quality decals that are weather-resistant for lasting effects.
Choosing the Right Graphics Kit
1. Design Inspiration
Before selecting a graphics kit, gather design inspiration that resonates with your style. Consider what themes, colors, or patterns appeal to you. Popular themes might include racing stripes, abstract patterns, or nature-inspired designs.
Explore online forums, social media platforms, and motorcycle enthusiast websites for ideas. Engaging with the community may spark creativity and help you find a design that feels right for you. Collecting ideas will clarify your vision when you start to select a graphics kit.
2. Quality of Materials
The quality of materials used in graphics kits can significantly impact the final result. High-quality vinyl or paint ensures a vibrant finish and durability. Always check customer reviews and product specifications to understand the materials used.
Durable graphics that withstand wear and tear are essential for maintaining aesthetics over time. Choose kits designed to resist UV rays, moisture, and scratches. This attention to quality ensures that your helmet remains looking great through various riding conditions.
3. Ease of Application
Consider the ease of applying the graphics kit when making your selection. Some kits come with detailed instructions and tools, while others may require additional skills or tools for proper installation. Choose a kit that matches your comfort level with application.
Vinyl graphics may be more user-friendly for those new to customization, while paint kits may require experience. Understanding your skills and resources will help you make the right choice when it comes to applying graphics to your helmet.
Installation Tips for Graphics Kits
1. Preparation is Key
Before applying any graphics kit, proper preparation is crucial. Start by cleaning your helmet thoroughly to remove any dust, dirt, or existing oils. Use isopropyl alcohol and a lint-free cloth for an effective cleaning process.
Ensure that the surface is completely dry before applying the graphics. This preparation helps the graphics adhere better and reduces the risk of bubbling or peeling later on. Taking time to prepare adequately will lead to better long-term results.
2. Follow Instructions
When using a graphics kit, always follow the manufacturer’s instructions. These guidelines often provide essential tips for achieving a successful installation. They might include information about temperature, timing, and positioning, which can all affect the outcome.
Pay close attention to recommended techniques for aligning and applying graphics. Some kits might include a squeegee or application tool, which can help apply pressure evenly. Following instructions carefully will help you achieve a professional finish for your custom helmet.
3. Take Your Time
Patience is vital when installing graphics on your motorcycle helmet. Rushing the process can lead to mistakes, misalignment, or bubbles beneath the graphics. Take your time to ensure each piece is correctly placed and adheres smoothly to the surface.
If you encounter bubbles during installation, gently work them out using a plastic squeegee or your fingers. This will ensure a smooth, clean finish without compromising the design. Taking the time to install graphics will yield a polished and professional look.
Maintaining Your Customized Helmet
1. Regular Cleaning
Maintaining your helmet’s appearance is essential for preserving its graphics. Regular cleaning helps prevent dirt and grime buildup that can dull colors. Use a mild soap solution and water to clean the helmet gently, avoiding harsh chemicals that could damage the materials.
Always clean the helmet using a soft sponge or cloth to prevent scratching the surface. Pay attention to the decals or graphics, ensuring that you don’t compromise their integrity during the cleaning process. Regular care will keep your customized helmet looking vibrant and new.
2. Protecting from Elements
To maintain your helmet’s graphics’ longevity, consider using a helmet bag or storage case when not in use. This simple step can protect it from dust, UV rays, and moisture, which can lead to fading or peeling over time.
When riding, try to avoid leaving your helmet exposed in direct sunlight for long periods. Prolonged exposure to UV rays can degrade the graphics over time. Always take precautionary steps to ensure your helmet stays in pristine condition.
3. Check for Damage
Regularly inspect your helmet for any signs of damage or wear. Check the graphics for lifting edges or peeling, particularly after extended use. Addressing minor issues promptly can prevent larger problems from developing over time.
If you notice any damage, consider reapplying decals or touching up areas of wear. Being proactive about maintenance will prolong the lifespan of your graphics and keep your helmet looking great.
FAQ:
- How do I apply a graphics kit to my helmet?
- Applying a graphics kit typically involves cleaning the helmet’s surface, carefully aligning the decals, and applying them with a squeegee to prevent air bubbles. Following the manufacturer’s instructions is essential for the best results.
- Can I remove or change the graphics kit later?
- Yes, most graphics kits can be removed, although some adhesive residue may remain. It’s important to use heat (such as a hair dryer) to help loosen the adhesive when removing the decals to avoid damaging the helmet.
- Are there specific graphics kits designed for safety?
- While most graphics kits are designed for aesthetics, some brands offer reflective or high-visibility options that enhance safety by making the helmet more noticeable to other road users.
- What materials are used in motorcycle helmet graphics kit?
- Motorcycle helmet graphics kits are typically made from durable vinyl that is weather-resistant and UV-protected, ensuring they withstand outdoor conditions without fading or peeling.
- How do I choose the right graphics kit for my helmet?
- When choosing a graphics kit, consider your personal style, the themes or colors you prefer, and the design that complements your motorcycle. Ensure that the kit is compatible with your specific helmet model.
Conclusion: Personalize Your Riding Experience
In conclusion, motorcycle helmet graphics kit offer riders an exciting opportunity for personalization and expression. The right graphics can elevate not only the appearance of your helmet, but also your overall riding experience. With various styles, colors, and designs to choose from, there’s something for every rider.
Embrace the potential of customizing your motorcycle helmet. By selecting high-quality materials, following proper installation techniques, and maintaining your design, you can enjoy a helmet that truly reflects your personality.
Customizing your helmet promotes a sense of individuality while enhancing safety on the road. A personalized helmet can foster connections within the motorcycle community, allowing for camaraderie founded on shared interests. With the right upgrades, your motorcycle helmet can become a reflection of your unique style and passion for riding.
Make the effort to find a design from the custom motorcycle helmet graphics options that excites you and enhances your motorcycle experience. With every ride, your customized helmet will serve as a reminder of your commitment to both safety and style. Embrace the journey ahead with a helmet that is uniquely yours.
Leave a Reply