Why Jewelry Making Pendants Are the Heart of Handmade Design
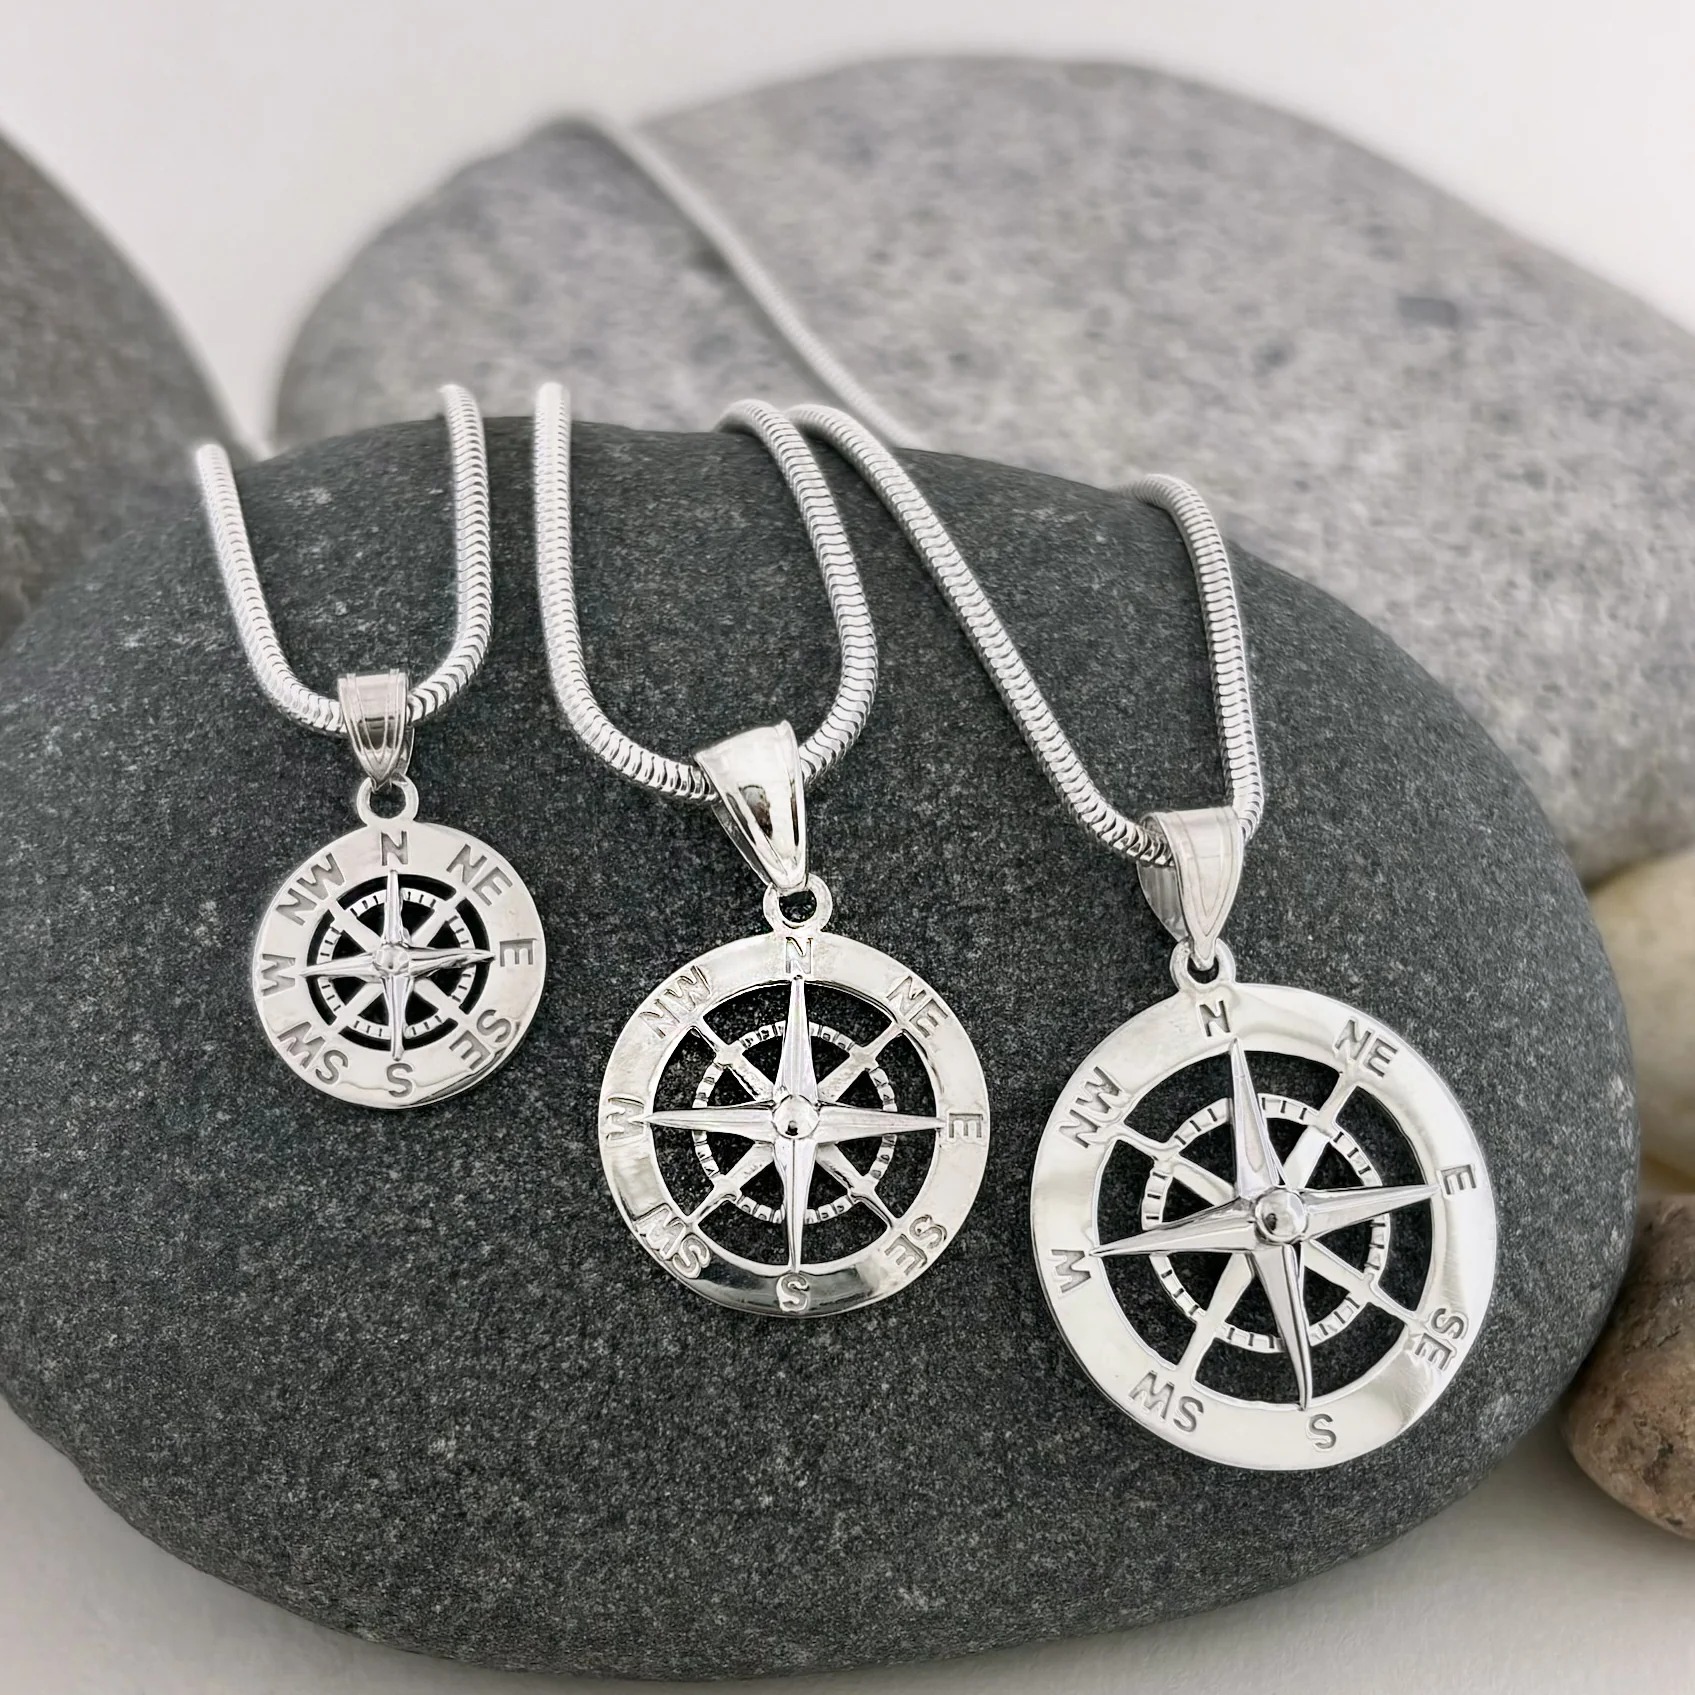
Jewelry making pendants serve as the focal point in many handmade pieces. They draw the eye and define the style. Whether simple or intricate, they carry the story of the design. Many crafters start with a pendant idea before building around it. This makes them central to the creative process.
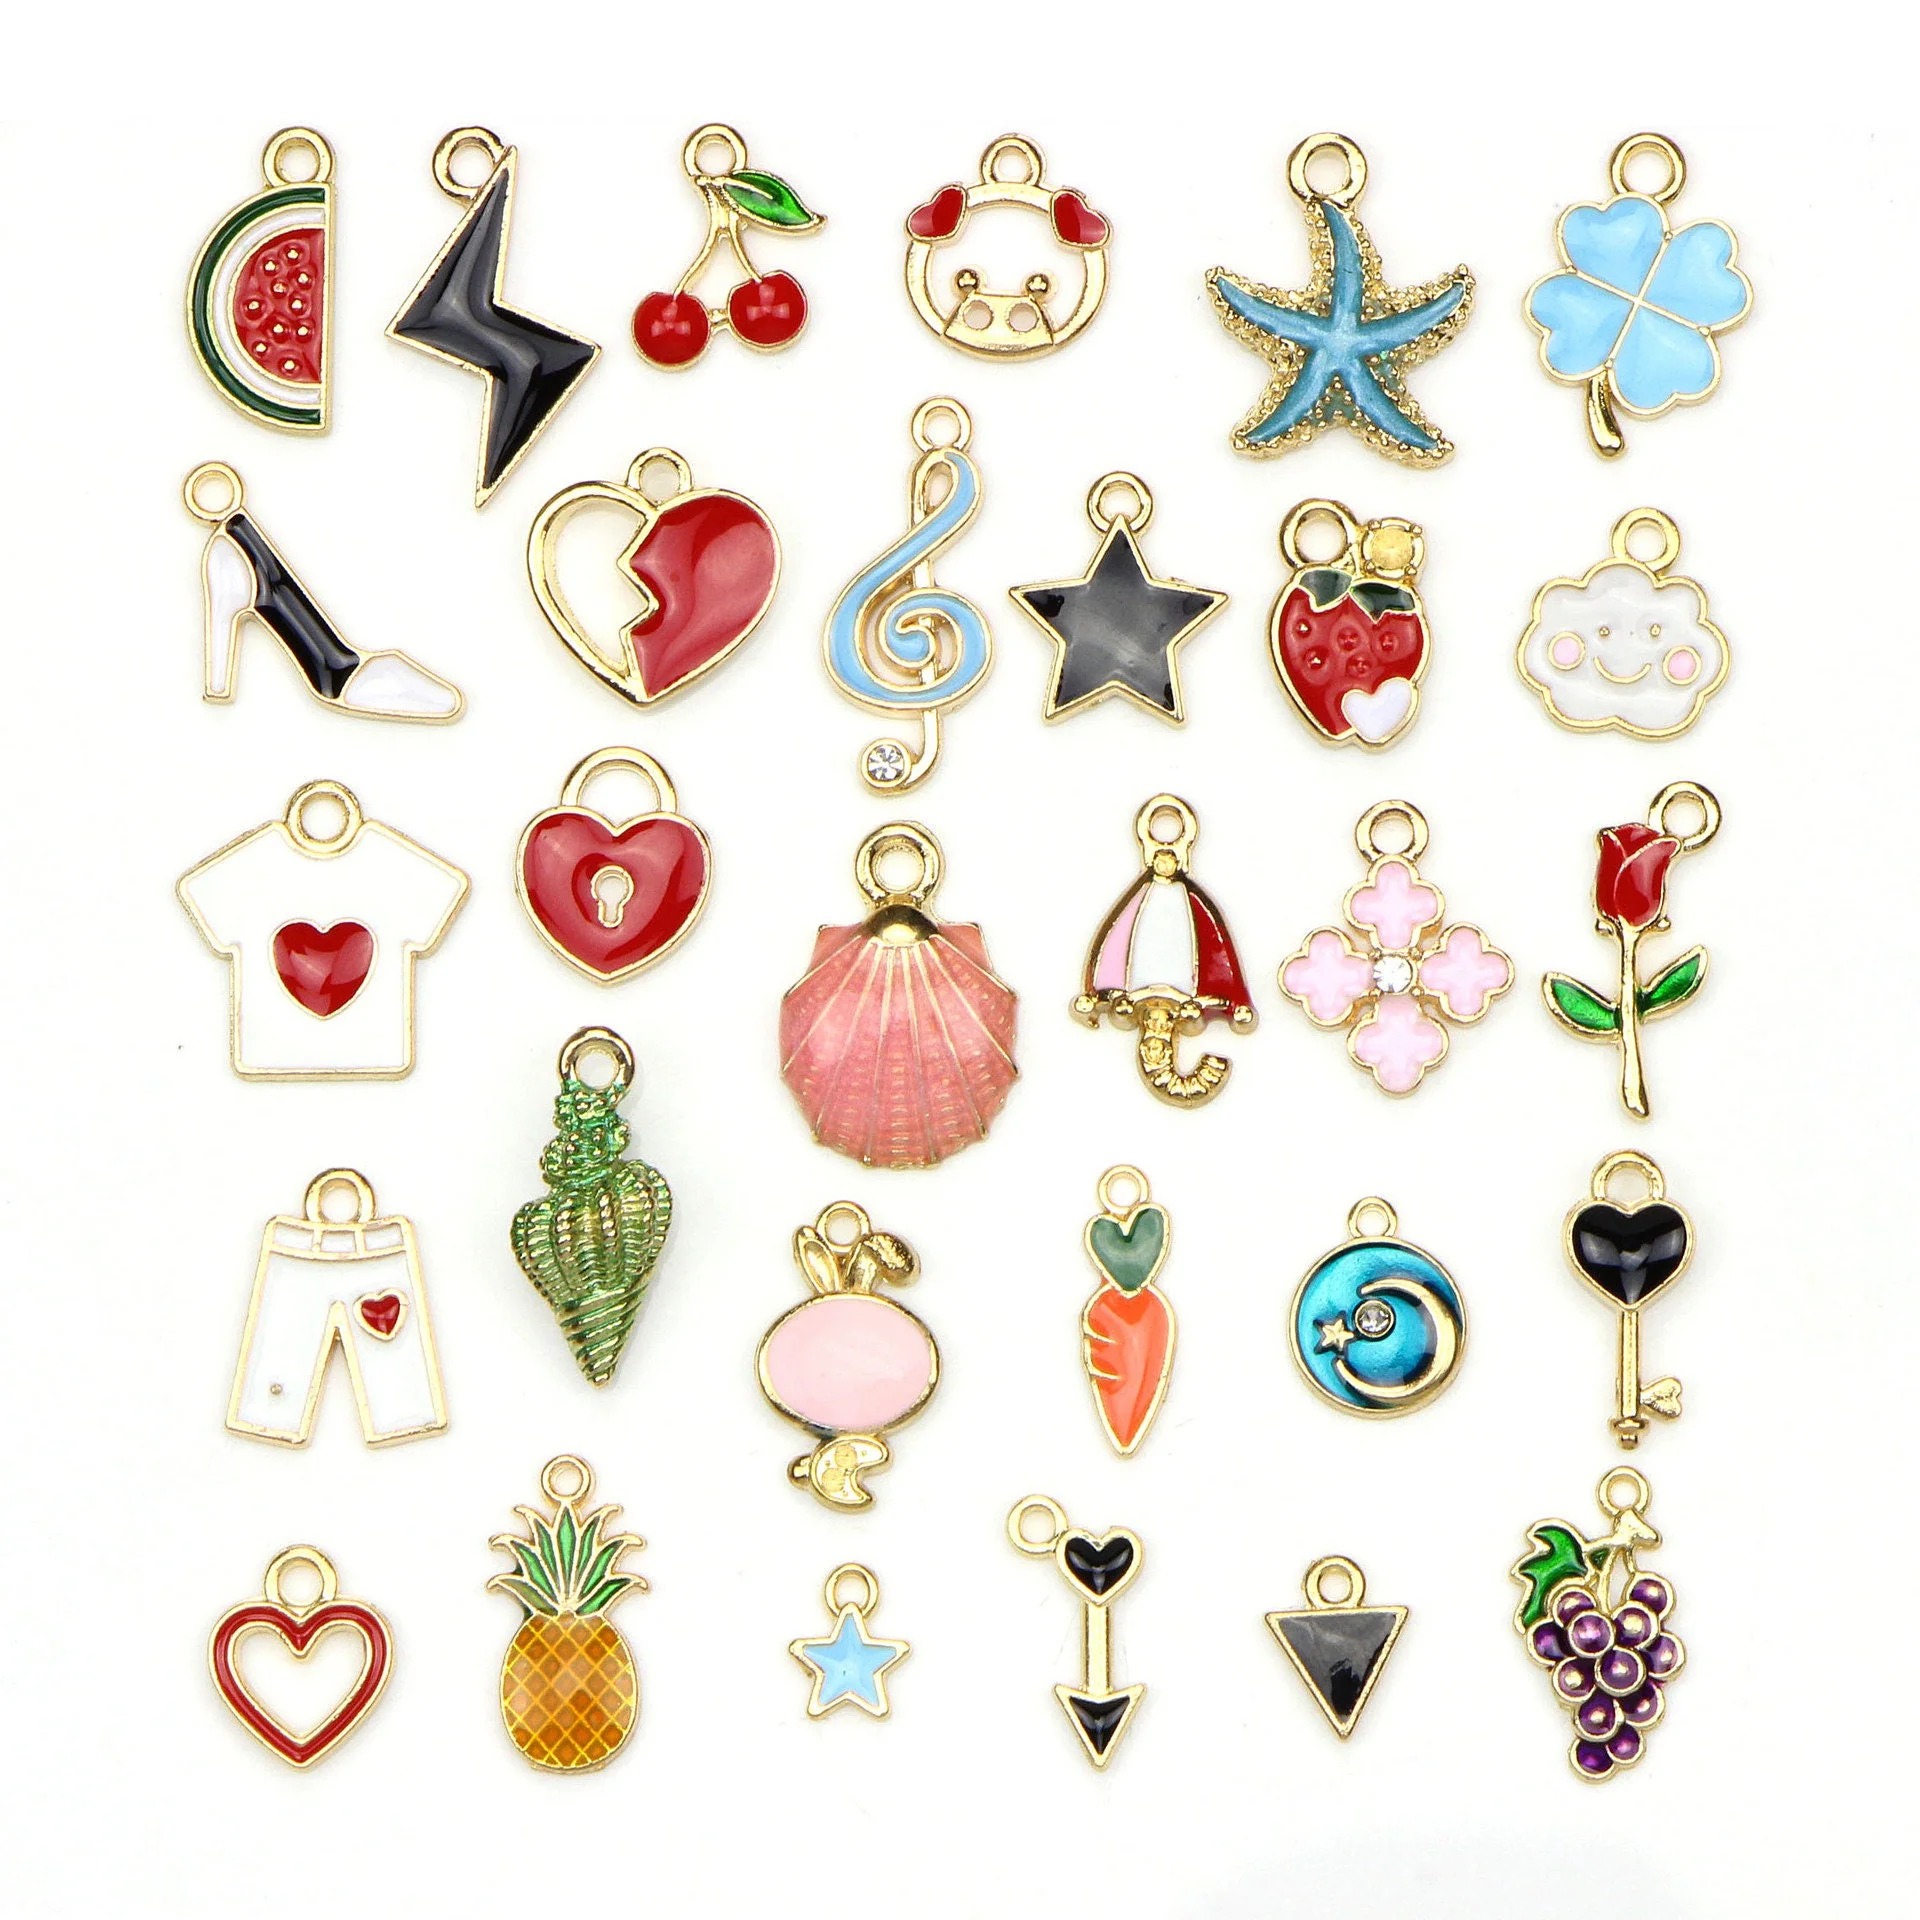
Moreover, jewelry making pendants allow endless customization. You can shape them from metal, resin, wood, or clay. Each material brings a unique texture and feel. Some artists paint on surfaces for personal flair. Others engrave names or symbols for deeper meaning. With so much freedom, no two pendants are exactly alike. This uniqueness is what makes handmade jewelry special.
 Getting Started with Jewelry Making Pendants
Essential Tools and Workspace Setup
Beginning with jewelry making pendants requires basic tools. A workbench with good lighting is essential. Natural light helps spot small flaws. Task lamps reduce eye strain during long sessions. Use a non-slip mat to protect the surface. Keep everything organized for smooth workflow.
You will need pliers, cutters, and files. Round-nose pliers bend wire into loops. Flat-nose pliers grip small parts securely. Wire cutters trim metal cleanly. Files smooth sharp edges on metal or resin. A jeweler’s saw cuts shapes from sheet metal. These tools form the foundation of your kit.
Safety gear matters too. Wear goggles when cutting or filing. Masks help if working with dust or fumes. Ventilation is key when using resins or chemicals. Store flammable items away from heat sources. A fire extinguisher nearby adds peace of mind. Preparation prevents accidents.
Organize supplies in labeled trays. Use small containers for beads and jump rings. Hang tools on a pegboard for quick access. Keep frequently used items within reach. A tidy space boosts creativity. When you know where everything is, ideas flow faster.
Choosing Your First Pendant Project
Start with a simple design to build confidence. Metal stamping is beginner-friendly. Use pre-cut blanks and letter stamps. Tap gently with a hammer to imprint words. Add polish for shine. This method creates personalized gifts fast.
Another easy option is resin pouring. Mix clear resin with dyes or glitter. Pour into silicone molds shaped like hearts or stars. Let cure for 24 hours. Demold carefully and attach a bail. The result looks professional even for new crafters.
Wire wrapping is also popular. Bend copper or silver wire around stones. Create frames that hold crystals in place. Practice loops and spirals on scrap wire first. Once confident, move to finished pieces.
Pick projects that match your skill level. Avoid complex designs at first. Success builds motivation. As skills grow, try advanced techniques. Patience and practice lead to mastery. Every crafter starts somewhere.
 Materials Used
Metals, Stones, and Natural Elements
Metals are among the most common materials for jewelry making pendants. Copper is affordable and easy to shape. It develops a warm patina over time. Brass offers a gold-like look without high cost. Sterling silver provides lasting value and shine. Gold-filled options give luxury appeal at lower prices.
Sheet metal comes in various thicknesses. Thinner gauges bend easily. Thicker sheets hold shape better. Use metal shears to cut custom forms. Files refine edges after cutting. Heat can add color through oxidation. Torch tools create rainbow effects on steel.
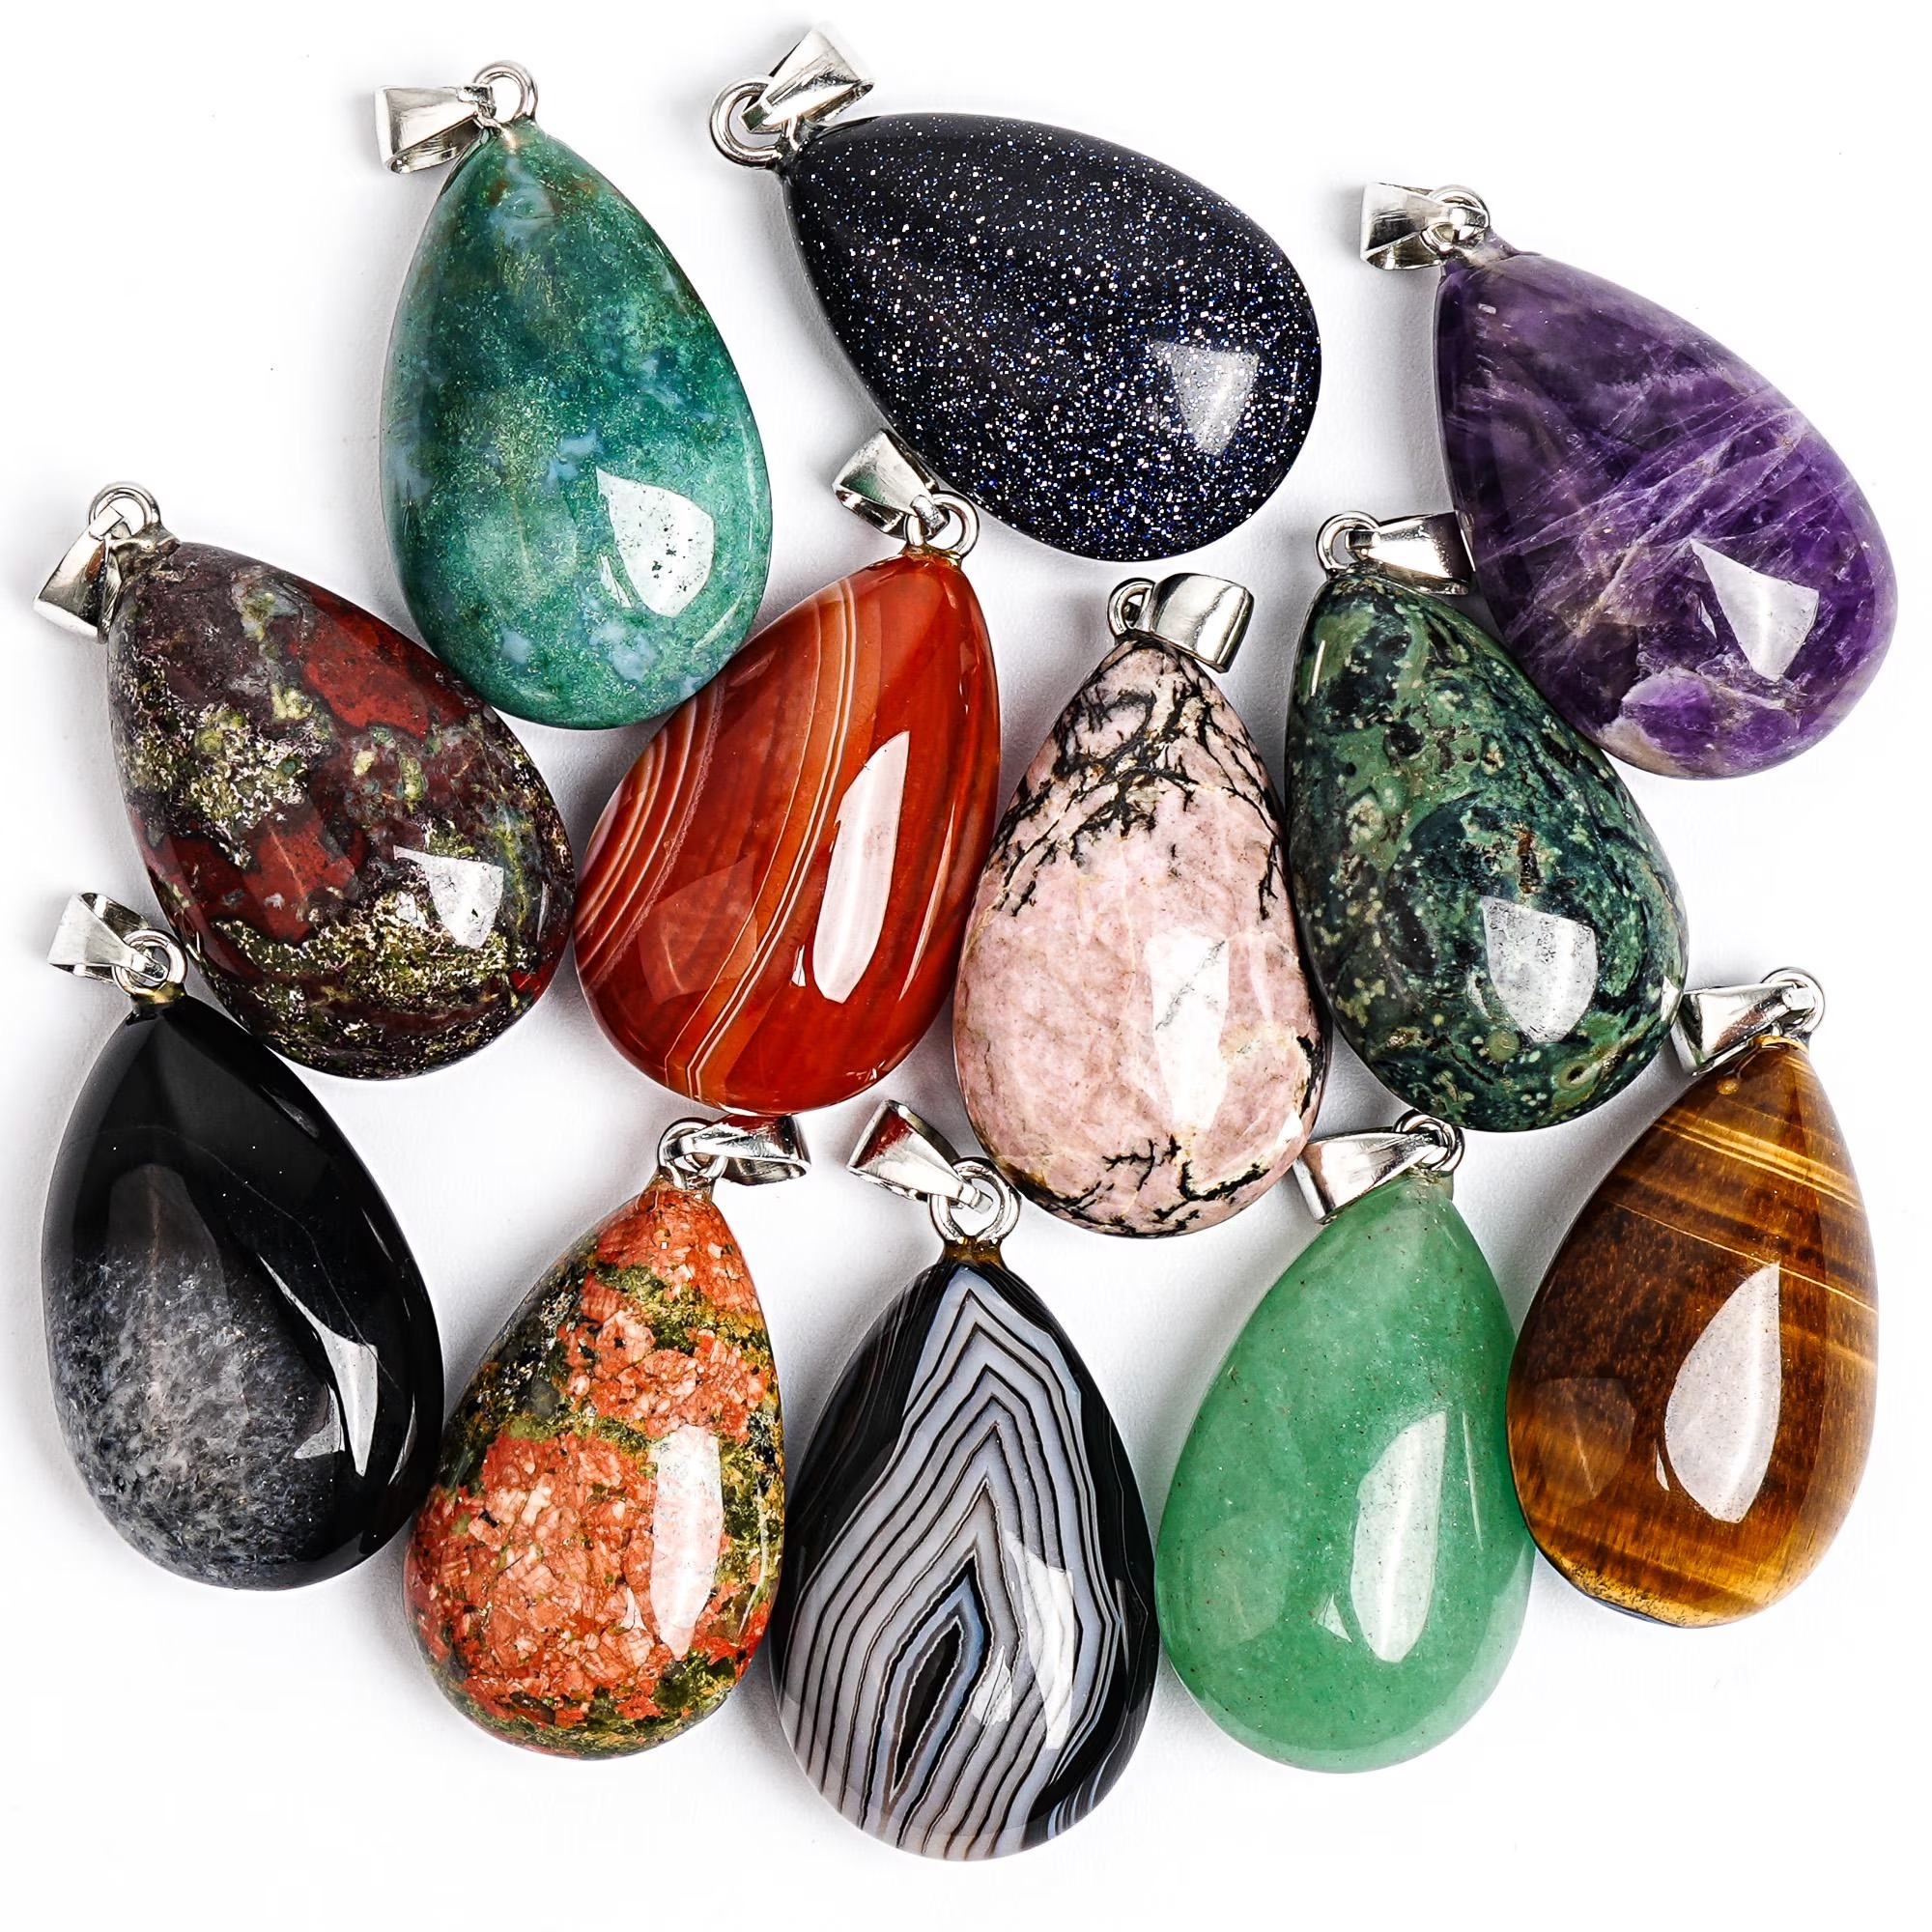
Gemstones add beauty and energy. Some believe crystals carry healing properties. Amethyst calms, rose quartz loves, and tiger’s eye protects. Tumbled stones fit into bezels neatly. Faceted gems sparkle under light. Drusy clusters offer textured sparkle.
Natural elements bring organic charm. Wood slices make earthy pendants. Dried flowers sealed in resin last forever. Sea glass tumbles smooth in oceans. Fossils connect wearers to ancient history. Feathers, shells, and bark add texture. These materials link jewelry to nature.
Resin, Clay, and Mixed Media Options
Resin opens creative doors in jewelry making pendants. Two-part epoxy resin cures clear and strong. Artists embed photos, lace, or paper inside. Glitter, mica powders, and liquid dyes add color. Silicone molds shape drops, squares, and teardrops.
Work in a dust-free area. Pour slowly to avoid bubbles. Use a toothpick to pop any that form. A heat gun removes stubborn ones. Let cure fully before drilling holes. Attach findings only after complete hardening.
Polymer clay is another favorite. It remains soft until baked. Brands like Sculpey and Fimo are widely used. Roll, cut, and sculpt into any form. Use cookie cutters for quick shapes. Add texture with stamps or fabric.
Paint or ink enhances details. Sand surfaces between layers for smoothness. Bake according to package instructions. Overheating causes darkening. Cool completely before assembly.
Mixed media combines several types. Layer fabric under resin. Wrap wire around wooden bases. Glue beads onto clay centers. Combine old watch parts with metal. The only limit is imagination. Experimentation leads to original designs.
Techniques for Creating Unique Pendants
Metal Stamping and Engraving
Metal stamping lets you personalize jewelry making pendants. Use steel stamps with letters, numbers, or symbols. Place them on a metal blank. Strike firmly with a hammer. Repeat for each character. Align carefully for straight lines.
Practice on scrap metal first. Uneven hits leave crooked marks. Too much force dents the surface. Light, consistent taps work best. Use a bench block to stabilize the piece. A self-healing mat protects tables.
Engraving offers more detail. Hand tools scratch lines into metal. Rotary tools carve deeper grooves. Styluses follow freehand designs. Trace patterns with carbon paper first. This ensures accuracy.
Fill engraved lines with blackening compound. Wipe off excess to highlight grooves. This technique enhances visibility. Names, dates, and quotes become art. These touches turn simple pendants into keepsakes.
Both methods suit sentimental gifts. Birthdays, anniversaries, and memorials benefit. A mother’s name stamped on silver lasts forever. A couple’s date engraved on brass tells their story. Words make jewelry meaningful.
Wire Wrapping and Bezel Setting
Wire wrapping turns metal wire into art. Crafters use it to frame stones or form shapes. Start with a gemstone or crystal. Choose wire that matches the stone’s tone. Silver pairs with white, copper with reds.
Cut a length of wire. Use round-nose pliers to make a loop at one end. Wrap the wire around the stone’s edge. Create coils, spirals, or vines for decoration. Finish with another loop to attach a chain.
Practice tension control. Loose wraps fall apart. Tight ones crack delicate stones. Work slowly and adjust as needed. Watch tutorial videos for guidance. Many free resources exist online.
Bezel setting holds stones in place with metal. Cut a strip of fine silver or copper. Shape it to fit the stone’s outline. Solder the ends together. Press the bezel wall down gently to secure the piece.
Use pusher tools for even pressure. Check alignment often. Add decorative borders or textures around the edge. This elevates the final look. Finished bezel pendants look store-bought but are fully handmade.
These techniques improve with repetition. Try different stones and wires. Document progress with photos. Share results with crafting groups. Feedback inspires growth. Mastery comes with time.
 Styling and Finishing Your Pendants
Adding Chains, Bails, and Findings
Once the pendant is complete, it needs to hang properly. A bail connects the pendant to the chain. Glue-on bails work for lightweight pieces. Screw-type bails allow removal. Tube bails slide onto chains directly. Choose based on weight and design.
Jump rings link components together. Use flush-cut pliers to open and close them. Never pull sideways—this weakens the ring. Rotate open along the seam. Attach securely before adding chains.
Chains vary by style and strength. Cable chains are versatile and strong. Box chains have square links for modern appeal. Snake chains drape smoothly against skin. Rope chains twist elegantly. Select one that matches the pendant’s tone.
Length affects appearance. Short 16-inch chains sit high on the neck. Mid-length 18- to 20-inch options rest on the collarbone. Longer 24-inch chains drape over clothing. Consider how the piece will be worn.
Clasps must hold firmly. Lobster clasps are reliable and easy to use. Spring rings are smaller but less secure. Toggle clasps offer vintage charm. Magnetic clasps suit those with weak hands. Test before wearing.
Ensure all findings match metal tones. Mixing silver and gold can clash. Unless intentional, keep consistency. Polished finishes reflect light. Matte versions offer subtle elegance. Final choices complete the vision.
Polishing, Sealing, and Protective Coatings
Finishing gives jewelry making pendants a professional look. Polish metal with a soft cloth. Use polishing papers for extra shine. Rotary tools with buffing wheels speed up the process. Remove scratches and fingerprints.
For natural materials, sealing is vital. Resin coats porous surfaces like wood or fabric. Spray sealants work for dried flowers. Multiple thin layers prevent bubbling. Let dry between coats.
Copper and brass tarnish over time. Apply wax or lacquer to slow oxidation. Renaissance wax is popular among jewelers. It protects without changing color. Reapply every few months for best results.
Avoid touching bare metal with fingers. Oils cause spots. Wear gloves during final steps. Store finished pieces in anti-tarnish bags. These contain protective strips that absorb sulfur.
Check for sharp edges. File any rough spots. Smooth backs prevent skin irritation. Comfort matters as much as beauty. A well-finished pendant feels as good as it looks.
Photograph your work in natural light. Show front, back, and side views. Good images help sell or share pieces. Label with materials and size. Documentation adds value. Pride shows in presentation.
 Frequently Asked Questions
What Is the Easiest Material for Beginners?
Polymer clay is one of the easiest materials. It stays soft until baked. You can shape it with hands or simple tools. Cut with kitchen knives or cookie cutters. No special equipment is needed at first.
Resin is also beginner-friendly. Kits include molds, dye, and mixing cups. Follow instructions step by step. Mistakes can be sanded or re-poured. Many learn through trial and error.
Both materials are affordable. Small batches cost little. Leftover bits can be reused. Start with low risk and high reward. Confidence grows quickly.
Can I Sell My Handmade Pendants?
Yes, many crafters sell their jewelry making pendants. Online platforms like Etsy and Amazon Handmade are great starts. Social media helps build an audience. Instagram and TikTok showcase process videos.
Set fair prices. Include material, time, and overhead costs. Offer gift packaging for higher value. Provide care instructions with each sale. Customer service builds loyalty.
Attend local craft fairs and markets. Face-to-face sales create connections. Collect emails for newsletters. Repeat buyers support growth. Always photograph work professionally.
How Do I Prevent Resin Bubbles?
Mix resin slowly and steadily. Stir for at least two minutes. Scrape the sides and bottom of the cup. This ensures full blending. Pour in thin streams to reduce air intake.
Let the mixture sit for a minute before pouring. Bubbles rise to the top. Pop stubborn ones with a toothpick. A light pass with a heat gun works too. Hold it six inches away to avoid scorching.
Pour in layers if making thick pieces. Wait 15–30 minutes between pours. This allows bubbles to escape. Work in a warm room—cold increases viscosity.
Use a pressure pot for flawless results. Not required, but helpful for serious crafters. Most bubbles can be managed with patience. Practice improves technique.
Where Can I Find Inspiration for Designs?
Nature offers endless ideas. Leaves, flowers, and animal tracks inspire shapes. Beachcombing yields shells and stones. Forest walks reveal bark textures and seed pods. Carry a sketchbook to record ideas.
Art books, fashion magazines, and museum websites help too. Ancient symbols, tribal patterns, and architecture spark creativity. Pinterest and Instagram boards organize thoughts.
Look at vintage jewelry. Old brooches and lockets show craftsmanship. Repurpose motifs in new ways. Combine styles across cultures.
Talk to fellow crafters. Join online forums or local groups. Share challenges and wins. Collaboration fuels innovation. Inspiration is everywhere—you just need to look.
The Emotional and Creative Value
Gifts That Carry Meaning
Handmade jewelry making pendants make powerful gifts. They show effort and thought. A mother cherishes a locket with her child’s name. A friend treasures a stone wrapped in wire. These are not bought—they are made with love.
Birthdays, weddings, and memorials benefit most. A pendant with a birthstone honors a child. One engraved with a quote comforts the grieving. Healing crystals offer hope. Each piece carries intent.
Recipients feel seen and valued. Knowing someone spent hours crafting it deepens impact. Unlike store-bought items, these cannot be replicated. Their imperfections prove authenticity.
Many keep them for life. Pass them to future generations. Stories get told alongside the object. “My sister made this when we traveled” becomes family lore. Jewelry becomes memory.
Building Skill and Creative Confidence
Creating jewelry making pendants builds more than objects. It strengthens focus and patience. Each project teaches problem-solving. Mistakes become lessons, not failures.
Skills grow with repetition. Cutting improves. Shaping becomes precise. Design sense evolves. Crafters develop personal styles. Some lean minimal. Others embrace bold colors.
Creative confidence spreads to other areas. Trying new recipes, painting, or writing follows. The courage to make something by hand changes self-perception. “I made this” is empowering.
Teaching others multiplies joy. Host small workshops. Share tips online. Mentor beginners. Generosity fosters community. Art connects people.
The journey never truly ends. New tools, materials, and techniques appear. Curiosity keeps minds active. Every finished pendant is both an ending and a beginning.
 Conclusion
Jewelry making pendants remain a beloved craft for good reason. They combine art, emotion, and skill in one small object. From simple stamped tags to elaborate wire-wrapped crystals, they reflect the maker’s soul. Each choice—from metal to message—adds meaning.
They suit all ages and experience levels. Kids enjoy shaping clay. Teens personalize gifts. Adults find therapy in the rhythm of creation. Seniors preserve memories in resin. There is no wrong way to begin.
With proper tools and mindset, anyone can start. Mistakes are part of learning. Progress shows over time. Finished pieces bring pride and connection. Sharing them multiplies joy.
So pick up a tool. Choose a material. Make your first jewelry making pendants today. Let your hands shape beauty. Let your heart guide design. And let each piece tell a story only you can create.
Leave a Reply