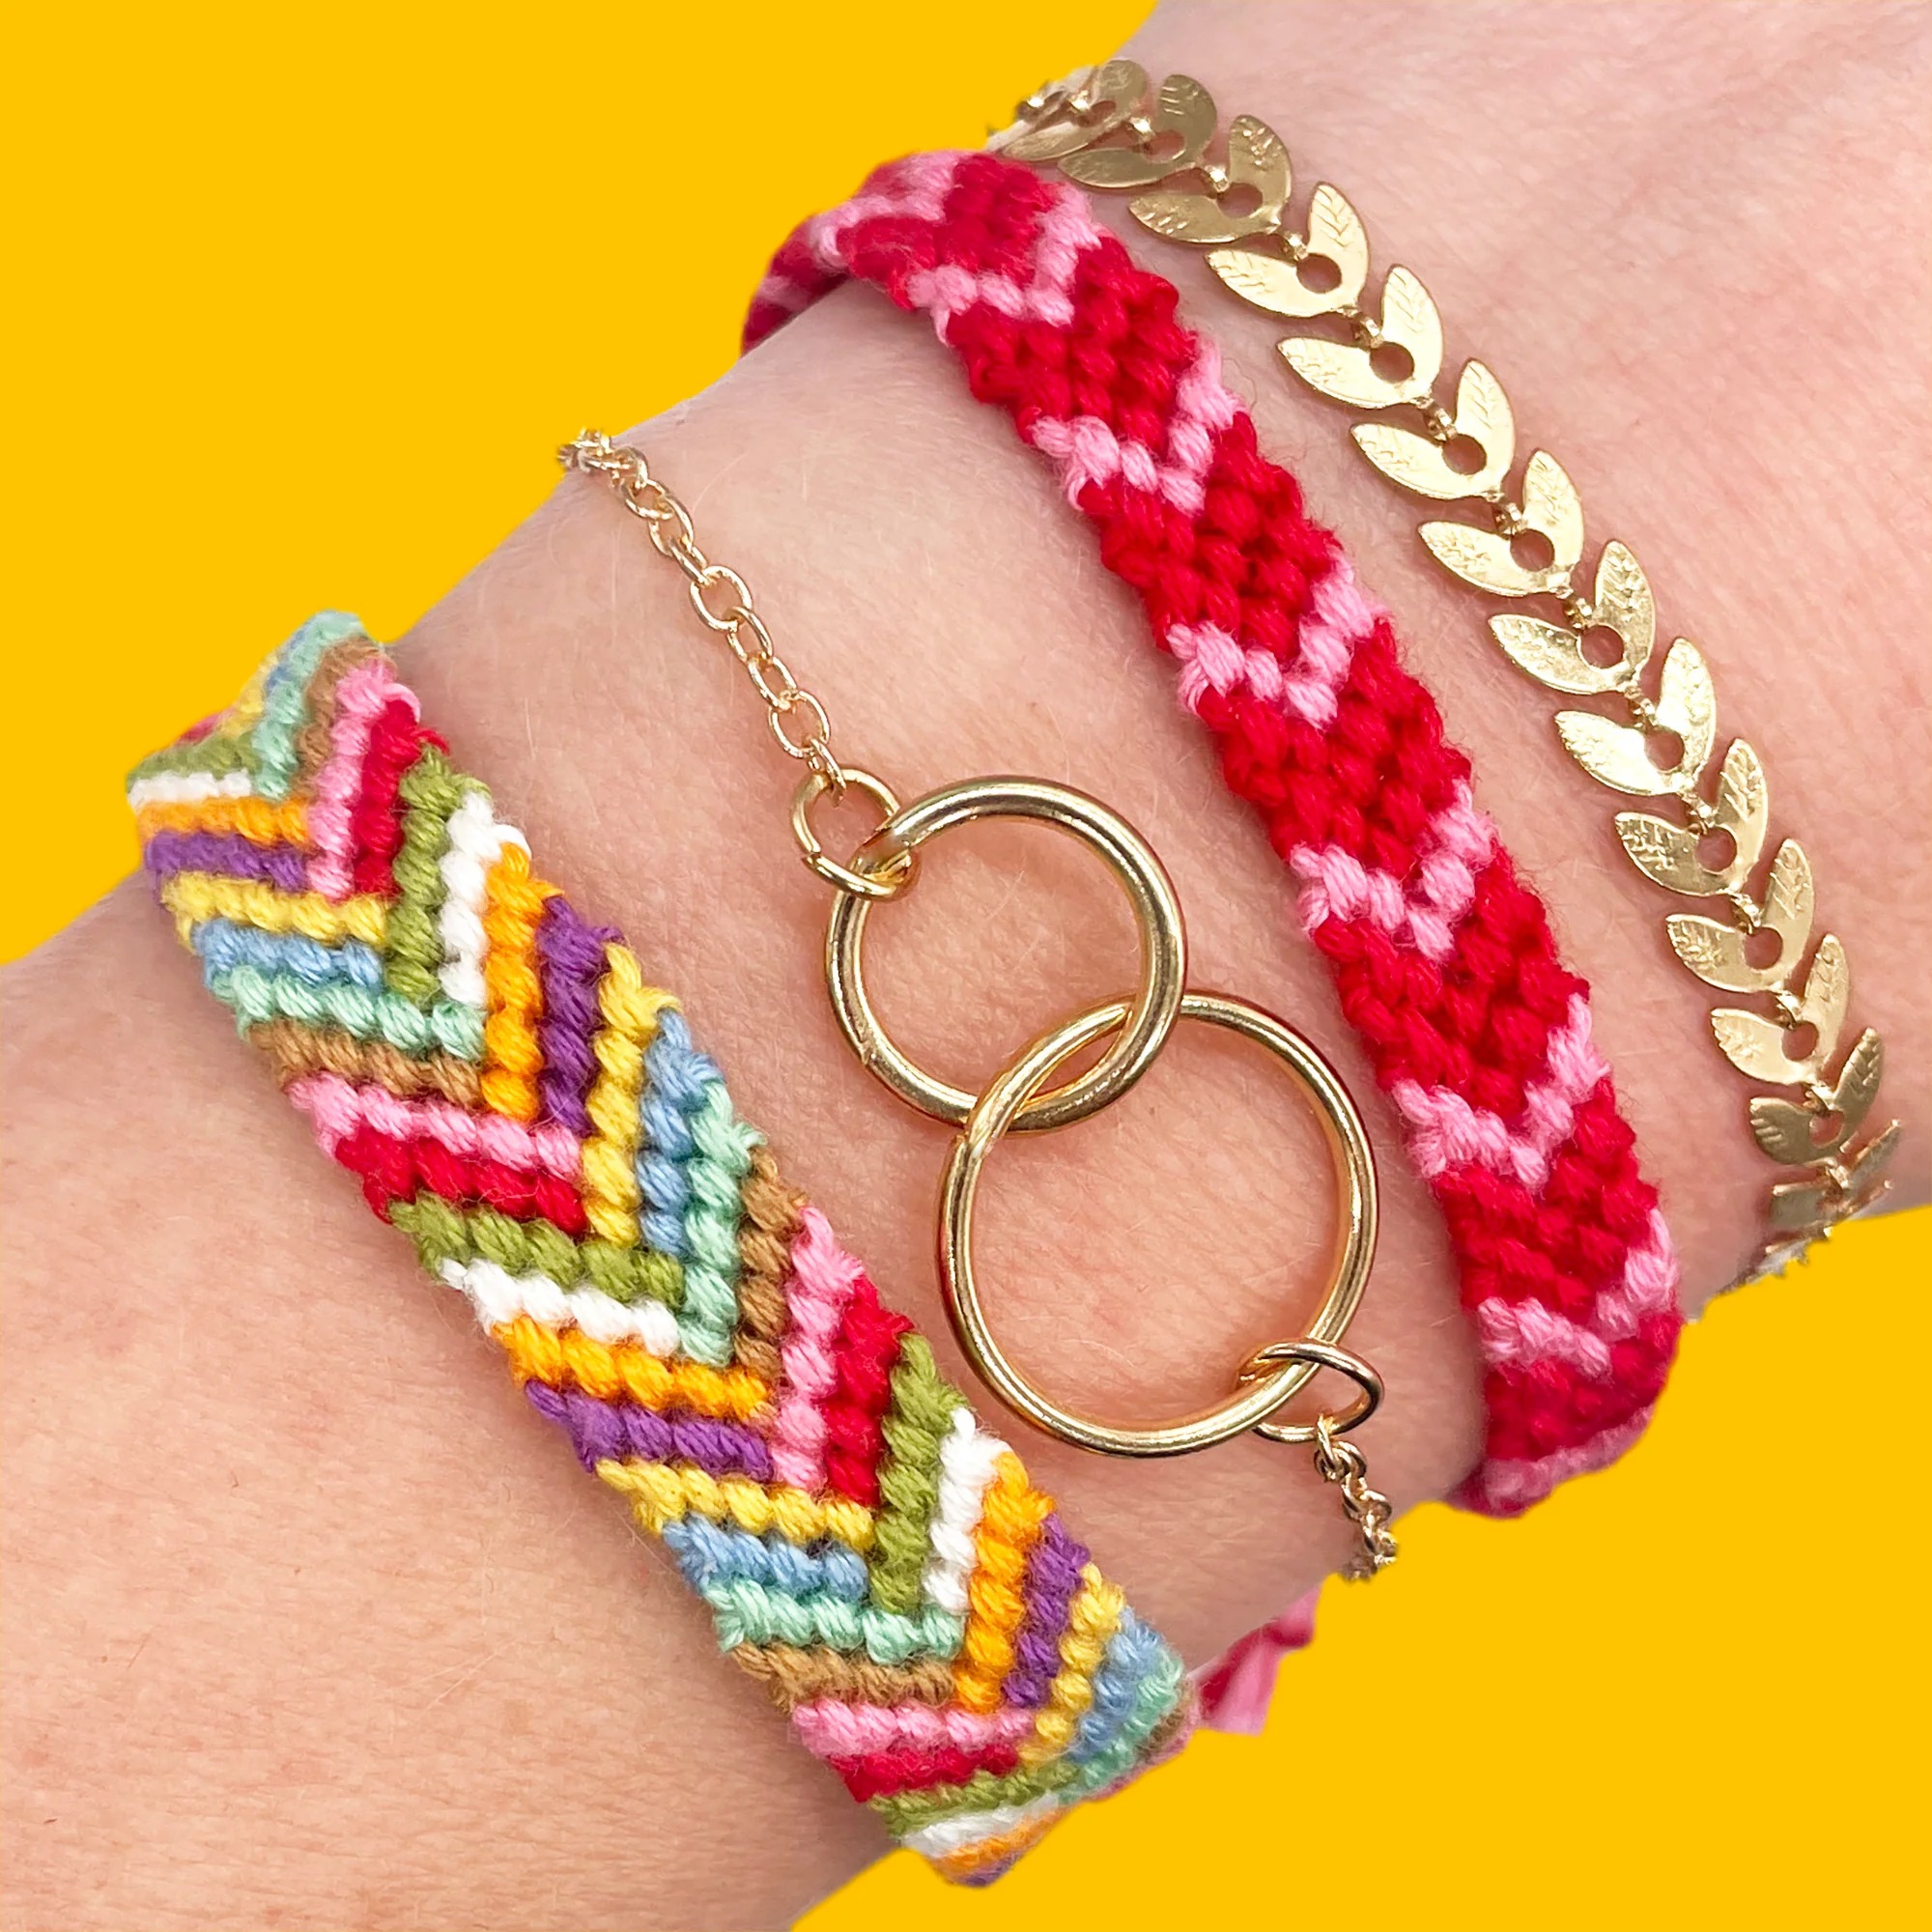
Learning how to make chevron friendship bracelets is a fun and rewarding craft activity. These colorful woven bands have been popular for decades among kids, teens, and adults alike. They symbolize connection, creativity, and personal expression. The chevron pattern stands out because of its distinctive V-shape design. This style is both classic and timeless. Many people choose this pattern when they first start crafting friendship bracelets. It offers a balance between simplicity and visual appeal. You do not need advanced skills to get started. Basic knotting techniques are enough to create beautiful results.
You can customize your bracelet with any color combination. Some prefer matching their favorite team’s colors. Others pick shades that represent their personality. The process itself is meditative and relaxing. Repetitive knotting helps reduce stress. It also improves hand-eye coordination. Children especially benefit from this hands-on activity. Making chevron friendship bracelets encourages patience and focus. Once you master the technique, you can teach others. Sharing the skill multiplies the joy. Whether you’re making one for a friend or selling them at a craft fair, the outcome feels meaningful. In the following sections, we will explore tools, materials, and detailed steps. Our goal is to help you confidently learn how to make chevron friendship bracelets.
 Materials Needed for Your First Project
Before diving into how to make chevron friendship bracelets, gather all necessary supplies. Having everything ready prevents interruptions. Start with embroidery floss. Six-strand cotton thread works best. Choose vibrant colors that contrast well. High-quality floss resists fraying and knots smoothly. Avoid cheap alternatives as they may break during weaving. Scissors are essential too. Use small, sharp ones for clean cuts. A clipboard or tape can secure your work. This keeps strands taut while knotting. Some crafters use safety pins or cork boards instead.
Another important item is masking tape. Attach it to a flat surface like a table. Then fix the top end of each thread to the tape. This stabilizes the base. Ruler or measuring tape ensures uniform length. Cut each strand about 18 to 24 inches long. Longer threads allow room for error and tying off. Beads are optional but add flair. Tiny spacers between knots give dimension. You might also want a straw or piece of cardboard. Slide finished bracelets onto it for safekeeping. Storage boxes keep extra floss organized. Label each color for quick access later. With these materials prepared, you’re one step closer to mastering how to make chevron friendship bracelets.
Understanding the Chevron Pattern Structure
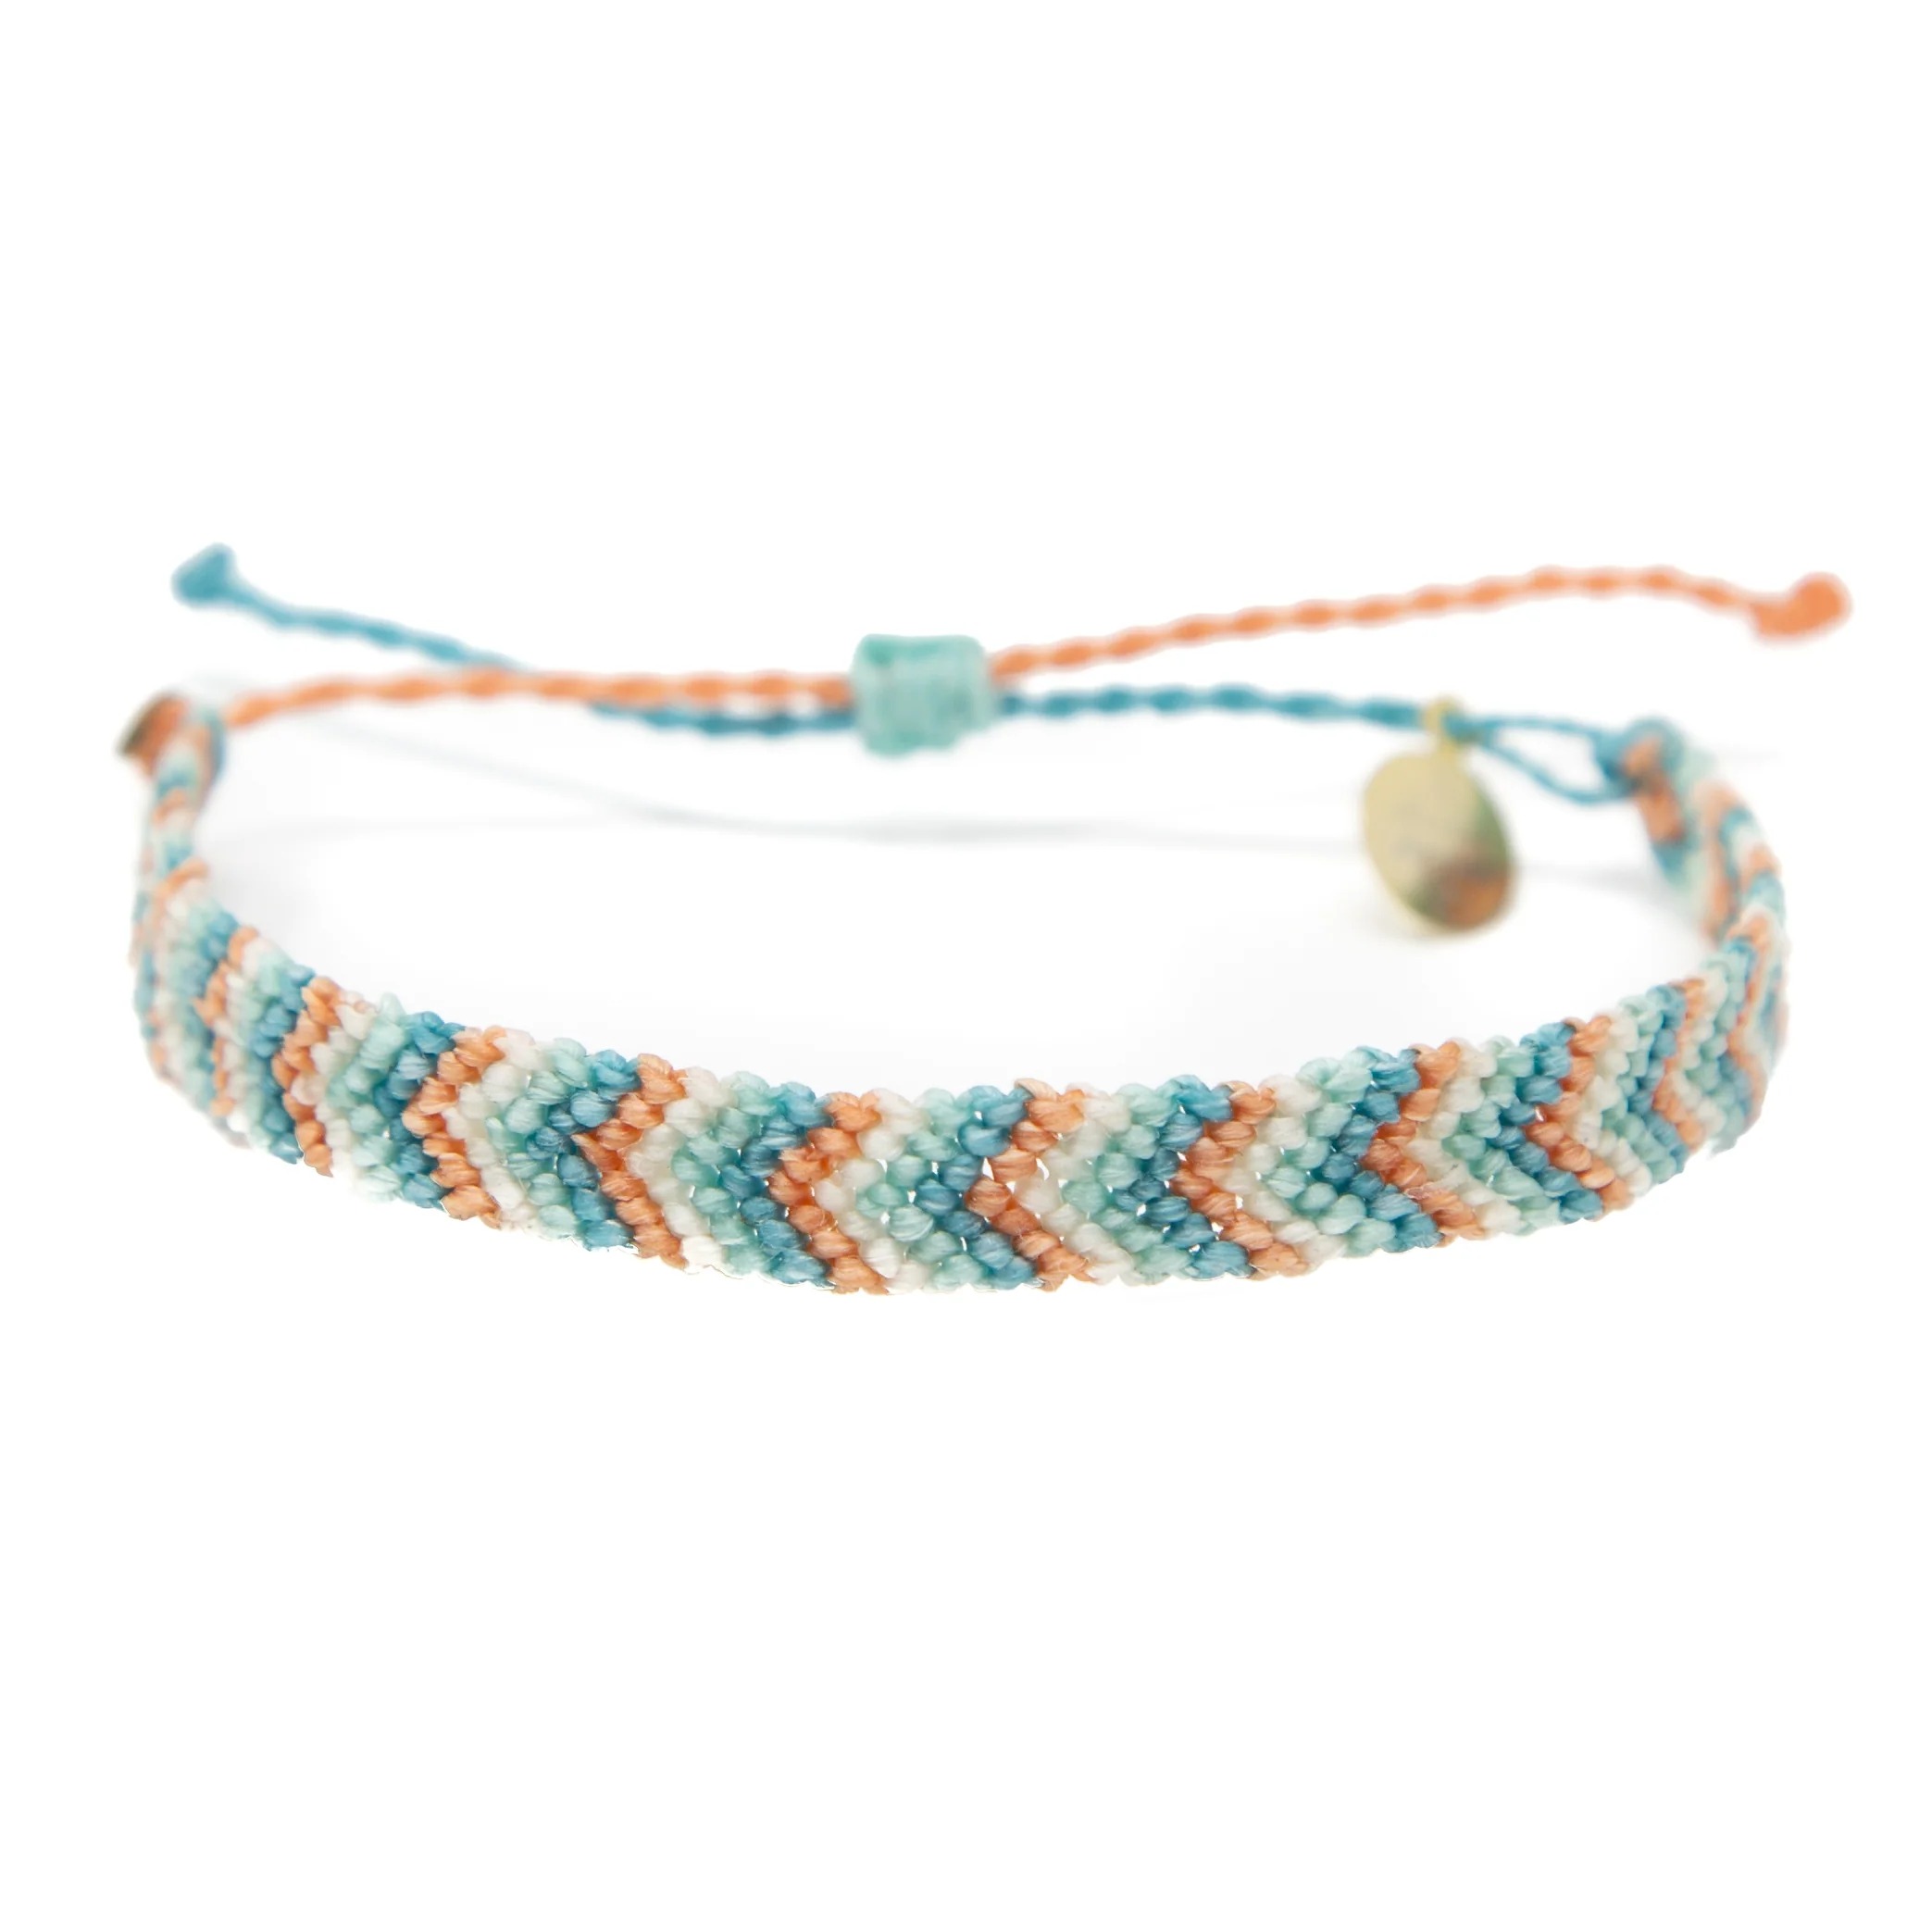
The chevron design features symmetrical diagonal lines forming a V-shape. This structure repeats across the bracelet width. Each side mirrors the other perfectly. To achieve this look, you must follow a precise sequence. The key lies in consistent forward and backward knots. Every row builds upon the previous one. Mistakes disrupt symmetry. That’s why practice on scrap threads helps. Focus on maintaining even tension throughout.
There are two main knot types used. The forward knot moves from left to right. The backward knot goes in reverse. Both use the same method but differ in direction. Begin by selecting an outer thread as your knotting string. Then loop it over the adjacent strand. Pull it through to form a half knot. Repeat until it wraps completely. Do this for every pair across the line. After finishing one direction, switch sides. Now repeat the process in the opposite way. This creates the downward slope of the V. Continue alternating rows carefully. Precision leads to sharp, clean angles. Mastering this pattern means understanding how to make chevron friendship bracelets correctly.
Choosing the Right Number of Strands
Most chevron bracelets use an odd number of threads. Seven or nine strands are common choices. Seven gives a narrow band suitable for children. Nine provides more space for detail. More strands mean wider designs. However, too many complicate the process. Beginners should start small. As confidence grows, increase complexity. Always center the middle strand. This acts as the peak of the V-shape. Symmetry depends on accurate placement.
Each side needs equal thread count. For example, nine strands include four on each side plus one center. Mark the center with a tag if needed. This avoids confusion during knotting. Consistency ensures balanced growth. Uneven sides produce lopsided results. Check alignment after every few rows. Adjust tension if one side pulls tighter. Practice makes perfect. Over time, your muscle memory improves. Soon, counting becomes second nature. This foundational knowledge supports your journey in how to make chevron friendship bracelets.
 Preparing Your Threads Correctly
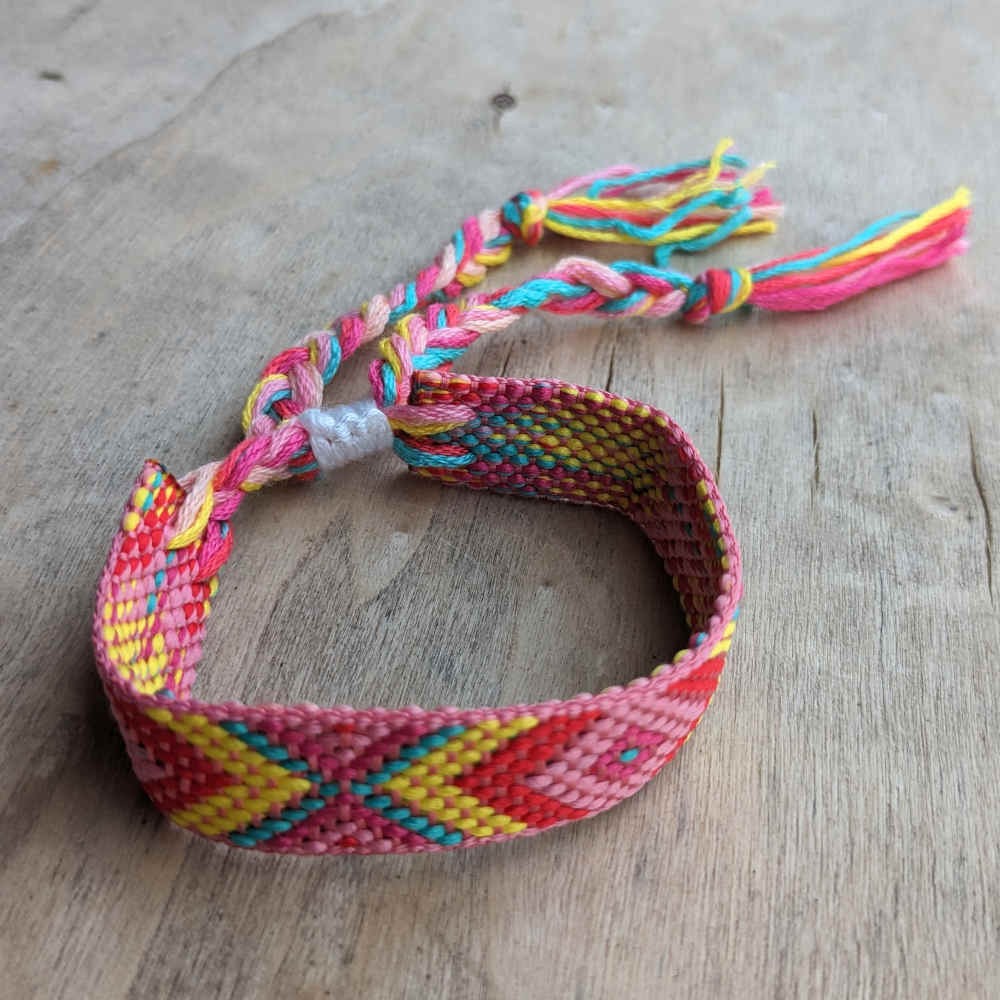
Proper thread preparation sets the foundation for success. Begin by cutting all strands to equal length. Uneven pieces cause problems later. Use a ruler for accuracy. Fold them in half once done. Create a loop at the top. Secure this with a knot or pin. Attach it to your clipboard or taped surface. Let the loose ends hang down freely. Arrange colors in your desired order. Plan the layout before knotting begins.
Separate each strand gently. Prevent tangling by spacing them apart. Embroidery floss twists easily. Rotate your wrist clockwise occasionally. This reduces knotting during work. If tangles occur, pause and untwist slowly. Rushing worsens the problem. Keep fingers dry while handling threads. Moisture weakens fibers. Dusty surfaces attract lint. Work in a clean, well-lit area. Good lighting reveals subtle inconsistencies. Early detection prevents bigger issues. Well-prepared threads make learning how to make chevron friendship bracelets much smoother.
Creating the Starting Knot
A strong starting point ensures stability. Take the folded loop at the top. Tie a simple overhand knot below it. Leave a small tail for attaching later. This knot anchors all strands together. Double-check tightness before proceeding. Loose starts unravel quickly. Position the knot near the edge of your board. Allow enough space above for tying when complete.
Now arrange the threads vertically. Spread them evenly side by side. Confirm color order matches your plan. Numbered charts help visualize patterns. Refer to them often at first. As you gain experience, memorization takes over. Hold the base firmly with one hand. Use the other for knotting motions. Maintain steady pressure. Avoid pulling too hard. Excessive force distorts alignment. Gentle, consistent movement produces better results. This initial phase is crucial when exploring how to make chevron friendship bracelets.
Executing the Forward Knot Sequence
Begin on the far left side. Select the leftmost thread as your knotting string. Take it over the next strand to the right. Pull it under and through to complete one knot. Repeat this motion four times on the same pair. Four knots create one full square knot. Ensure each pull is firm but gentle. Watch the direction of the knot. It should lean diagonally toward the center. This forms the left arm of the V.
Move inward after completing a pair. Use the previous knotting string again. Now apply four knots on the next adjacent strand. Continue this process across the left half. Always work from outside toward the middle. Do not skip any pairs. Missing a connection breaks the pattern. Check alignment frequently. Misaligned knots shift the entire structure. Patience pays off here. Accuracy defines the final appearance. These early rows determine success in how to make chevron friendship bracelets.
Completing the Backward Knot Side
After finishing the left side, switch directions. Start from the far right this time. Pick up the rightmost thread. Bring it over the neighboring strand to the left. Form four half knots to complete a square knot. Repeat this action moving inward. Each knot leans toward the center. This creates the right arm of the V. Match the angle of the opposite side exactly. Symmetry relies on mirrored execution.
Work steadily without rushing. Compare both halves visually after each row. Look for gaps or uneven spacing. Correct errors immediately. Fixing early saves time later. Use tweezers if fingers struggle with tight spaces. Stop every few minutes to stretch hands. Fatigue affects precision. Hydrate regularly to stay alert. Proper posture reduces strain. Sitting upright supports focus. Mastering both sides completes the core skill in how to make chevron friendship bracelets.
 Adding Color Variations and Designs
Once comfortable with basic technique, experiment with colors. Alternate hues to form stripes or gradients. Fade from dark to light gradually. Try complementary shades like blue and orange. Monochromatic schemes offer elegance. Pastels suit spring themes. Bright tones energize summer styles. Seasonal palettes inspire unique gifts. Personal taste guides creative decisions.
Introduce patterns within the chevron. Change one strand color every few rows. This generates horizontal bands. Or swap two side threads simultaneously. Create zigzag effects inside the V. Thicker lines emerge with grouped strands. Use three threads as one knotting string. Bundle them tightly before starting. Test tension first to prevent bulkiness. Endless possibilities exist when learning how to make chevron friendship bracelets.
Incorporating Beads and Charms
Enhance bracelets with small embellishments. Slide tiny beads onto selected strands. Place them at intervals along the length. Seed beads fit neatly between knots. Metal charms add personality. Initials, stars, or hearts carry meaning. Attach them near the end before finishing. Secure with extra knots to prevent sliding.
Choose lightweight accessories only. Heavy beads weigh down the weave. Delicate threads may snap under pressure. Test durability beforehand. String a bead and tug gently. If it holds, proceed with confidence. Mix textures for contrast. Matte and shiny finishes interact beautifully. Transparent beads reveal underlying colors. Reflective ones catch light attractively. Creative touches elevate your project when mastering how to make chevron friendship bracelets.
Troubleshooting Common Issues
Mistakes happen even to experienced crafters. One frequent issue is uneven tension. Some knots feel tighter than others. This causes warping or curling. To fix it, re-knot loosely tied sections. Apply slight pressure to balance the fabric. Practice consistent hand strength. Awareness develops over time. Regular checks minimize flaws.
Another problem is crossed or twisted threads. This disrupts the chevron flow. Prevent it by organizing strands after each row. Smooth them out flat before continuing. Label colors with tags if confusion persists. Also, watch for skipped pairs. Missing a knot breaks continuity. Count each position aloud if helpful. Address errors early. Small fixes prevent major reconstruction. Learning how to make chevron friendship bracelets includes overcoming obstacles gracefully.
Dealing with Frayed or Broken Threads
Fraying occurs when fibers split at the ends. This weakens the strand. Trim damaged tips promptly. Re-cut the thread if necessary. Seal ends with clear nail polish. Let it dry completely before resuming. Avoid using glue as it stiffens the fiber. Polished tips resist further damage. Handle gently during knotting.
Breakage usually stems from excessive pulling. Slow down and relax your grip. Use fresh thread when replacements are needed. Match the original color closely. Splice new pieces in discreetly. Hide joints within knots whenever possible. Never tie knots directly on the bracelet surface. They create bumps and weaken structure. Prevention beats correction. Careful handling extends thread life. These tips support long-term success in how to make chevron friendship bracelets.
 Frequently Asked Questions (F&Q)
What is the easiest way to start learning?
Begin with seven strands in contrasting colors. Use printed diagrams as guides. Follow step-by-step video tutorials online. Practice on short lengths first. Repeat the same pattern multiple times. Muscle memory develops faster with repetition. Join beginner groups for feedback. Share progress photos and ask questions. Community support boosts motivation.
How long does it take to finish one bracelet?
Time varies based on skill level and size. Beginners may spend one to two hours. Experienced crafters complete one in thirty minutes. Distractions extend duration. Set aside focused time blocks. Eliminate interruptions for efficiency. Speed increases naturally with practice. Don’t rush perfection. Enjoy the rhythm of knotting.
Can I wash my finished bracelet?
Yes, but hand wash gently. Use mild soap and cool water. Soak briefly and rinse thoroughly. Air dry flat away from sunlight. Avoid wringing or twisting. Machine washing damages delicate threads. Remove before swimming or showering. Prolonged moisture weakens fibers. Occasional cleaning maintains freshness.
Why does my bracelet curl at the edges?
Curling indicates uneven tension. One side is tighter than the other. Check knot consistency across rows. Relax overly tight areas. Re-knot problematic sections lightly. Maintain balanced pressure throughout. Practice on sample strips first. Even pulls prevent distortion. Proper technique eliminates curling.
What age is appropriate for this craft?
Children aged eight and up can participate. Younger kids may struggle with fine motor skills. Supervise closely to prevent frustration. Simplify patterns for beginners. Use larger threads if needed. Adapt instructions for learning pace. Craft kits designed for kids help. Safety scissors and pre-cut floss reduce risks.
 Final Tips for Success and Creativity
Always keep your workspace tidy. Organized tools save time and reduce stress. Store unused floss in labeled containers. Clean up after each session. A clutter-free area promotes concentration. Good habits lead to better outcomes. Track progress with notes or photos. Document successful combinations.
Experiment fearlessly. Combine techniques from different styles. Try braiding sections into the weave. Merge chevron with spiral elements. Invent your own variations. Originality sets your work apart. Teach friends what you’ve learned. Host a bracelet-making party. Share materials and ideas freely. The more you create, the more you grow.
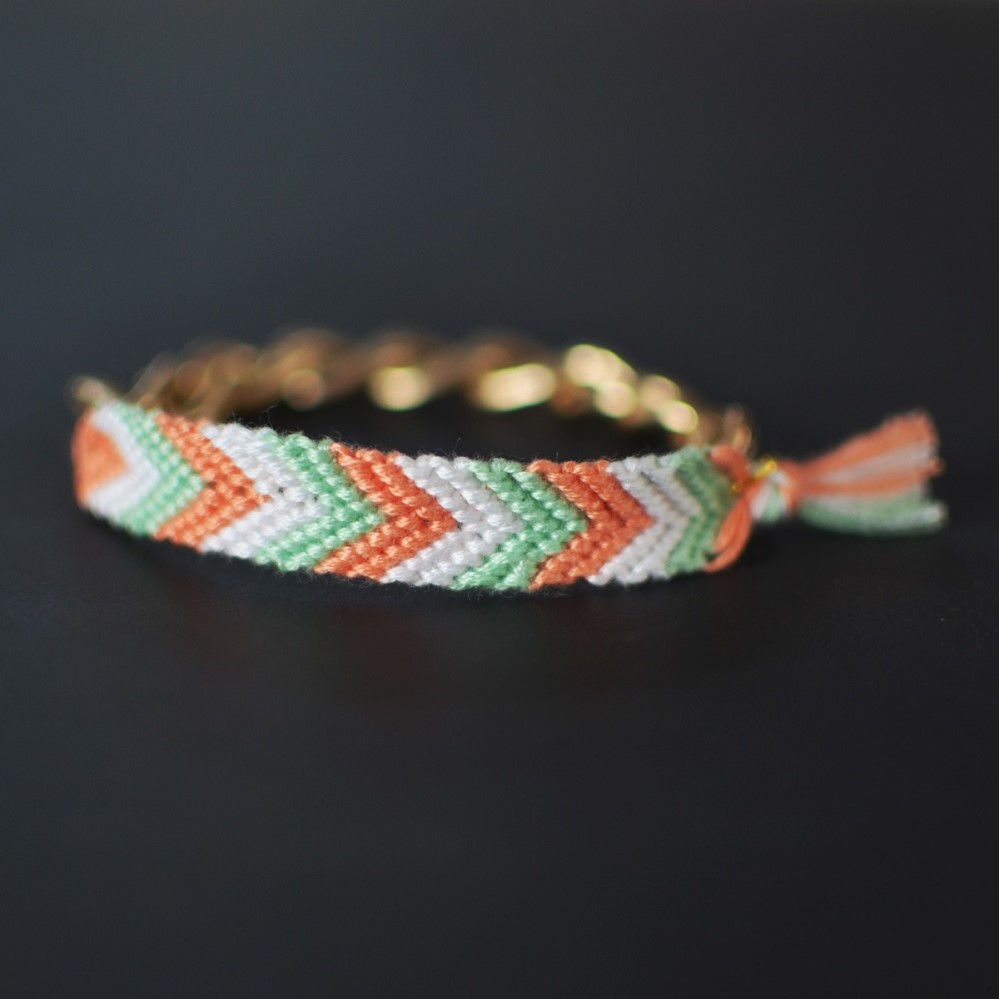
Mastering how to make chevron friendship bracelets opens doors to endless creativity. Each project teaches something new. Celebrate small victories along the way. Wear your creations proudly. Gift them with heartfelt messages. These tokens carry memories and emotions. Continue refining your skills daily. With dedication, anyone can become skilled. Remember, the journey matters as much as the result. Stay inspired and keep crafting.
Leave a Reply