I. Introduction
Protecting your vehicle’s interior from the elements is crucial for maintaining its resale value and ensuring a comfortable driving experience. Additionally, car floor mats play a vital role in this endeavor, safeguarding your carpets from dirt, mud, snow, spills, and other hazards. However, while car floor mats are a common accessory, improper installation can compromise their effectiveness and even lead to safety concerns. Therefore, this comprehensive guide will delve into the proper installation of car floor mats, ensuring that your protective barriers are securely in place and enhancing your driving experience.
II. Gathering the Necessary Tools and Materials
Before embarking on the installation process, it is essential to gather the necessary tools and materials to ensure a smooth and efficient task.
-
Essential tools: A screwdriver, pliers, and a flashlight are crucial for handling any fasteners or adjusting floor anchors.
-
Required materials: Car floor mats, your vehicle’s owner’s manual, and cleaning supplies, such as a vacuum cleaner and a mild detergent solution, are essential for preparing the floor and ensuring proper installation.
III. Preparing the Vehicle’s Interior
Before installing the new car floor mats, it is important to properly prepare the vehicle’s interior.
- Firstly, remove any existing floor mats by carefully lifting and discarding old or worn-out mats from the vehicle, doing so responsibly or recycling them if possible.
Next, clean the floor surfaces by thoroughly removing dirt, debris, and any lingering moisture from the carpets. Use a vacuum cleaner to remove loose particles and follow up with a damp cloth or mop to wipe down the surfaces.
Finally, inspect the floor anchors to check for any loose or damaged ones that secure the floor mats in place. Tighten any loose anchors and replace any damaged ones to ensure a secure fit for the new mats.
IV. Positioning the Front Floor Mats
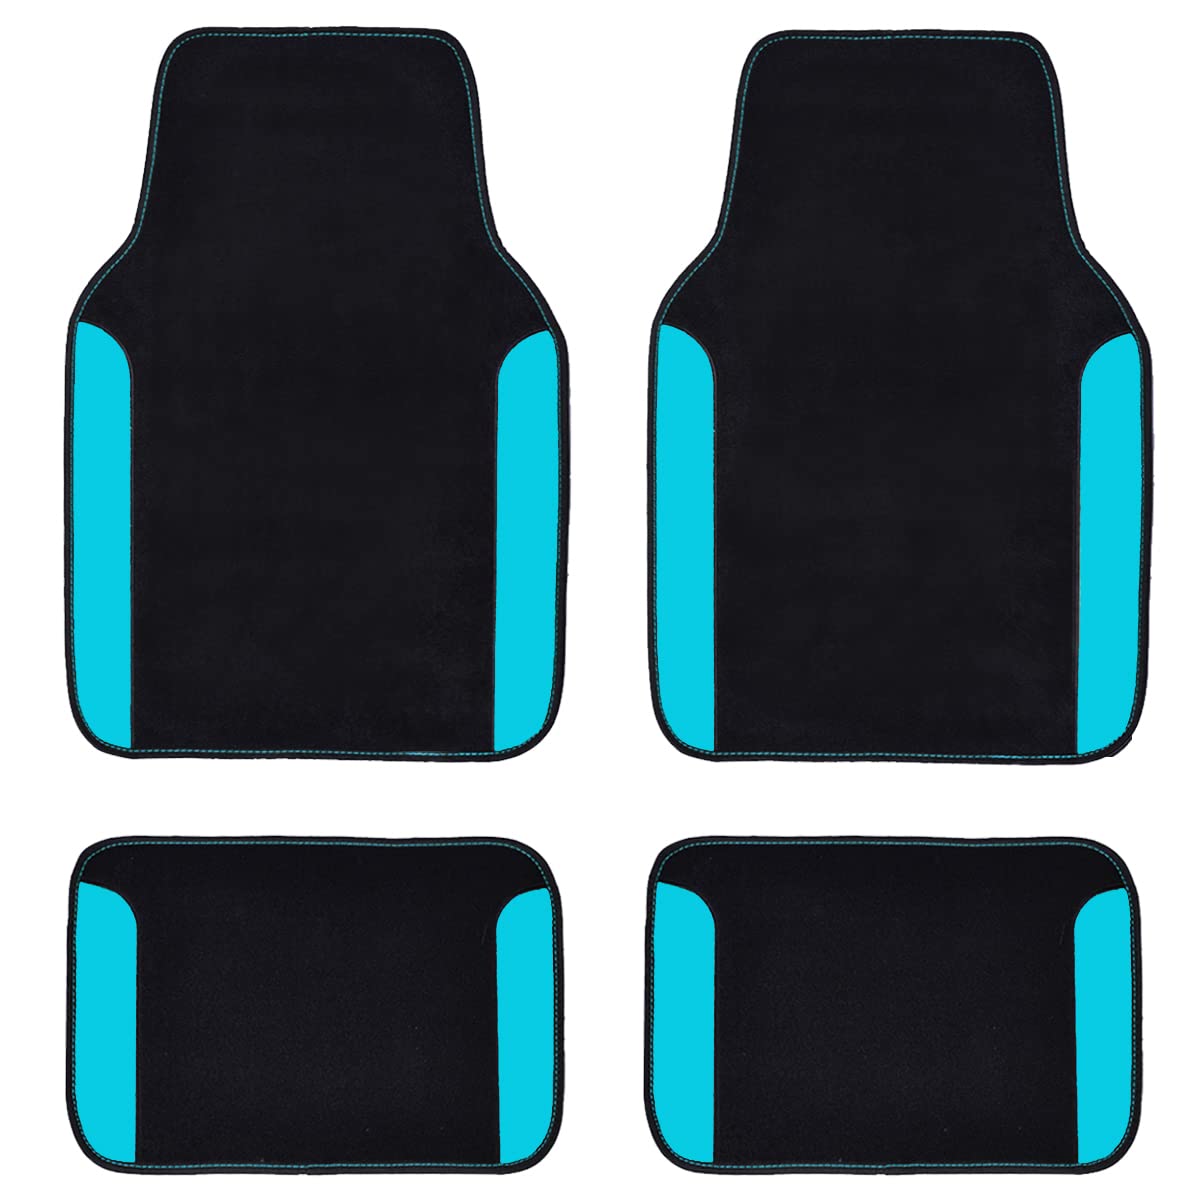
The front floor mats are the most crucial components, as they protect the areas most susceptible to wear and tear.
-
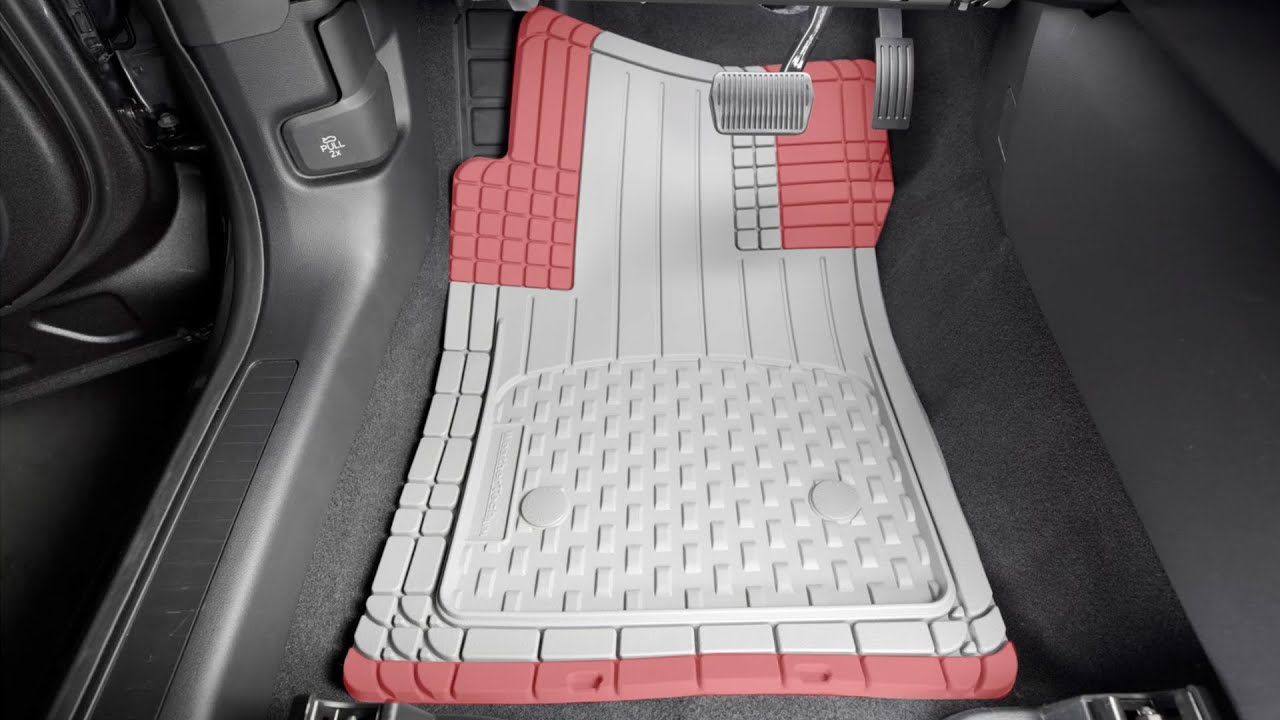
First, identify the driver’s side mat by locating the small notch or cutout that aligns with the steering column or pedals.
Next, align the mat with the floor anchors by placing it on the floor and ensuring it covers the entire floor area without obstructing any pedals or controls.
Then, secure the mat with the anchors by engaging them into the designated slots on the underside of the mat and pressing firmly to ensure a snug fit.
V. Positioning the Passenger Side Mat
The passenger side mat is generally easier to install, as there are fewer obstructions in this area.
- Repeat the process for the passenger side: Follow the same steps as for the driver’s side mat, ensuring proper alignment and secure attachment to the floor anchors. Check that the mat does not interfere with the passenger seat adjustments or any vents.
VI. Installing Rear Floor Mats
The rear floor mats may come in a set of two or three pieces, depending on the vehicle’s configuration.
-
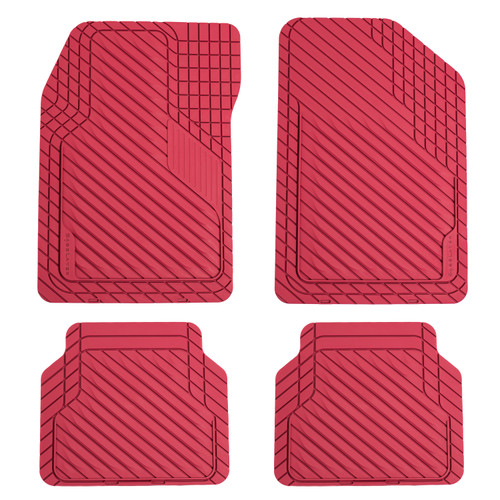
Identify the rear floor mats: Locate the rear floor mats, which may be larger and have a different shape compared to the front mats. Some rear mats may have notches or cutouts to accommodate seat tracks or folding mechanisms.
-
Firstly, position the rear mats by placing them on the floor, aligning them with the contours of the floor and any existing floor anchors. Ensure the mats cover the entire floor area and do not interfere with the rear seats or any storage compartments. Next, secure the rear mats by engaging the floor anchors or any fastening mechanisms to secure them in place. Then, press firmly on the mats to ensure they are securely fastened to the floor.
VII. Checking for Proper Fit and Adjustments
After installing all the car floor mats, it is crucial to check for proper fit and make any necessary adjustments.
-
Firstly, assess the fit of the front mats by ensuring they are properly aligned, do not obstruct pedals or controls, and fit snugly against the dashboard and center console. Check also that the mats do not interfere with the seat adjustments or any vents.
Next, evaluate the fit of the rear mats by checking that they are positioned correctly, do not interfere with seat adjustments or folding mechanisms, and fit securely against the rear seats and side panels. Ensure the mats do not obstruct any vents or access points.
Lastly, make any necessary adjustments to the mats as needed to ensure they are properly aligned, do not impede any vehicle functions, and provide optimal coverage. If the mats are not fitting properly, consult the owner’s manual for specific instructions or seek assistance from a qualified mechanic.
VIII. Additional Tips for Proper Installation
Here are some additional tips to ensure a smooth and successful installation of your car floor mats:
-
Consult the owner’s manual: Refer to your vehicle’s owner’s manual for specific instructions or recommendations related to floor mat installation. Some manufacturers may have unique layouts or fastening mechanisms for the floor mats.
-
Use a flashlight: Illuminate the floor anchors and attachment points with a flashlight to ensure proper alignment and secure installation. This is especially helpful for accessing areas under the dashboard or seats.
-
Clean the mats regularly: Maintain the appearance and functionality of your car floor mats by vacuuming and cleaning them regularly according to the manufacturer’s instructions. Spills and dirt can accumulate over time, reducing their effectiveness and potentially creating odors.
IX. Troubleshooting Common Installation Issues
Even with proper installation, you might encounter some minor issues. Here’s how to address a few common problems:
-
Loose or misaligned mats: Ensure the floor anchors are properly engaged and that the mats are correctly positioned according to the vehicle’s contours. If the mats are still loose, consult the owner’s manual for additional securing methods or consider using a double-sided carpet tape for added grip.
-
Interference with pedals or controls: Double-check that the mats do not obstruct the brake pedal, gas pedal, or any other essential controls. Even a slight obstruction can be a safety hazard, so ensure there’s ample clearance for smooth pedal operation.
-
Difficulty securing the mats: If you’re having trouble securing the mats using the existing floor anchors, you should consult the owner’s manual for specific instructions or alternative securing methods. Additionally, in rare cases, the floor anchors themselves might be faulty, and you might need to replace them with compatible ones.
X. Conclusion
By following the steps outlined in this guide and considering the additional tips, you can ensure that your car floor mats are properly installed, offering optimal protection and enhancing your overall driving experience.
Remember, a snug fit and proper positioning are crucial for functionality and safety.
Regularly cleaning your car floor mats will not only maintain their appearance but also prevent dirt and debris from accumulating, extending their lifespan.
With proper care and installation, your car floor mats will become a valuable asset in protecting your vehicle’s interior for years to come.
Leave a Reply