In the world of motorcycling, few experiences can be as disheartening as encountering a dead battery. Whether you’re miles from home or just around the corner, a sudden loss of electrical power can leave you stranded and unable to start your beloved bike. While calling for a tow truck might seem like the only option, there’s a simple and effective solution that can get you back on the road in no time: jumpstarting your motorcycle with a car battery.
Jumpstarting a motorcycle with a car is a common practice that allows you to utilize the power from a car battery to revive your motorcycle’s dead battery. This process involves connecting the two batteries using jumper cables, temporarily creating a circuit that transfers electrical energy from the car to the motorcycle. While it may seem like a straightforward procedure, it’s crucial to approach jumpstarting with caution and follow proper safety guidelines to prevent potential hazards and damage to the vehicles.
1. Introduction: Understanding the Need for Emergency Battery Boosting
A healthy battery is the lifeblood of a motorcycle, providing the essential electrical power to start the engine, power the lights, and operate various electrical components. However, even the most well-maintained batteries can experience unexpected failures, leaving motorcyclists stranded and unable to start their bikes. This can happen due to various factors, such as prolonged periods of non-use, extreme weather conditions, or even a simple electrical malfunction.
When faced with a dead motorcycle battery, calling for a tow truck might be the first thought that comes to mind. However, there’s a more cost-effective and often more convenient solution: jumpstarting your motorcycle using the battery of another vehicle, typically a car. Jumpstarting is a relatively simple process that involves connecting the two batteries with jumper cables, temporarily creating a circuit that transfers electrical energy from the car to the motorcycle. This surge of power can revive the dead motorcycle battery, allowing you to start your engine and get back on the road.
2. Safety Precautions for Jumpstarting a Motorcycle
While jumpstarting a motorcycle can be a lifesaver in a pinch, it’s essential to prioritize safety throughout the process. Improper jumpstarting procedures can lead to electrical hazards, potential damage to the vehicles, and even personal injury. Therefore, it’s crucial to follow these safety precautions before attempting to jumpstart your motorcycle:
-
Choose a Safe Work Area: Select a well-ventilated, flat, and dry area away from flammable materials or potential hazards, such as traffic or open flames. A level surface will help prevent the vehicles from rolling during the process.
-
Turn Off Engines: Ensure both the motorcycle and the car’s engines are turned off to prevent electrical sparks that could ignite flammable vapors or cause damage to the electrical systems.
-
Secure Parking: Apply the parking brakes on both vehicles to prevent them from rolling during the jumpstarting process, which could cause injury or damage.
-
Wear Protective Gear: To protect yourself from potential sparks or electrical shocks, wear safety glasses and gloves during the jumpstarting procedure.
3. Gathering the Necessary Tools and Equipment
Before embarking on the jumpstarting process, it’s essential to gather the necessary tools and equipment to ensure a smooth and safe operation. Having the right items on hand will prevent delays and potential complications.
-
Jumper Cables: The most crucial tool for jumpstarting is a set of jumper cables. These cables are specifically designed to safely transfer electrical current between batteries. Choose jumper cables with an amperage rating that is appropriate for both the motorcycle and the car.
-
Protective Gear: As mentioned earlier, safety glasses and gloves are essential to protect your eyes and hands from potential sparks or electrical shocks during the jumpstarting process.
-
Tools: Have a wrench or pliers handy in case you need to tighten or loosen battery terminals. These tools may be necessary if the terminals are corroded or difficult to access.
4. Locating the Battery Terminals
The next step involves identifying and locating the battery terminals on both the motorcycle and the car. These terminals are the points where the jumper cables will be connected to transfer electrical current.
-
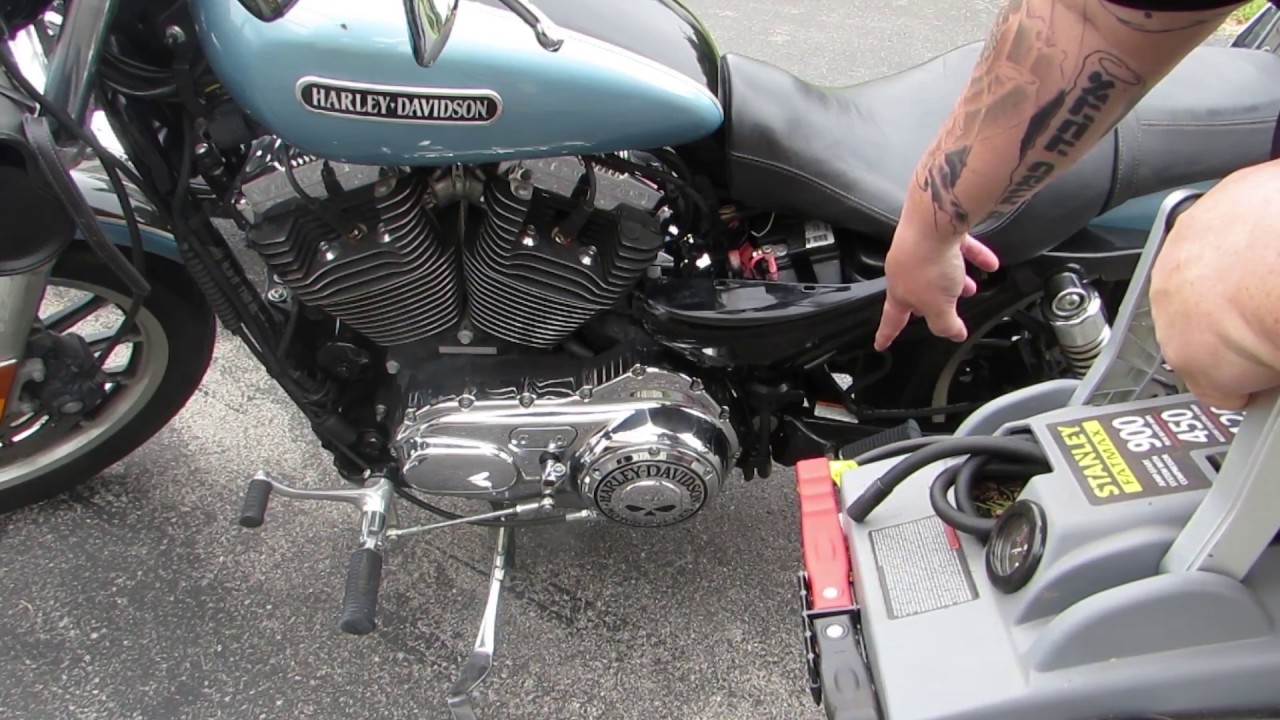
Motorcycle Battery: The motorcycle’s battery is typically located under the seat or in a compartment near the handlebars. Once you’ve identified the battery, locate the positive and negative terminals. The positive terminal is usually red, while the negative is black.
-
Car Battery: The car battery is typically located under the hood or in the engine compartment. Similarly, identify the positive and negative terminals, following the same color coding as the motorcycle battery.
-
5. Connecting the Jumper Cables with Care
Now that you’ve located the battery terminals, it’s time to connect the jumper cables, ensuring proper polarity to prevent electrical damage. Here’s a breakdown of the connection sequence:
-
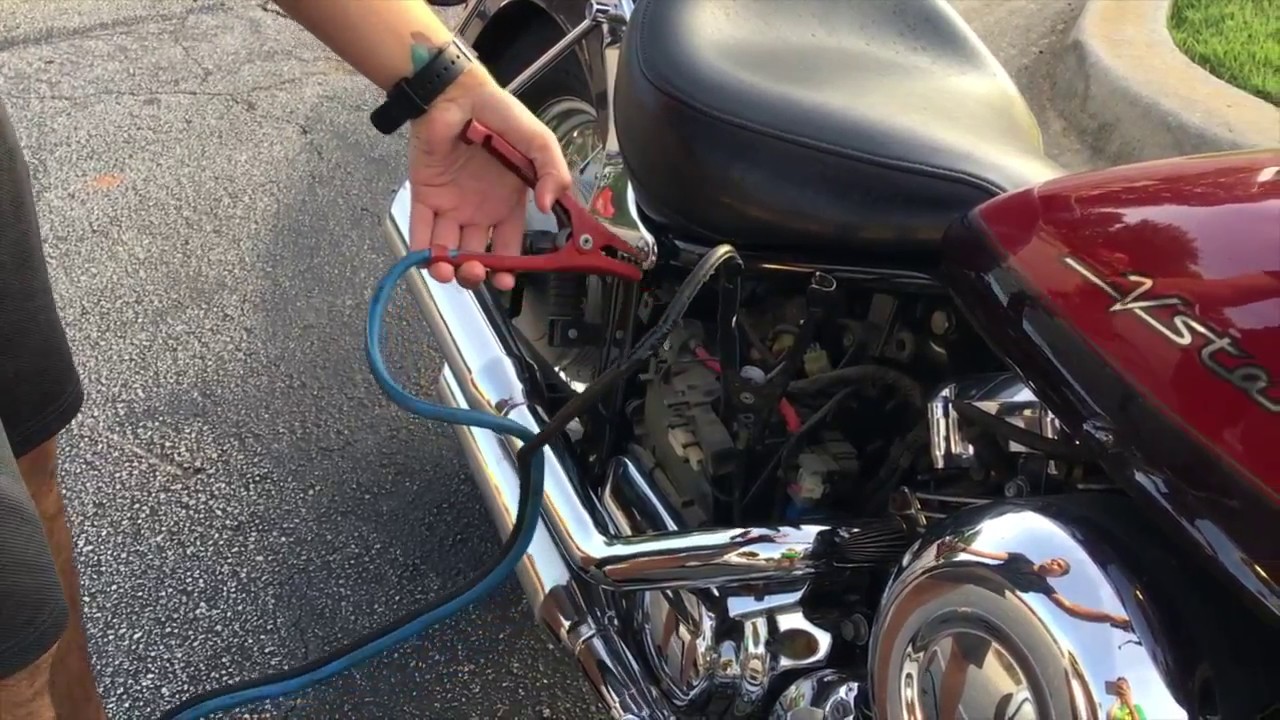
Positive Connection: Start by connecting the red jumper cable clamp to the positive terminal of the car battery. This terminal is usually marked with a “+” symbol or has a red cover. Then, connect the other end of the red clamp to the positive terminal of the motorcycle battery, following the same color coding.
-
Negative Connection: Next, connect the black jumper cable clamp to the negative terminal of the car battery, marked with a “-” symbol or a black cover. However, for the motorcycle, it’s crucial to connect the other end of the black clamp to a grounded metal part on the motorcycle frame, away from the battery itself. This is because connecting the black clamp directly to the motorcycle’s negative terminal can cause sparks and potential damage.
6. Starting the Car and Waiting to Charge
With the jumper cables securely connected, it’s time to start the car and allow its healthy battery to charge up the motorcycle’s dead battery. Here’s what to do:
-
Start the Car: Start the car’s engine and let it run for a few minutes. This allows the car’s alternator to replenish its battery and provide enough power for the jumpstart. Avoid revving the car’s engine excessively, as this can damage the motorcycle’s electrical system.
-
Monitor the Motorcycle: While the car is running, observe the motorcycle battery for signs of life. You might see the lights flickering brighter or the starter motor engaging when you try to start the motorcycle (without actually starting it yet). This indicates that the jumpstarting process is working.
7. Starting the Motorcycle and Disconnecting Carefully
Once you’ve allowed the car’s battery to charge the motorcycle battery for a few minutes, it’s time to attempt to start the motorcycle:
-
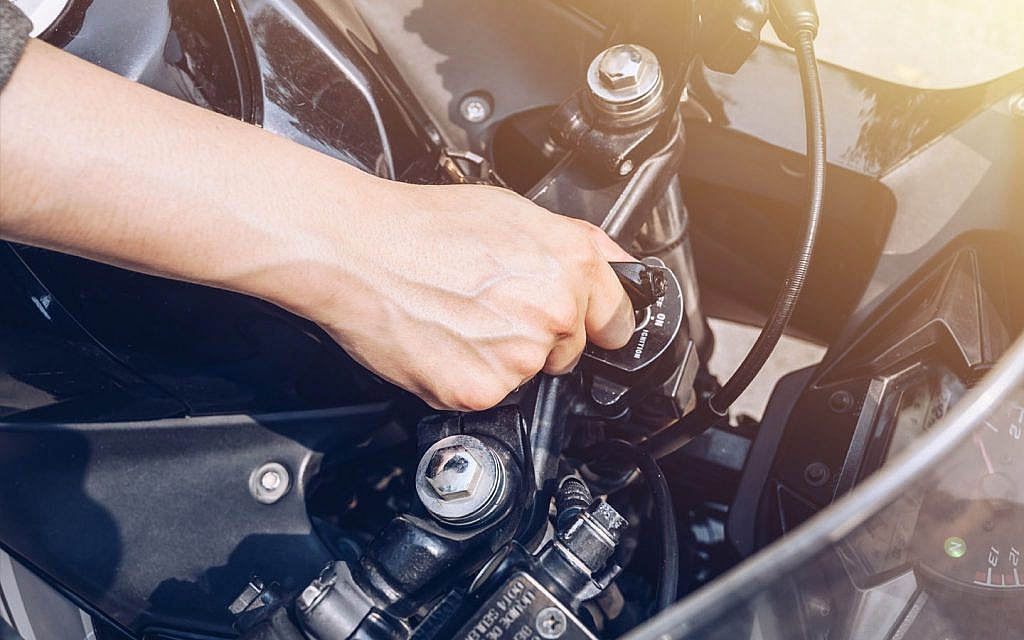
Start the Motorcycle: Turn the key on your motorcycle and attempt to start the engine. If the engine cranks successfully and starts, the jumpstarting process has been successful.
-
Remove Cables in Reverse Order: Once the motorcycle is running, it’s crucial to remove the jumper cables in the reverse order of connection. This is important to avoid sparks that could occur when disconnecting while the circuit is still live. Here’s the order for removal:
- Black clamp from the motorcycle frame
- Black clamp from the car battery
- Red clamp from the motorcycle battery
- Red clamp from the car battery
8. Letting the Motorcycle Run and Monitoring Battery Health
Now that your motorcycle is running, it’s important to allow it to run for a minimum of 15-20 minutes. This allows the alternator to recharge the motorcycle battery further and ensure it has enough power to function properly.
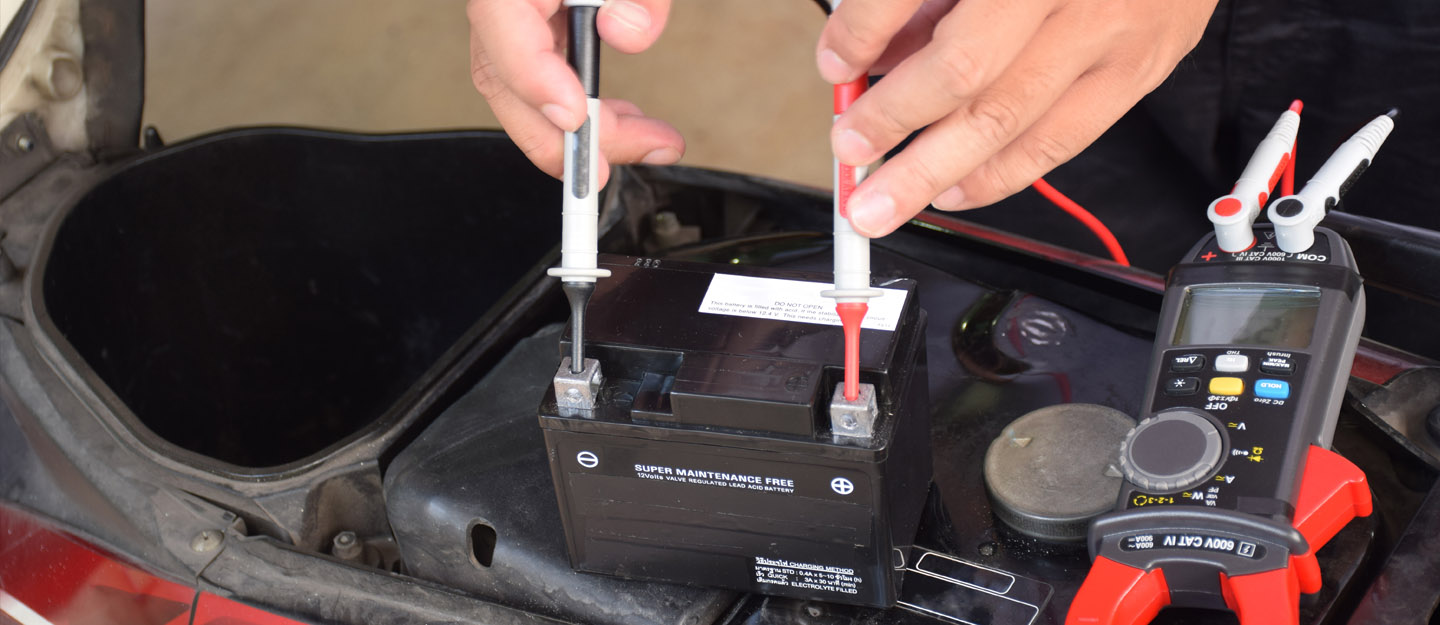
- Monitoring Battery Voltage: If you have a voltmeter, it’s helpful to check the motorcycle’s battery voltage after it has been running for some time. A healthy battery should read around 12.5 volts or higher. If the voltage is significantly lower, it might indicate a damaged battery that may require replacement.
9. Troubleshooting Jumpstarting Issues
In some cases, the jumpstarting process might not be successful on the first attempt. Here are some common troubleshooting tips:
-
Loose Connections: Double-check all jumper cable connections to ensure they are tight and securely fastened to the battery terminals. Loose connections can prevent proper current flow.
-
Damaged Cables: Inspect the jumper cables for any signs of damage, such as frayed wires or cracked insulation. Damaged cables can pose a safety hazard and hinder the jumpstarting process. Replace damaged cables immediately.
-
Faulty Battery: If the motorcycle fails to start even after jumpstarting, the battery itself might be beyond revival. A battery that is severely discharged, sulfated, or has internal damage may not hold a charge even after jumpstarting. Consider having the battery tested or replaced.
10. Preventing Future Battery Issues
To minimize the need for future jumpstarts, it’s essential to take preventative measures to ensure your motorcycle battery’s health:
-
Regular Maintenance: Regularly check the motorcycle battery’s condition, including its voltage, terminal cleanliness, and electrolyte levels (if applicable). Cleaning the battery terminals and keeping them free of corrosion can improve electrical connection.
-
Winter Storage: If you plan on storing your motorcycle for an extended period during winter, consider using a battery tender or trickle charger. These devices connect to the battery and provide a small, continuous charge to prevent it from losing its charge entirely.
-
Leave a Reply