Communication is the key to safety on the road. Drivers rely on lights to show their intent. However, technology can sometimes fail. Blinkers might break or become obscured by sunlight. In these critical moments, you need a backup plan. This is where driving arm signals become essential. Every driver must know these basic gestures. They are a universal language on the highway. This guide will teach you the specific movements for driving arm signals for turning. We will explain exactly how to use driving arm signals to convey your message clearly. Understanding the driving arm signals meaning prevents accidents and confusion. We will also discuss the differences between driving arm signals vs turn signals. Finally, we will show how these rules apply to driving arm signals for cyclists and drivers alike. Mastering these signals ensures you stay safe in any situation.
The Critical Importance of Hand Signals
Modern vehicles have advanced lighting systems. We trust our blinkers to do the work for us. Yet, mechanical failures happen without warning. A fuse might blow. A bulb might burn out. Suddenly, you have no way to signal a turn. This creates a dangerous situation for everyone. You must alert other drivers to your intentions. Hand signals serve as the ultimate backup. They bridge the communication gap when electronics fail. Consequently, knowing them is a matter of life and death. You cannot afford to be silent on a busy road.
Furthermore, bright sunlight can hide your turn signals. Low sun angles make blinkers hard to see. Other drivers might miss your electric light. An arm movement is highly visible. It contrasts against the sky or the car body. Therefore, it grabs attention instantly. This visual cue is unmistakable. It tells others that you are about to change direction. Traffic safety relies on predictability. If you are unpredictable, you are dangerous. Hand signals restore that predictability. They make your moves clear to everyone watching.
These signals are also vital for learner drivers. The driving test evaluates your knowledge of the road. Examiners often ask students to demonstrate hand signals. If you do not know them, you will fail the test. This knowledge is a mandatory requirement. It proves you are a complete driver. You are ready for any mechanical emergency. Therefore, studying these gestures is essential for passing your exam. Do not overlook this part of your training. It is just as important as parallel parking or highway merging.
The Standard Left Turn Signal
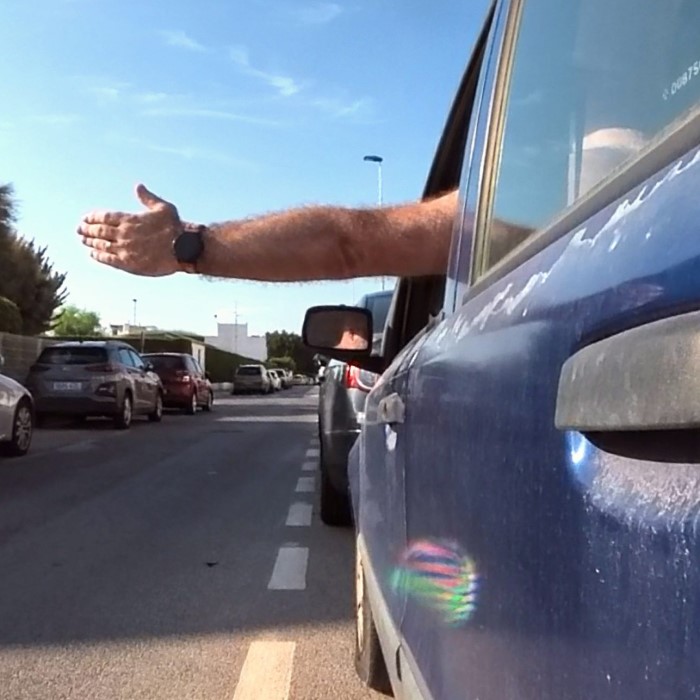
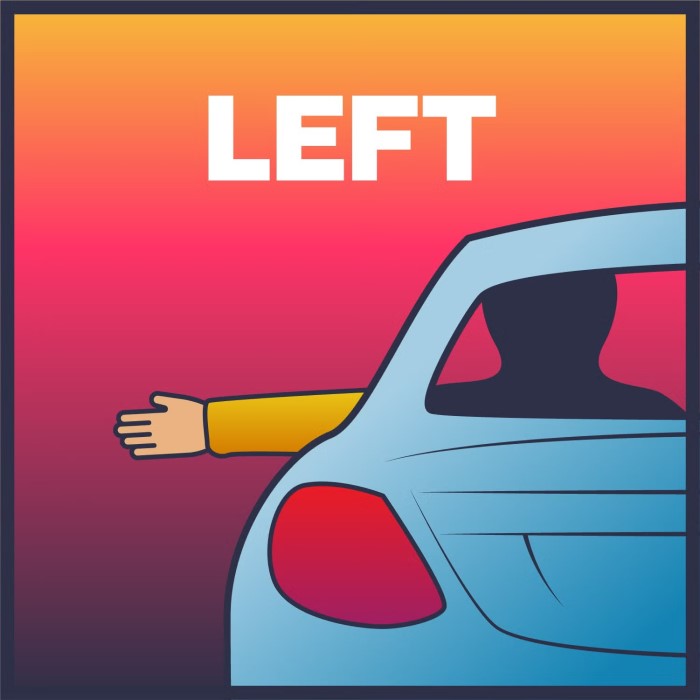
The left turn signal is the most intuitive gesture. It is easy to learn and perform. To signal a left turn, you extend your left arm. Keep the arm fully straight out the window. Your hand should be open. Point your fingers forward. This motion mimics the direction you intend to go. It clearly indicates a move to the left side. Make sure your arm is fully visible. Do not tuck it inside the window frame. You want it to be seen from behind and the front.
This signal is universally recognized. Drivers behind you will see the arm pointing left. They will understand you plan to merge or turn. Drivers in front can also see it through your windshield. This provides a 360-degree warning. It is crucial to hold the signal long enough. Do not just flash your arm once. Keep it extended for at least 100 feet before the turn. This gives others time to react. They can slow down or adjust their position. Rushing the signal causes accidents.
Consistency is key when performing this move. Check your mirrors before extending your arm. You do not want to hit a passing cyclist or pole. The action must be smooth and deliberate. Jerky movements confuse people. They might think you are waving or stretching. A steady, straight arm conveys authority. It commands attention on the road. Practice this signal in a safe area. Get comfortable with the motion. It should feel natural. Once mastered, it becomes a reflex when your lights fail.
The Standard Right Turn Signal
The right turn signal is slightly more complex. You cannot easily reach the right window with your right arm. The car door blocks your movement. Therefore, the law requires a different method. You use your left arm for this signal too. Extend your left arm out the window. Bend your elbow upward at a 90-degree angle. Point your hand towards the sky. Your fingers should point up. This L-shape indicates a turn to the right. It is an established standard across North America.
Many new drivers find this signal confusing. They might think the upward hand means “stop.” However, the stop signal is different. The upward bent arm specifically means “right turn.” You must memorize the difference. Imagine your hand is pointing to the right sky. This mental image helps you remember. Visual cues are powerful learning tools. The shape of the arm mimics the direction of the turn. It is a logical system once you understand it. Do not extend your hand forward. That would look like a left turn. The upward bend is the crucial detail.

Visibility is just as important here. Make sure your hand rises above the window line. A low hand might be hidden by the car body. Lift your arm high so drivers see it. Hold the position steady as you approach the turn. Again, signal for at least 100 feet. This early warning is vital for safety. Drivers behind you need to know you are slowing down. They need to know you are moving right. This prevents rear-end collisions. Practice the angle of your elbow. It should be a sharp, distinct corner. A curved arm looks like a wave. A sharp corner looks like a signal.
The Standard Stop or Slow Down Signal
The stop signal is the most critical safety gesture. It tells traffic that you are halting. This prevents cars from crashing into your rear. To signal a stop, extend your left arm. Bend your elbow downward. Your hand should point towards the ground. The palm often faces the driver behind you. This creates a flat surface. It visually communicates “halt.” It is similar to a traffic officer’s gesture. The downward angle is distinct from the right turn signal. The right turn points up. The stop signal points down.
Use this signal when your brake lights fail. Brake lights are red and bright. But if they malfunction, you are invisible at night. A hand signal warns approaching cars. It is also useful when driving in groups. For example, a convoy of cars might use hand signals. It adds a human element to the communication. The lead driver can signal a stop for the whole group. This ensures everyone stops together. It maintains order in the line of vehicles.
You must hold this signal until you stop. Keep the arm visible while braking. Do not pull it in until the car is stationary. This gives continuous warning. Drivers need to see the signal as they approach. It helps them gauge their own braking distance. If you hide your arm too early, they might think you changed your mind. Consistency saves lives. Keep the hand down until the wheels stop rolling. Then, you can safely withdraw your arm. This signal is also used to signal slowing down. It is a versatile tool for speed management.
When to Use Hand Signals on the Road
Electronic signals are the primary method. You should use them for almost all normal driving. Hand signals are for specific exceptions. The most common exception is equipment failure. If a fuse blows, you must switch to manual signaling. Do not drive without signaling. That is illegal and reckless. Immediately adopt the hand signals for your turns. Drive to a mechanic or a safe stop. Do not continue a long trip with broken lights. Get the system repaired as soon as possible.
Another scenario is bright sunlight. Midday sun can wash out tail lights. The orange glow of a blinker disappears. In these conditions, supplement your lights. Use the hand signal along with the blinker. This double warning ensures visibility. It removes any doubt about your intent. Safety experts recommend this practice in rural areas. Long stretches of open road often have intense sun. Do not rely solely on technology. Add the human touch for maximum safety.
Driving tests are the third major scenario. The examiner will ask you to demonstrate the signals. You must perform them flawlessly. This is a graded portion of the exam. Failure here leads to a failed test. Study the motions before your appointment. Practice with a friend or instructor. Drill the left, right, and stop signals. Make them part of your muscle memory. You will feel confident during the test. You can answer the request without hesitation. This confidence impresses the examiner. It shows you are prepared for the road.
Driving Arm Signals vs Turn Signals
There is a distinct difference between these two methods. Electronic signals are automated and consistent. They flash at a set rhythm. This rhythm is easily recognized by other drivers. It requires no physical effort from the driver. You simply flip a switch. The car does the rest. This convenience makes them the standard. They are reliable in most weather conditions. Rain and fog do not stop them from working. Therefore, they are the preferred choice for daily driving.
However, driving arm signals vs turn signals have a visibility advantage. A human arm is larger than a small light bulb. It moves in a physical space. This movement catches the eye more effectively. A flashing light can blend into background noise. City streets have many flashing lights. Store signs and traffic lights create visual clutter. An arm sticking out a window breaks that pattern. It is unique. It signals a human presence. This helps in high-traffic urban environments.
The drawback of arm signals is risk. Extending your arm exposes it to danger. A passing car could strike it. A cyclist could clip your hand. This is a real hazard on narrow streets. You must check your mirrors before signaling. Ensure the lane is clear. Electronic signals remove this physical risk. They keep you safely inside the vehicle. Therefore, use hand signals only when necessary. Do not use them just for fun. Treat them as a safety tool, not a style. Weigh the risks and benefits every time.
Hand Signals for Cyclists and Drivers
Cyclists rely entirely on hand signals. They do not have electric blinkers. Their safety depends on their arms. Therefore, drivers must understand cyclist signals. A cyclist will extend their left arm for a left turn. This is the same as a car driver. However, cyclists have an alternative for right turns. Some cyclists extend their right arm straight out. This is more intuitive for them. It points directly to the destination. Some regions allow this alternative. Others require the bent left arm.
Drivers must watch for both variations. If a cyclist points right with their right arm, respect it. They are indicating a lane change or turn. Give them space to maneuver. Do not speed past them. The cyclist is vulnerable. Their arm is their only defense. Acknowledging their signal builds trust. It shares the road responsibly. This harmony reduces accidents. It creates a safer environment for everyone.
Cyclists also use the stop signal. They bend the left arm down. This warns drivers behind them. Drivers must react to this. Slow down and allow the cyclist to brake. Do not honk or crowd them. The driving arm signals for cyclists and drivers create a shared language. We all use the same basic gestures. This common ground is vital for traffic flow. Learn the cyclist variations. It improves your awareness as a driver. You become a more complete road user. You anticipate movements better. This anticipation is the mark of a skilled driver.
Frequently Asked Questions
What are the different arm signals when driving?
There are three standard signals. The first is a straight left arm for a left turn. The second is a bent left arm upward for a right turn. The third is a bent left arm downward for a stop or slowing down. These are the universal codes.
How do drivers say “sorry”?
Drivers often use an apologetic wave. They raise their hand slightly. They might make a brief waving motion. This is not an official signal. It is a social gesture.
What are the three 3-hand signals?
The three official signals are Left Turn, Right Turn, and Stop/Slow. Left Turn is the arm straight out. Right Turn is the arm bent up. Stop is the arm bent down. You must know these for your driving test. They are mandated by traffic laws.
How to 100% pass your driving test?
You need thorough preparation. Study the driver’s handbook. Practice driving in various conditions. Master the parking maneuvers. Specifically, practice the hand signals. Ensure your vehicle is safe and clean. Stay calm during the exam. Listen to the examiner’s instructions precisely. Confidence and practice are the keys to success.
Conclusion
The road is a shared space. We must communicate to stay safe. Electronic lights are our main tools. But they are not our only tools. Driving arm signals are the timeless backup. They work when technology fails. They work when the sun blinds the sensors. We have explored the motions for driving arm signals for turning. You now know how to use driving arm signals correctly. We clarified the driving arm signals meaning for every driver. The distinction between driving arm signals vs turn signals is now clear. We also highlighted the link between driving arm signals for cyclists and drivers. Keep these rules in mind. Practice the gestures. Stay visible. Stay predictable. By mastering these signals, you ensure safety for yourself and others. Drive smart and signal clearly.
Leave a Reply