Introduction
A tire tube is a rubber, air-filled ring that sits inside a tire. It holds the air pressure. Without it, many wheels would not work. Whether you ride a bicycle or a motorcycle, you need a tire tube that fits. Many riders ask about bike tire tube size to get the right match. Others carry a tire tube repair kit for emergencies. Understanding inner tube types helps you choose well. Learning how to install tire tube saves you money. And finding the best tire tube for cycling improves your ride. In this article, we cover common issues, solutions, and tips. We also explain the differences between tube and tubeless tires. Let’s start.
What Is a Tire Tube and How Does It Work?
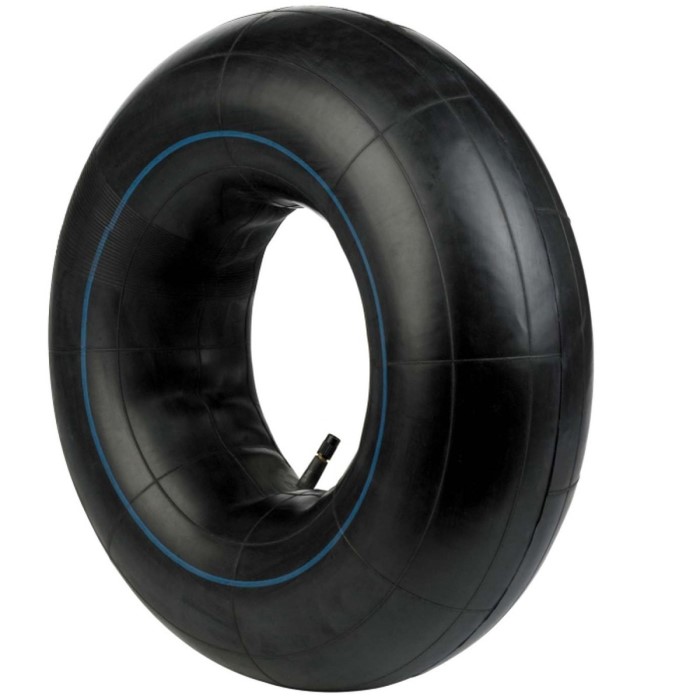
A tire tube is a closed rubber loop. It goes inside the tire casing. You inflate it through a valve stem. The tube expands. It presses against the tire walls. This gives the tire its shape and cushion. The tube loses air slowly over time. That is normal. But punctures cause sudden flats. A inner tube can be made of butyl rubber or latex. Butyl is common. It holds air well. Latex is lighter. It rolls easier. But it loses air faster. Many cyclists choose latex for racing. The best inner tube for cycling depends on your riding style. For city riding, butyl is fine. For long tours, consider puncture-resistant tubes. They have extra rubber. They weigh more but last longer.
Common Tire Tube Issues and Their Causes
Flats are the most common problem. Sharp objects poke through the tire. They puncture the tube. Another issue is pinch flats. This happens when you hit a curb or pothole. The tube gets squeezed between the tire and rim. It tears. Valve stem failure is another issue. The stem can tear or leak. Old tubes dry out and crack. Heat also damages tubes. A inner tube repair kit can fix small punctures. But large tears need a new tube. Some riders get repeated flats. That may mean a problem with the tire or rim. Check for sharp bits inside the tire. Also, check the rim tape. It protects the tube from spoke holes. If the tape is damaged, the tube rubs against metal. That causes holes. So, inspect your wheel regularly.
Understanding Bike Tire Tube Size
Bike tire tube size is critical. A tube must match your tire diameter and width. For example, a 26-inch tire needs a 26-inch tube. The width must also fit. A tube for a 1.5-inch tire may not work for a 2.5-inch tire. Most tubes list a range, like 26 x 1.75–2.125. That means it fits tires within that width. Always check the sidewall of your tire. It shows the size. If you use the wrong size, the tube may bulge or fold. That leads to flats. The best inner tube for cycling is size-specific. Also, note the valve type. Schrader valves are common on mountain bikes. Presta valves are on road bikes. Some pumps work with both. But adapters may help.
Tire Tube Types – Which One Should You Choose?
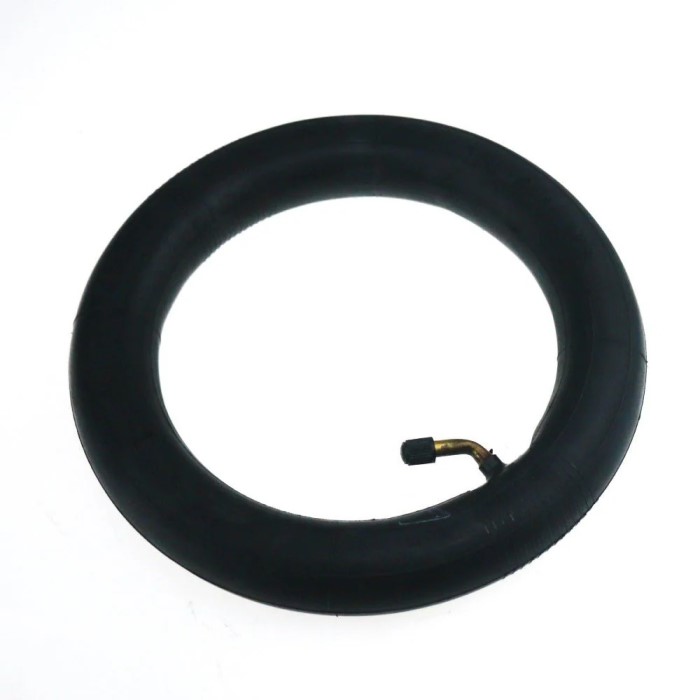
Tire tube types vary by material and design. Butyl rubber is standard. It is cheap and holds air well. Latex tubes are lighter. They reduce rolling resistance. But they need daily inflation. Some tubes have a self-sealing layer. They use a sticky liquid inside. It seals small punctures instantly. These are great for touring. Another type is the thorn-resistant tube. It is thicker. It works well in desert areas. For motorcycles, tubes are usually heavy-duty. They use thicker rubber. For bicycles, you can also find TPU tubes. They are very light and small. They pack easily. The best inner tube for cycling depends on your terrain.
How to Install Tire Tube – Step-by-Step Guide
Preparation:
-
- Learning how to install a inner tube is straightforward, especially with some practice.
- Gather all necessary tools and materials including tire levers, a new inner tube, and a pump.
Remove the Wheel:
-
- Begin by safely removing the wheel from the bike.
- Depending on your bike type, you may need to loosen quick-release levers or unscrew nuts.
Deflate the Tire:
-
- Completely deflate the tire to make the removal process easier.
- Press down on the valve stem to release all air from the tire.
Lift the Tire Off the Rim:
-
- Use tire levers to carefully pry one side of the tire off the rim.
- Insert one lever under the tire bead and hook it onto a spoke. Use a second lever to gain more leverage if needed.
Remove the Old Tube:
-
- Once one side of the tire is off, gently pull out the old tube from inside the tire.
- Be careful to avoid damaging the tire itself during this process.
Check for Debris:
-
- Inspect the inside of the tire for any debris or foreign objects.
- Remove any sharp objects that could potentially puncture the new tube.
Prepare the New Tube:
-
- Inflate the new tube slightly—just enough to give it shape without fully inflating it.
- This step helps to prevent it from pinching when you install it.
Insert the Valve Stem:
-
- Insert the valve stem of the new tube through the rim hole.
- Ensure it is positioned correctly so that it isn’t forced or bent.
Tuck the Tube into the Tire:
-
- Carefully tuck the new tube into the tire, working your way around the rim.
- Take extra care not to pinch the tube between the tire and the rim during this step.
Place the Tire Back on the Rim:
-
- Use tire levers to help push the bead of the tire back onto the rim.
- Ensure the tube is safely tucked inside as you work around the tire.
Inflate the Tire:
-
- Slowly begin to inflate the tire using your pump.
- Stop once you reach the recommended air pressure specified on the tire’s sidewall.
Check Tube Position:
-
- After inflating, confirm that the tube is not twisted or pinched by inspecting around the rim.
- Give the tire a gentle squeeze to ensure proper positioning.
Spin the Wheel:
-
- Spin the wheel to check for trueness; it should spin evenly without wobbling.
- This step ensures that the tire is properly seated and balanced on the rim.
Repairing Small Holes:
-
- If you encounter small holes in the old tube during inspection, consider using a inner tube repair kit.
- However, keep in mind that installing a new tube is often quicker and more efficient.
Carry Spare Parts:
-
- Many cyclists opt to carry a spare tube and a portable pump on their rides.
- This preparation ensures that you can quickly fix any flat tires and get back on the road.
The Difference Between Tube and Tubeless Tires
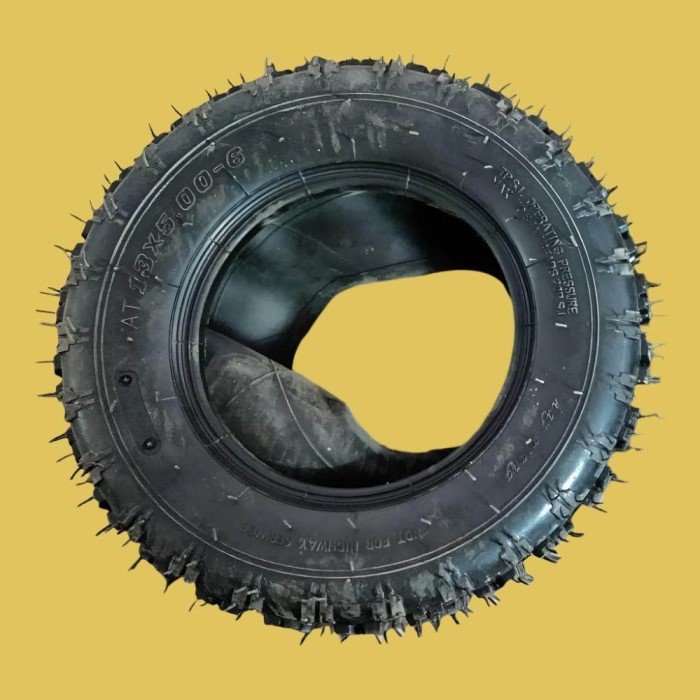
This is a common question. A tube tire uses a separate rubber inner tube. A tubeless tire seals directly to the rim. No tube is inside. Tubeless tires use a liquid sealant. They resist punctures better. They also allow lower air pressure. This gives better grip. But they are harder to install. They may also need special rims. A inner tube system is simpler. You can fix flats with a patch. Tubeless tires sometimes need a sealant refill. For road bikes, many riders still prefer tubes. They are lighter and cheaper. For mountain bikes, tubeless is popular. It prevents pinch flats. The best inner tube for cycling is still a personal choice. If you want simplicity, use tubes. If you want performance, consider tubeless.
Frequently Asked Questions
What is the tube on a tire called?
It is called a tire tube or inner tube. It is a rubber ring that holds air inside the tire.
What is a tube tyre?
A tube tyre is a tire that uses an inner tube to hold air. The tire itself is just a casing.
What’s better, tube or tubeless tires?
It depends. Tubeless tires resist punctures better. Tube tires are easier to repair. For casual riding, tubes are fine. For serious off-road, tubeless is better.
What’s the difference between a tube and a tire?
The tube is the air container. The tire is the outer rubber that contacts the road. The tire provides grip. The tube provides air holding.
Tire Tube Repair Kit Essentials
A tire tube repair kit usually includes patches, glue, and a rasp. Some kits also have tire levers. To repair a puncture, first locate the hole. Mark it. Then, rough the surface with the rasp. Apply glue. Wait a minute. Place the patch. Press firmly. Wait 10 minutes before inflating. Some kits use self-adhesive patches. They work well for small holes. But they may not last as long. For the best inner tube for cycling, consider carrying a small repair kit. It saves you from walking home. Many kits cost less than $10. They fit in a seat bag. Practice at home before you need it on the road.
Final Thoughts
A tire tube is a simple part. But it keeps you moving. Check your tire pressure weekly. Inspect the tube when you change tires. Replace old tubes before they crack. Learn how to install inner tube to avoid shop fees. Know your bike tire tube size before buying. Carry a inner tube repair kit for emergencies. Understand inner tube types to pick the best one. Choose the best tire tube for cycling for your needs. With the right tube, your ride is smooth. Flats happen less often. You enjoy the journey more. So, take care of your tube. It takes care of you.
Leave a Reply