Understanding the Importance
Your Honda’s braking system relies on a simple but vital component: the brake pads. These pads create friction against the rotors to stop your car. Over time, they wear down. Then you need to find the best honda brake pads for your model.
First, let’s explore why quality matters. Good brake pads ensure short stopping distances. They also reduce noise and vibration. Many drivers ignore this part until they hear a squeal. But honda brake pads replacement should happen on schedule. Ignoring worn pads damages rotors. That costs more money.
So how do you choose? Honda brake pads reviews provide real-world experiences. You can learn which brands last longer. Honda brake pads installation is a common DIY job. However, some people prefer a mechanic. Honda brake pads noise issues are also important. Squeaking or grinding can indicate poor material or installation errors.
In this article, we cover everything. We discuss cost, brands, lifespan, and signs of wear. We also answer common questions. By the end, you will know how to upgrade your ride safely.
How Much Do Honda Brake Pads Cost?
Price is a top concern for most owners. Honda brake pads vary in cost based on material and brand. Let’s break it down.
Standard Semi-Metallic Pads
These are the most affordable. They cost between 30 60 per axle set. They work well for daily driving. However, they produce more dust and noise.
Ceramic Brake Pads
Ceramic pads are quieter and produce less dust. Prices range from 50 120 per axle. They offer better performance. Many Honda owners prefer them.
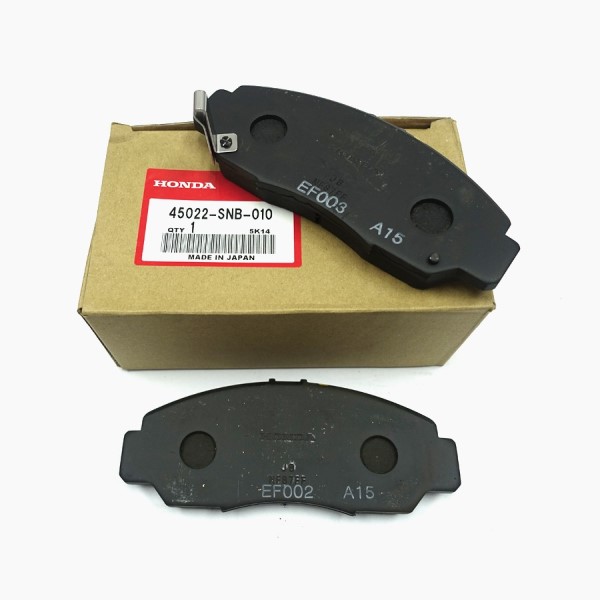
OEM Honda Brake Pads
Original equipment pads are made by Honda. They cost 80 150 per axle. You get perfect fitment and tested quality. Many owners choose OEM for peace of mind.
High-Performance Pads
For sporty driving, performance pads can cost 150 300 per axle. They handle high heat. But they may squeal in normal use.
Labor Costs
If you pay a shop, installation adds 80 150 per axle. DIY saves that money. Honda brake pads installation is straightforward.
Total Estimate
For a typical Honda Civic or Accord, expect 100 250 per axle for parts and labor. Luxury models like the Pilot or Odyssey may cost more.
Always compare honda brake pads reviews before buying. Some cheap pads wear out quickly. Invest in quality for safety.
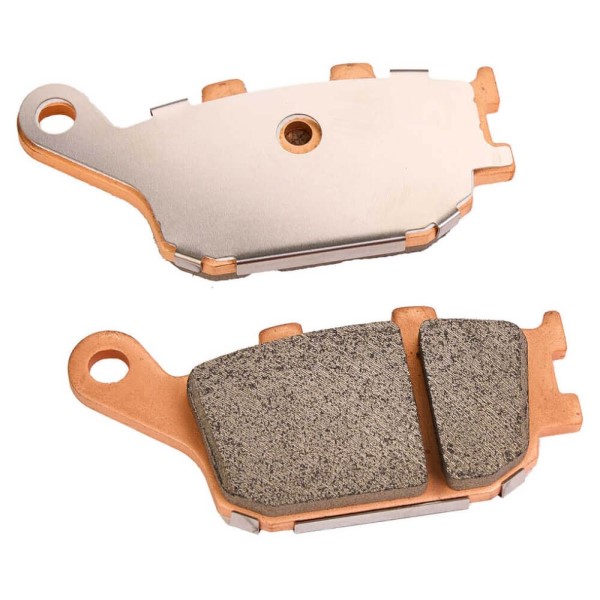
What Brand of Brake Pads Does Honda Use?
Honda does not manufacture its own brake pads. Instead, they source them from suppliers. Two main brands supply OEM parts.
Akebono
Akebono is a Japanese company. Honda uses their ceramic pads on many models. Akebono pads are known for low dust and quiet operation. You can buy them directly as aftermarket.
Bosch
Bosch also supplies Honda with some semi-metallic pads. They are a trusted name. Many mechanics recommend Bosch for reliability.
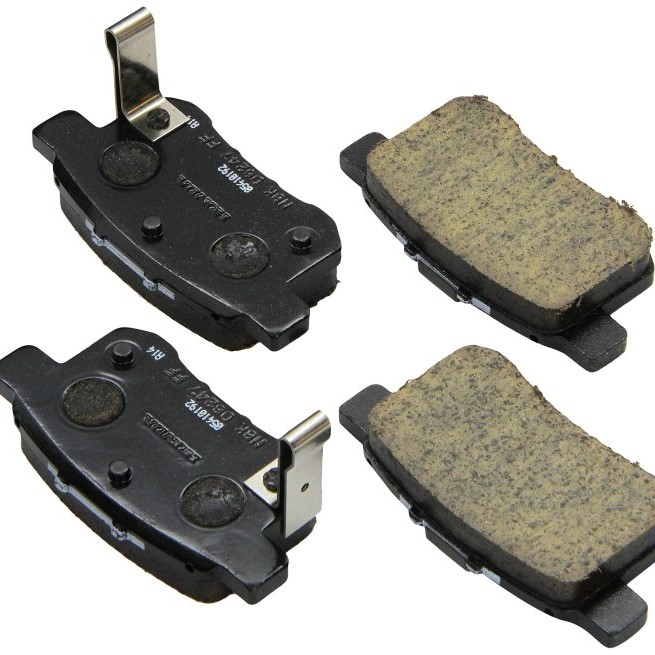
OEM vs Aftermarket
Genuine Honda pads come in a box with the Honda logo. They are made by these suppliers. Aftermarket versions from the same brand often have identical materials. However, fitment may differ slightly.
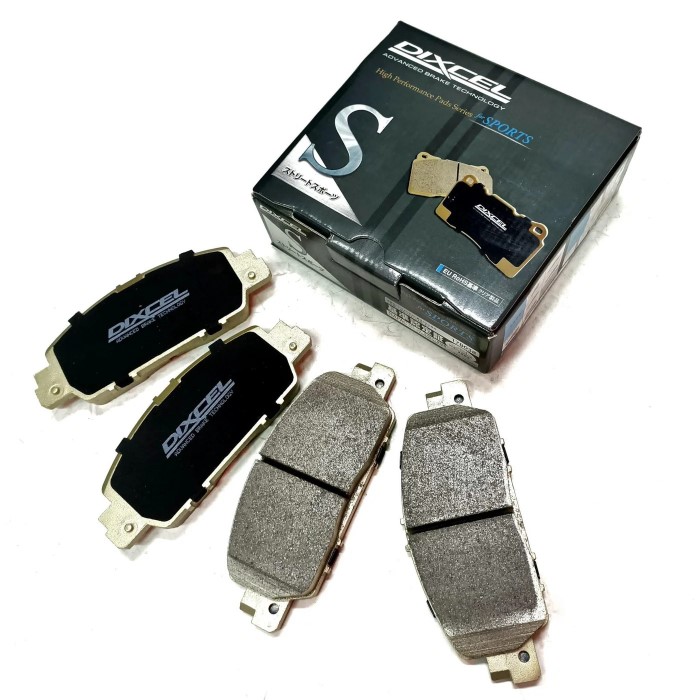
Popular Aftermarket Brands
Many Honda owners choose brands like Power Stop, EBC, and Wagner. These offer good performance at lower prices. Check honda brake pads reviews for each brand.
What Should You Choose?
For daily driving, OEM or premium aftermarket pads work well. For towing or racing, consider high-performance options. Always match the pad to your driving style.
Knowing the brand helps you find the best honda brake pads for your car.
How Long Are Brake Pads Good for Honda?
Brake pad lifespan depends on driving habits and pad material. On average, Honda brake pads last between 30,000 and 70,000 miles.
Factors That Affect Lifespan
- Driving Conditions: City driving wears pads faster than highway driving. Frequent stops increase friction.
- Pad Material: Ceramic pads often last longer than semi-metallic.
- Vehicle Weight: Heavier vehicles like the Pilot put more stress on pads.
- Driving Style: Aggressive braking shortens pad life.
When to Replace
Inspect pads every 10,000 miles. Look at the friction material thickness. If it is less than 3mm, replace them. Some pads have a wear indicator that squeals when thin.
Honda Recommended Intervals
Honda suggests checking brake pads at every oil change. Many models require replacement every 40,000 to 60,000 miles. Follow your owner’s manual.
Signs You Need Replacement Soon
You hear a grinding noise. The brake pedal feels soft or vibrates. The car takes longer to stop. Do not wait until the metal backing plate hits the rotor. That causes expensive damage.
Regular honda brake pads replacement prevents bigger issues.
What Are Signs of Worn Brake Pads?
Recognizing worn pads early saves money. Here are the most common signs.
Squealing or Squeaking Noise
Many pads have a built-in wear indicator. It is a small metal tab that rubs against the rotor when the pad is thin. This creates a high-pitched noise.
Grinding Sound
If you hear a grinding sound, the pad is completely worn. Metal is now rubbing on metal. This damages the rotor. Stop driving immediately.
Vibration in Brake Pedal
Warped pads or uneven wear can cause the pedal to pulsate. This indicates the pad surface is not even.
Longer Stopping Distance
Your car takes more time to stop. That means the pads have lost friction material.
Visual Inspection
Look through the wheel spokes. You should see the pad thickness. If it is less than a quarter inch, replace them.
Dashboard Warning Light
Some newer Honda have a brake pad wear sensor. The warning light will illuminate when pads are low.
Pulling to One Side
If the car pulls left or right when braking, one pad may be more worn than the other.
All these signs mean you need honda brake pads replacement. Do not ignore them.
How to Choose the Best Brake Pads
Now you know the basics. But how do you pick the best honda brake pads for your car? Follow this guide.
Step 1: Determine Your Driving Needs
Do you drive mainly in the city? Then ceramic pads are great. Do you tow or drive in mountains? Consider semi-metallic for heat resistance.
Step 2: Read Honda Brake Pads Reviews
Look for reviews from other Honda owners. Focus on noise, dust, and durability.
Step 3: Check Compatibility
Make sure the pads fit your exact model year. Sites like Amazon or RockAuto show compatibility.
Step 4: Decide on OEM vs Aftermarket
OEM pads are reliable but cost more. Aftermarket pads offer value. Choose based on your budget.
Step 5: Consider Noise Issues
Some pads produce more noise. Look for pads labeled “quiet” or “ceramic” if noise bothers you. Honda brake pads noise issues are often solved by ceramic pads.
Step 6: Buy from a Trusted Source
Buy from reputable sellers. Avoid very cheap pads from unknown brands.
Step 7: Plan Installation
DIY honda brake pads installation is possible with basic tools. Watch videos for your model. Or hire a mechanic.
Step 8: Bed In the Pads
After installation, follow the bedding-in procedure. This helps the pads mate with the rotors.
Following these steps ensures you get the best performance.
Installation: DIY Tips
Installing honda brake pads yourself saves money. You only need a few tools.
Tools Required
- Jack and jack stands
- Lug wrench
- Socket set (usually 14mm, 17mm)
- C-clamp or brake caliper tool
- New brake pads
- Anti-squeal lubricant
Step-by-Step
Step 1: Lift the Car
Secure the car on jack stands. Remove the wheel.
Step 2: Remove Caliper Bolts
Use a socket to remove the caliper slide pins. Slide the caliper off the rotor. Support it with a bungee cord.
Step 3: Remove Old Pads
Pull the old pads out. Note the position of any clips or shims.
Step 4: Compress the Caliper Piston
Use a C-clamp to push the piston back into the caliper. This makes room for the new thicker pads.
Step 5: Install New Pads
Place the new pads into the caliper bracket. Apply a thin layer of brake grease to the back of the pads.
Step 6: Reinstall Caliper
Slide the caliper over the pads. Tighten the slide pins to manufacturer torque.
Step 7: Pump the Brakes
Before driving, pump the brake pedal several times. This seats the pads against the rotor.
Step 8: Test Drive
Drive slowly at first. Then perform several gentle stops. Listen for any brake pads noise issues.
This process takes about one hour per axle.
Troubleshooting Noise Issues
Squealing or grinding after installation is frustrating. Often, brake pads noise issues have simple fixes.
Common Causes of Noise
- Glazed Pads: If you bedded the pads incorrectly, the surface becomes hard. This causes squeal.
- Lack of Lubrication: The back of the pads should have anti-squeal compound.
- Worn Shims: Missing or damaged shims allow metal-to-metal contact.
- Wrong Pad Material: Semi-metallic pads are noisier than ceramic.
- Rotor Issues: Worn or warped rotors cause noise and vibration.
How to Fix Noise
First, recheck the installation. Remove the pads and apply proper lubricant. If pads are glazed, scuff them with sandpaper. Replace worn shims. Consider switching to ceramic pads. Resurface or replace rotors if needed.
When to Seek Help
If noise persists, a mechanic can diagnose. Sometimes the caliper is sticking. That causes uneven wear and noise.
Solving noise issues improves your driving experience.
Final Recommendations for Your Honda
In conclusion, choosing the best honda brake pads involves understanding your needs. Read honda brake pads reviews to compare brands. Plan honda brake pads replacement before the pads wear completely. Perform honda brake pads installation carefully to avoid brake pads noise issues.
Your Honda is a reliable vehicle. With proper brake maintenance, you keep it safe. Always invest in quality pads. They directly affect stopping power.
We hope this guide helps you upgrade your ride. Enjoy quieter, safer braking.
Leave a Reply